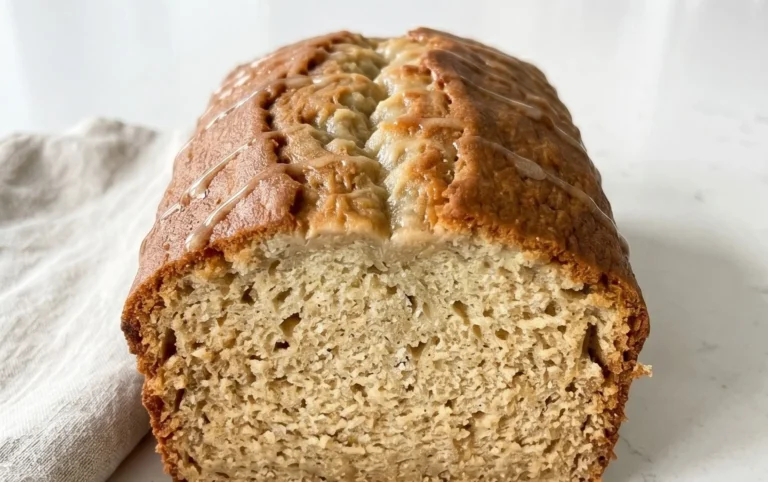
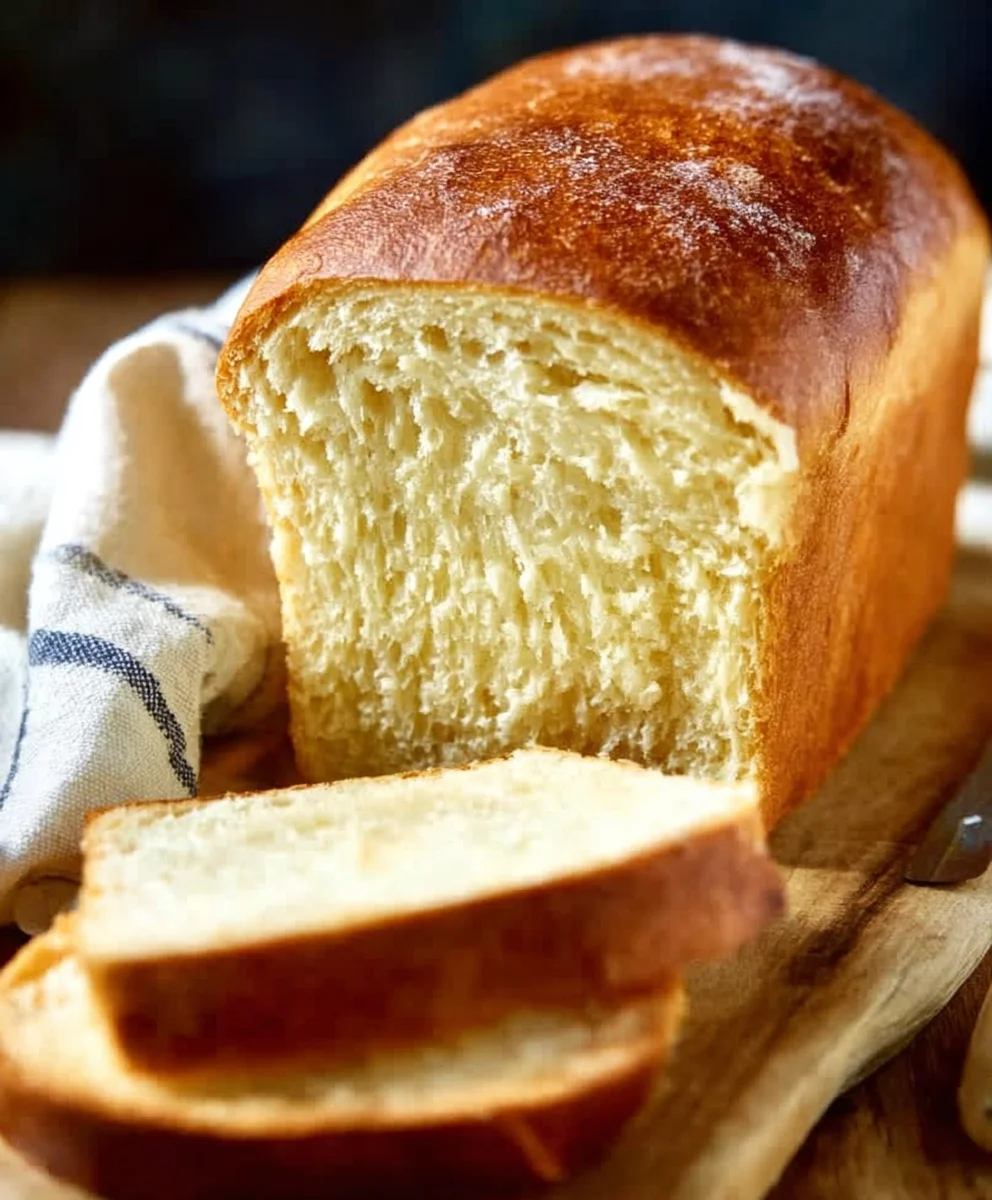
Easy Buttermilk Bread Recipe – Soft & Delicious
Buttermilk bread recipe, oh where do I even begin extract? This isn’t just any loaf; it’s a warm, comforting hug in edible form, the kind that instantly transports you back to grandma’s kitchen or a cozy Sunday morning. What is it about a perfectly baked buttermilk bread recipe that captures our hearts and appetites so completely? It’s the irresistible aroma that fills your home as it bakes, a promise of pure deliciousness. It’s the incredibly tender crum extractb, a testament to the magic that buttermilk works, creating a soft, moist texture that store-bought bread simply can’t replicate. And let’s not forget that subtly tangy flavor, a delicate balance that elevates every single bite, whether you’re slathering it with butter, dipping it into soup, or using it as the foundation for your favorite sandwich. This buttermilk bread recipe is special because it’s incredibly forgiving, making it perfect for bakers of all levels, and the results are always spectacular. Prepare yourself for a new staple in your baking repertoire!
Ingredients:
- 1 packet active dry yeast
- 1 pinch ground gin extractger
- 1 teaspoon granulated sugar
- 1/4 cup water, warm (between 105°F and 110°F)
- 2 cups cultured buttermilk, warm (between 105°F and 110°F)
- 1/3 cup honey
- 1 teaspoon kosher salt (or 3/4 teaspoon table salt)
- 3/4 teaspoon baking soda
- 6 cups bread flour (all-purpose flour can also be used)
- 1/4 cup unsalted butter, melted and cooled to warm (not hot)
Preparing the Dough
Step 1: Blooming the Yeast
This is where we wake up our yeast and ensure it’s active and ready to work its magic. In a large mixing bowl, or the bowl of your stand mixer fitted with a dough hook, combine the warm water and the granulated sugar. Give it a quick stir to dissolve the sugar. Now, sprinkle the packet of active dry yeast over the surface of the water. Do not stir it in at this point; just let it sit. We want the yeast to rehydratgin extractnd begin to feed on the sugar. You should see it start to get foamy and bubbly within about 5 to 10 minutes. This foamy cap is a sign that your yeast is alive and well. If you don’t see any activity after 10 minutes, your yeast may be old or the water wasn’t the right temperature, and you should start over with new yeast.
Step 2: Combining Wet Ingredients and Activating the Leaven
Once your yeast is happily foamy, it’s time to add the rest of our liquid ingredients. Gently pour in the warm cultured buttermilk and the honey. The gentle warmth of the buttermilk is crucial for creating an ideal environment for the yeast to multiply. Too hot, and you’ll kill the yeast; too cold, and it won’t activate properly. We’ve already ensured our water is in the rightgin extractnge, and bringing the buttermilk to a similar temperature will create a harmonious blend. Add the melted and cooled butter to the mixture as wegin extract Now, add the ground ginger and the kosher salt. The salt plays a vital role in controlling the yeast’s activity and enhancing the flavor of the bread. Whisk everything together gently until igin extract well combined. The pinch of ginger might seem unusual, but it adds a subtle warmth and depth that complements the tang of the buttermilk beautifully.
Step 3: Incorporating the Flour and Baking Soda
Now it’s time to introduce the flour and baking soda. First, stir in the baking soda. Baking soda acts as a leavening agent, providing a little extra lift and helping to create a tender crum extractb, especiagin extract with the acidic buttermilk. Then, begin adding the bread flour, about one cup at a time. If you are using a stand mixer, start with the dough hook attachment and mix on low speed. If you are mixing by hand, use a sturdy spoon or spatula. As you add the flour, the mixture will gradually transform from a liquidy batter to a shaggy dough. You want to incorporate enough flour so that the dough starts to pull away from the sides of the bowl. Be careful not to add too much flour at this stage, as this can result in a dry, dense loaf. We are aiming for a slightly sticky dough at first.
Step 4: Kneading the Dough
Once the dough is mostly combined and has become quite thick, it’s time to knead. If you’re using a stand mixer, increase the speed to medium-low and let it knead for about 8 to 10 minutes. You’ll know it’s ready when the dough is smooth, elastic, and springs back when gently poked. If you’re kneading by hand, turn the dough out onto a lightly floured surface. You’ll want to continue kneading for about 10 to 12 minutes. Push the dough away from you with the heels of your hands, fold it over, and repeat. The dough will be sticky at first, so resist the urge to add too much extra flour. Instead, use a bench scraper to help manage it. As you knead, you’ll feel the dough becoming less sticky and more pliable. The gluten strands are developing, which will give your bread its wonderful structure.
Step 5: First Rise and Shaping
Lightly grease a clean large bowl with a little oil or cooking spray. Place the kneaded dough into the bowl, turning it to coat all sides. Cover the bowl tightly with plastic wrap or a clean kitchen towel. Find a warm, draft-free spot in your kitchen for the dough to rise. This could be a slightly warm oven (turned off, of course) or near a sunny window. Let the dough rise for about 1 to 1.5 hours, or until it has doubled in size. Once it has doubled, gently punch down the dough to release the air. Turn the dough out onto a lightly floured surface. You can shape it into one large loaf or divide it into smaller rolls, depending on your preference. For a loaf, gently shape it into an oblong or round shape and place it into a greased loaf pan or onto a baking sheet lined with parchment paper.
Step 6: Second Rise and Baking
Cover the shaped dough loosely with plastic wrap or a clean kitchen towel. Let it rise again in a warm place for about 30 to 45 minutes, or until it has visibly increased in size. While the dough is having its second rise, preheat your oven to 375°F (190°C). Once the dough has completed its second rise, it’s ready for baking. For an even better crust, you can brush the top of the loaf with a little melted butter or milk. Carefully place the loaf pan or baking sheet into the preheated oven. Bake for approximately 30 to 40 minutes for a large loaf, or about 18 to 25 minutes for rolls. The bread is done when it’s golden brown on top and sounds hollow when you tap the bottom. If you’re unsure, an instant-read thermometer inserted into the center of the loaf should register around 195°F to 200°F. Once baked, immediately remove the bread from the pan and place it on a wire rack to cool completely. This prevents the bottom crust from becoming soggy.
Conclusion:
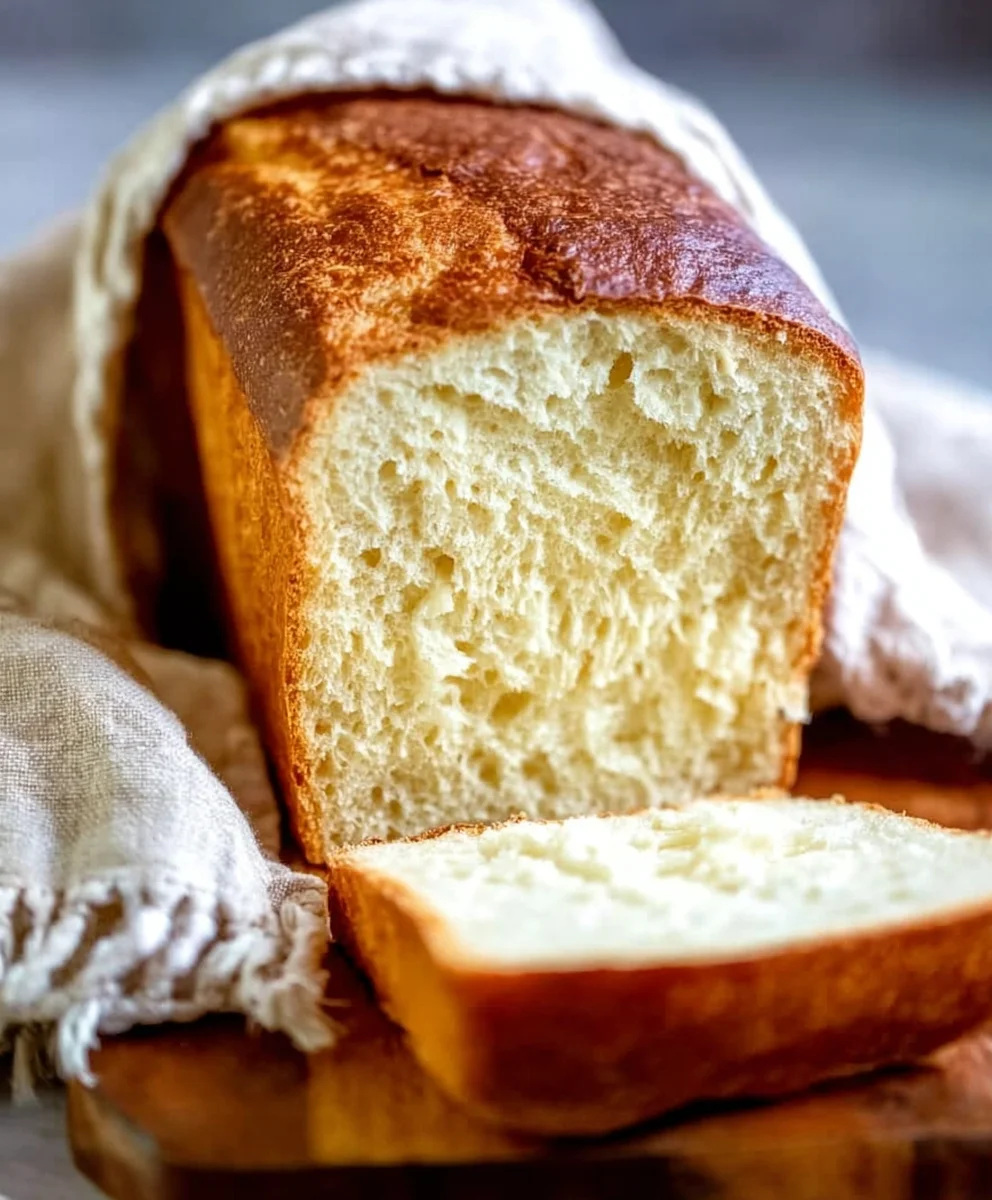
I hope you’ve enjoyed learning how to make this delicious Buttermilk Bread Recipe! This recipe is wonderfully simple, resulting in a soft, slightly tangy loaf with a beautiful golden crust. It’s the perfect addition to any meal, from a hearty breakfast to a comforting dinner side. Don’t be afraid to get your hands a little floured; the process is incredibly rewarding, and the aroma filling your kitchen will be your first clue that something special is baking.
Serving this Buttermilk Bread Recipe warm, with a generous slather of butter, is pure bliss. It also pairs wonderfully with soups, stews, or even as the base for your favorite sandwiches. Feel free to experiment with additions like herbs, seeds, or a touch of honey in the dough for a unique twist. This recipe is a fantastic starting point, and the possibilities for customization are endless. So, gather your ingredients, preheat your oven, and get ready to bake a loaf you’ll be proud of!
Frequently Asked Questions:
Q: My Buttermilk Bread Recipe didn’t rise as much as I expected. What could be the issue?
A: Several factors can affect bread rise. Ensure your yeast is fresh and properly activated. The room temperature where the dough is rising also plays a role; a warm, draft-free environment is ideal. Over-kneading or under-kneading can also impact the gluten development, affecting the rise. Lastly, make sure your oven is preheating fully before baking.
Q: Can I use regular milk instead of buttermilk for this Buttermilk Bread Recipe?
A: While you can substitute regular milk, the flavor and texture will be different. To get a similar tang and tenderness, you can make a buttermilk substitute by adding one tablespoon of lemon juice or white vinegar to one cup of regular milk and letting it sit for 5-10 minutes before using it in the Buttermilk Bread Recipe.
Easy Buttermilk Bread Recipe – Soft & Delicious
A simple recipe for soft and delicious buttermilk bread, perfect for any occasion.
Ingredients
-
1 packet active dry yeast
-
1 pinch ground ginger
-
1 teaspoon granulated sugar
-
1/4 cup warm water (between 105°F and 110°F)
-
2 cups warm cultured buttermilk (between 105°F and 110°F)
-
1/3 cup honey
-
1 teaspoon kosher salt
-
3/4 teaspoon baking soda
-
6 cups bread flour
-
1/4 cup unsalted butter, melted and cooled to warm
Instructions
-
Step 1
In a large mixing bowl, combine warm water and granulated sugar. Sprinkle yeast over the surface and let sit for 5-10 minutes until foamy. -
Step 2
Gently add warm buttermilk, honey, melted butter, ground ginger, and kosher salt. Whisk until well combined. -
Step 3
Stir in baking soda. Gradually add bread flour, about one cup at a time, mixing until a shaggy dough forms and pulls away from the sides of the bowl. The dough should be slightly sticky. -
Step 4
Knead the dough on a lightly floured surface or in a stand mixer for 8-12 minutes until smooth and elastic. The dough should spring back when poked. -
Step 5
Place dough in a greased bowl, cover, and let rise in a warm place for 1 to 1.5 hours, or until doubled in size. Gently punch down the dough. -
Step 6
Shape the dough into a loaf or rolls and place in a greased loaf pan or on a baking sheet. Cover loosely and let rise for 30-45 minutes. -
Step 7
Preheat oven to 375°F (190°C). Brush the top of the loaf with melted butter or milk for an enhanced crust. Bake for 30-40 minutes for a loaf, or 18-25 minutes for rolls, until golden brown and hollow-sounding when tapped. -
Step 8
Remove from pan and cool completely on a wire rack.
Important Information
Nutrition Facts (Per Serving)
It is important to consider this information as approximate and not to use it as definitive health advice.
Allergy Information
Please check ingredients for potential allergens and consult a health professional if in doubt.