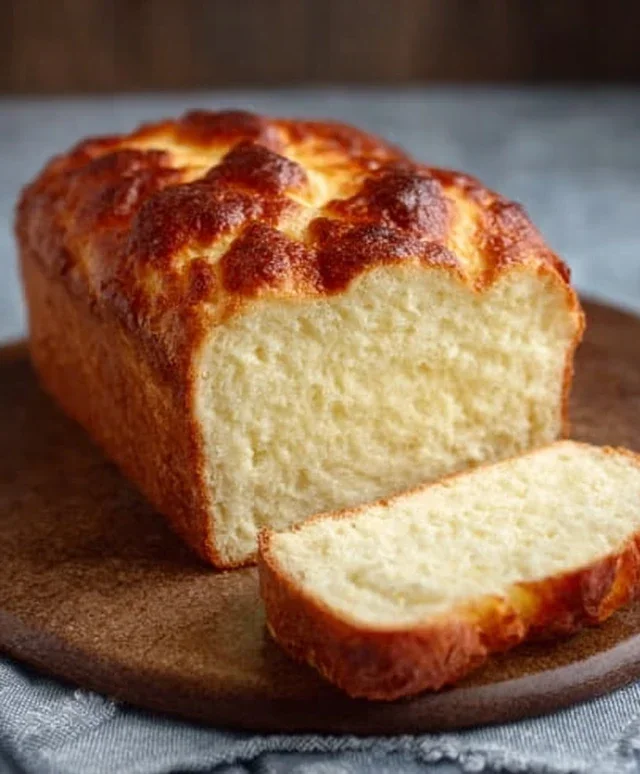
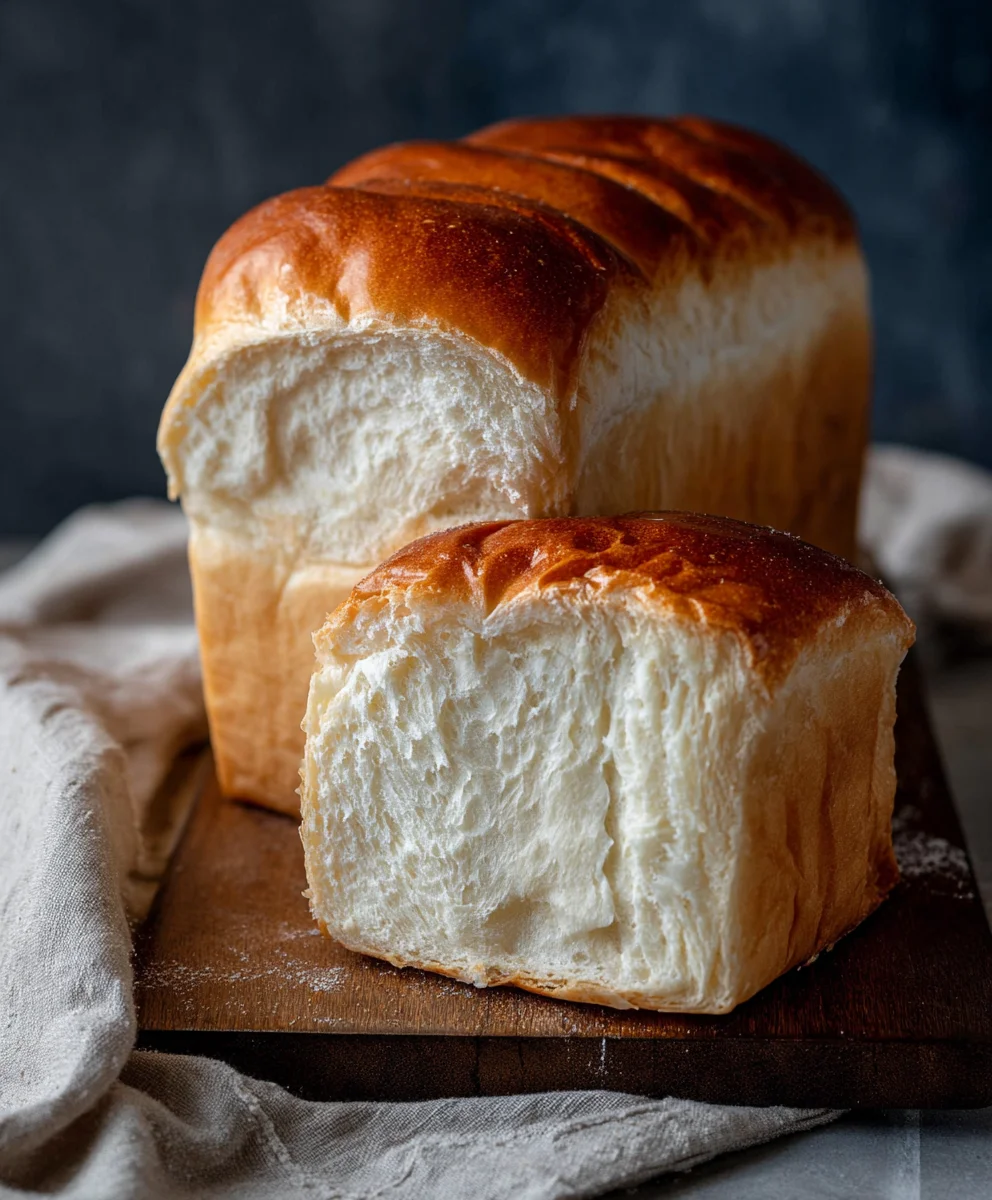
Easy Milk Bread Recipe – Soft & Fluffy Loaf
Easy Milk Bread Loaf has a way of making any day feel a little more special, don’t you think? There’s something inherently comforting about the soft, pillowy texture and the subtle, sweet aroma that fills the kitchen as it bakes. It’s no wonder this delightful bread has captured hearts worldwide; it’s the epitome of simple pleasures done exceptionally well. People adore this Easy Milk Bread Loaf not just for its incredible taste – a delicate balance of sweetness and milky richness – but for its unparalleled softness and slight chew. It’s the kind of bread that melts in your mouth, perfect for toasting with butter, crafting the most exquisite sandwiches, or simply enjoying on its own. What truly sets this recipe apart is its surprising simplicity. Despite its gourmet texture and flavor, this Easy Milk Bread Loaf is remarkably begin extractner-friendly, proving that achieving bakery-quality results at home is absolutely within reach. Get ready to impress yourself and everyone you share it with!
Ingredients:
- 500 g bread flour (approximately 3¾ cups)
- 40 g granulated sugar (about 3 tablespoons)
- 1½ teaspoons instant dry yeast
- 225 g cold water (a little less than 1 cup)
- 115 g cold milk (½ cup)
- 9 g sea salt (1½ teaspoons)
- 25 g unsalted butter, softened to room temperature (about 1¾ tablespoons)
- Extra butter for greasing the baking pan and brushing the finished loaf
- Extra all-purpose flour for dusting the baking pan
Mixing the Dough
Step 1: Combining the Dry Ingredients and Initial Liquids
In a large mixing bowl, or the bowl of your stand mixer fitted with a dough hook, whisk together the 500g of bread flour, 40g of sugar, and 1½ teaspoons of instant yeast. Make sure these dry ingredients are thoroughly combined. This ensures an even distribution of the yeast, which is crucial for proper leavening. Next, create a well in the center of the dry ingredients. Pour in the 225g of cold water and the 115g of cold milk. It’s important to use cold liquids here; this helps to control the dough temperature during kneading, preventing it from becoming too warm and over-proofing too quickly, which can lead to a less desirable texture.
Step 2: Initial Mixing and Hydration
Begin extract mixing the ingredients. If you’re using a stand mixer, start on a low speed until the ingredientsgin extractst begin to come together into a shaggy mass. If you’re mixing by hand, use a wooden spoon or spatula to stir everything until no dry flour remains. The dough will look quite wet and sticky at this stage, and that’s perfectly normal. This initial hydration allows the flour to start absorbing the liquids, forming gluten strands. Let the dough rest for about 10 to 15 minutes, covered with a clean kitchen towel or plastic wrap. This resting period, known as autolyse, allows the flour to fully hydrate without any work, which further develops gluten and makes the dough more pliable for kneading.
Step 3: Adding Salt and Kneading
After the brief rest, it’s time to add the 9g of sea salt. Salt is essential not only for flavor but also for strengthening the gluten structure. Sprinkle the salt over thgin extractough. Now, begin the kneading process. If using a stand mixer, increase the speed to medium-low and knead for about 8 to 10 minutes. The dough should start to pull away from the sides of the bowl and become smoother and more elastic. If kneading by hand, turn the dough out onto a lightly floured surface and knead using a push-and-fold motion for about 10 to 15 minutes. You’ll know the dough is ready when it’s smooth, elastic, and passes the windowpane test: you should be able to stretch a small piece of dough very thinly between your fingers without it tearing.
Step 4: Incorporating the Butter
Once the dough has developed a good amount of elasticity, it’s time to add the 25g of softened unsalted butter. Cut the softened butter into small pieces and add them to the dough, a few pieces at a time. Continue kneading on medium-low speed in the stand mixer, or by hand, until the butter is fully incorporated. This process can take another 5 to 8 minutes. At first, the dough might seem like it’s breaking down or becoming greasy, but keep kneading. The gluten network will eventually absorb the fat, resulting in a very smooth, soft, and slightly greasy dough. This added fat contributes to the bread’s tenderness and rich flavor, making it exceptionally soft and delicious.
First Rise (Bulk Fermentation)
Step 5: First Proofing
Lightly grease a clean large bowl with a little oil or cooking spray. Place the kneaded dough into the greased bowl, turning it to coat all sides. Cover the bowl tightly with plastic wrap or a damp kitchen towel. Let the dough rise in a warm, draft-free place for about 1 to 1.5 hours, or until it has doubled in size. The exact time will depend on the ambient temperature of your kitchen. A good way to test if it’s ready is to gently poke the dough with a floured finger. If the indentatigin extractremains without springing back, the dough is ready for the next step. This first rise develops flavor and texture through the fermentation process where the yeast produces carbon dioxide gas.
Shaping and Second Rise
Step 6: Degassing and Shaping the Loaf
Once the dough has doubled, gently punch it down to release the accumulated gases. Turn the dough out onto a lightly floured surface. For an Easy Milk Bread Loaf, we want a smooth, uniform shape. Gently shape the dough into a rectangle, about the width of your loaf pan. Then, starting from one of the shorter sides, tightly roll the dough up into a log, pressing the seam to seal it. Pinch the ends together and tuck them underneath. The goal is to create surface tension for a good oven spring and an attractive loaf shape.
Step 7: Pan Preparation and Second Proofing
Generously grease your loaf pan (a standard 9×5 inch pan works well) with butter and lightly dust it with flour, tapping out any excess. This step is crucial to prevent your beautiful bread from sticking. Place the shaped dough log seam-side down into the prepared loaf pan. Cover the pan loosely with plastic wrap or a clean kitchen towel. Let the dough rise again in a warm place for another 45 minutes to 1 hour, or until the dough has risen about 1 inch above the rim of the pan. It should look nicely puffed and almost touching the sides. Over-proofing at this stage can lead to the loaf collapsing in the oven, so keep an eye on it.
Baking and Finishing
Step 8: Baking the Loaf
Preheat your oven to 375°F (190°C) while the dough is in its second rise. Once the dough has completed its second proof and the oven is preheated, place the loaf pan on the center rack of the oven. Bake for 30 to 35 minutes. The bread should be a deep golden brown on top, and when you tap the bottom, it should sound hollow. If the top starts to brown too quickly, you can loosely tent it with aluminum foil during the last 10-15 minutes of baking.
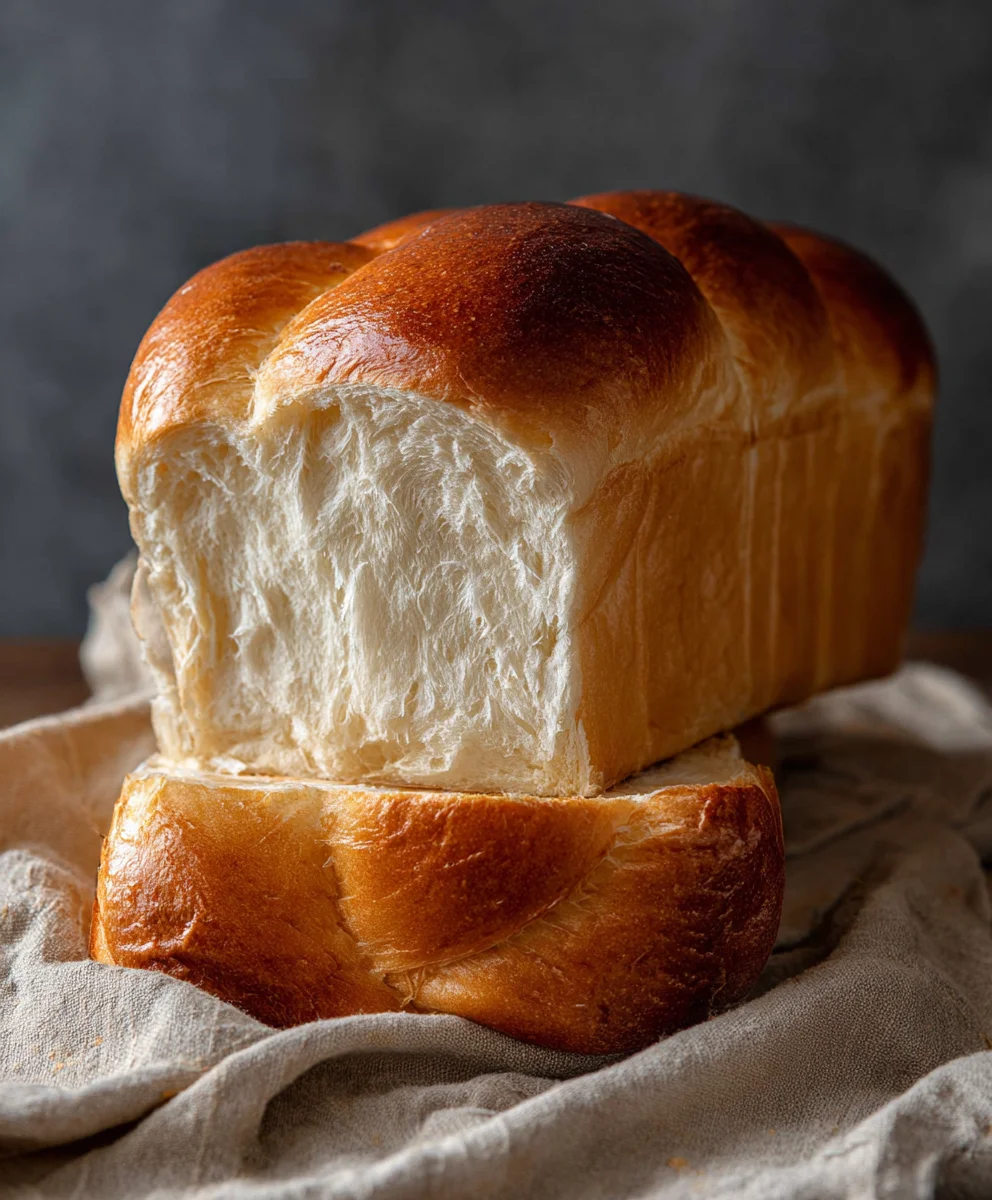
Step 9: Cooling and Brushing
As soon as the bread comes out of the oven, carefully invert it onto a wire cooling rack. For that signature soft and shiny crust characteristic of Easy Milk Bread Loaf, immediately brush the top generously with melted butter. The heat from the bread will melt the butter and create a beautiful sheen. Allow the loaf to cool completely on the wire rack before slicing. This cooling period is important for the internal structure of the bread to set, ensuring clean slices. Resist the urge to slice into it too early – the wait is worth it for the perfect texture and flavor.
Conclusion:
You’ve now mastered the art of creating a truly delightful Easy Milk Bread Loaf! This recipe delivers a wonderfully soft, slightly sweet, and incredibly versatile bread that’s perfect for any occasion. Whether you’re craving a simple slice with butter, building the ultimate sandwich, or even toasting it for French toast, the Easy Milk Bread Loaf stands up to it all beautifully. Don’t be afraid to experiment with its potential; consider adding a touch of honey to the dough for extra sweetness, or perhaps some finely chopped herbs or cheese for a savory twist. The beauty of this Easy Milk Bread Loaf is its adaptability. We encourage you to get creative in your kitchen and enjoy the incredibly rewarding experience of baking your own fresh bread from scratch. Happy baking!
Frequently Asked Questions
Can I make this Easy Milk Bread Loaf ahead of time?
Absolutely! Once completely cooled, the Easy Milk Bread Loaf can be stored in an airtight container at room temperature for up to 3 days. For longer storage, you can slice the bread and freeze it for up to 3 months. Simply thaw at room temperature or toast directly from frozen.
My Easy Milk Bread Loaf is a bit dense. What might have gone wrong?
A dense loaf can often be due to a few common issues. Ensure your yeast was active and fresh; expired yeast won’t provide sufficient lift. Also, be careful not to overwork the dough after the initial kneading, as this can develop too much gluten and result in a tough texture. Finally, make sure the dough had enough time to rise properly in a warm environment.
Easy Milk Bread Recipe – Soft & Fluffy Loaf
A simple recipe for incredibly soft and fluffy milk bread, perfect for everyday enjoyment.
Ingredients
-
500 g bread flour
-
40 g granulated sugar
-
1½ teaspoons instant dry yeast
-
225 g cold water
-
115 g cold milk
-
9 g sea salt
-
25 g unsalted butter, softened
-
Extra butter for greasing and brushing
-
Extra all-purpose flour for dusting
Instructions
-
Step 1
In a large bowl, whisk together bread flour, sugar, and instant yeast. Create a well in the center and pour in cold water and cold milk. Mix until a shaggy mass forms. Let rest for 10-15 minutes. -
Step 2
Add sea salt to the dough. Knead for 8-10 minutes in a stand mixer (or 10-15 minutes by hand) until smooth and elastic, passing the windowpane test. -
Step 3
Gradually add softened butter, a little at a time, while continuing to knead for another 5-8 minutes until fully incorporated and the dough is very smooth and soft. -
Step 4
Place the dough in a lightly greased bowl, cover, and let rise in a warm place for 1 to 1.5 hours, or until doubled in size. -
Step 5
Gently punch down the dough, shape it into a rectangle, and then roll it tightly into a log. Seal the seam and tuck the ends underneath. -
Step 6
Place the shaped dough seam-side down into a greased and floured loaf pan. Cover loosely and let rise for another 45 minutes to 1 hour, or until about 1 inch above the rim. -
Step 7
Bake in a preheated oven at 375°F (190°C) for 30-35 minutes, until golden brown and hollow-sounding when tapped. -
Step 8
Immediately invert the loaf onto a wire rack and brush generously with melted butter. Let cool completely before slicing.
Important Information
Nutrition Facts (Per Serving)
It is important to consider this information as approximate and not to use it as definitive health advice.
Allergy Information
Please check ingredients for potential allergens and consult a health professional if in doubt.