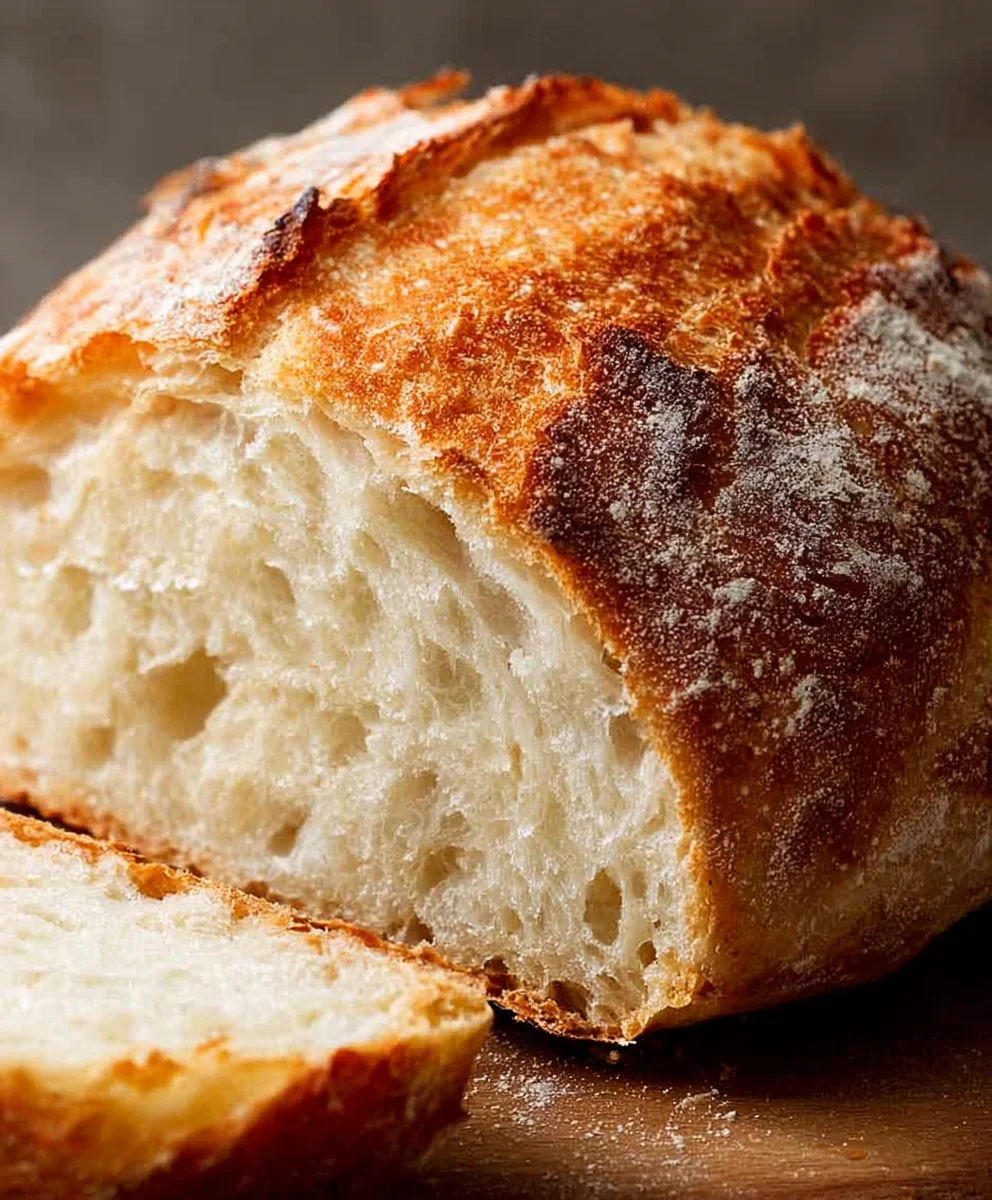
Easiest No Knead Artisan Bread Recipe-Simply Delicious
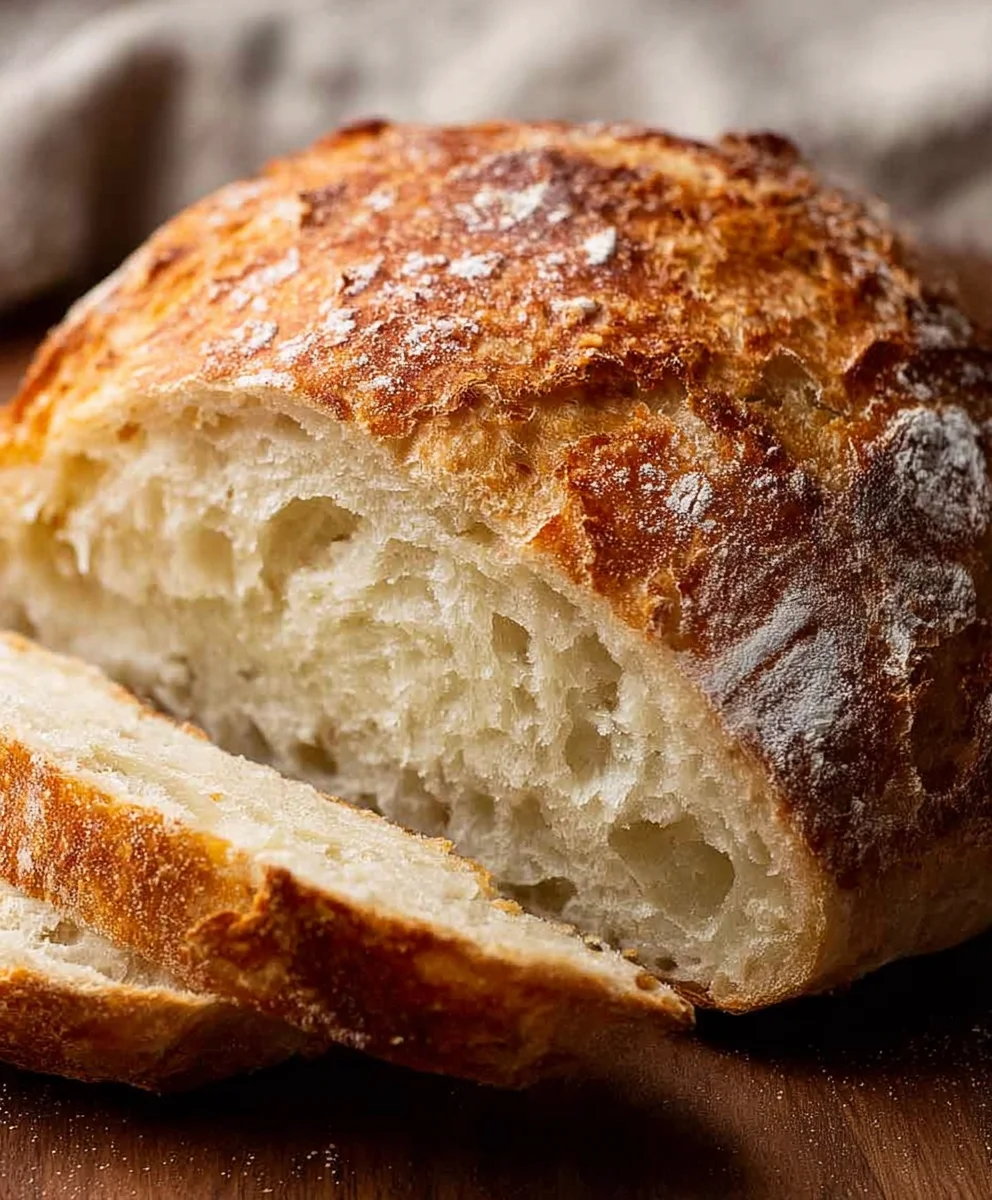
World’s Easiest Yeast Bread recipe – Artisan, NO KNEAD is more than just a bread; it’s a revelation for home bakers! If you’ve ever dreamt of pulling a perfectly crusted, wonderfully airy loaf from your own oven but felt intimidated by the kneading and proving processes, then this recipe is your new best friend. We understand the allure of artisanal bread – that rustic charm, the satisfying crackle as you slice into it, and the deep, comforting flavor. But what makes this particular “World’s Easiest Yeast Bread recipe – Artisan, NO KNEAD” truly special is its astonishing simplicity. It requires minimal effort and zero kneading, yet delivers results that rival professional bakeries. This is the bread that will convert even the most hesitant baker into a confident dough wizard. Get ready to experience the magic of homemade bread without the fuss!
Ingredients:
- 3 cups (450g) bread flour or all-purpose flour (Note 1)
- 2 teaspoons instant or rapid-rise yeast (Note 2)
- 2 teaspoons kosher salt, not table salt (Note 3)
- 1 1/2 cups (375 ml) very warm tap water, not boiling or super hot (up to 55°C/130°F) (Note 4)
- 1 1/2 tablespoons flour, for dusting
Preparing the Dough
Step 1: Combine the Dry Ingredients
In a large mixing bowl, one that can comfortably hold at least double the volume of your ingredients, whisk together the 3 cups of flour, 2 teaspoons of instant yeast, and 2 teaspoons of kosher salt. It’s crucial to use kosher salt rather than table salt for this recipe. Kosher salt has larger, flakier crystals and a less intensely salty flavor compared to table salt, which can sometimes result in a slightly bitter or metallic taste in baked goods if used in the same quantity. Whisking these dry ingredients together ensures the yeast and salt are evenly distributed throughout the flour. This even distribution is key for a consistent rise and flavor in your final loaf. If you are using active dry yeast instead of instant or rapid-rise yeast, you’ll need to activate it first. To do this, you would typically mix it with a small amount of the warm water and a pinch of sugar, let it sit for about 5-10 minutes until it becomes foamy, and then add it to the flour mixture. However, for this “world’s easiest” recipe, the instant yeast simplifies the process significantly, as it can be mixed directly with the dry ingredients.
Step 2: Add the Warm Water and Mix
Pour the 1 1/2 cups of very warm tap water into the bowl with the dry ingredients. The water should be warm to the touch, similar to a comfortable bath temperature. Avoid using water that is too hot, as this can kill the yeast, rendering it inactive and preventing your dough from rising. Conversely, water that is too cool won’t activate the yeast effectively. Aim for a temperature around 105-115°F (40-46°C) if you have a thermometer, but your hand should be able to comfortably handle it for a few seconds. Using a wooden spoon or a sturdy spatula, mix the ingredients together until just combined. It will look shaggy and sticky – this is exactly what you want. Resist the urge to add more flour at this stage, even if it seems quite wet. The key to this no-knead method is a very wet dough. It might feel more like a thick batter than a traditional bread dough, and that’s perfectly normal and essential for achieving that coveted artisan texture. Continue mixing until there are no dry streaks of flour visible.
Step 3: The Long, Lazy Rise
Cover the bowl tightly with plastic wrap or a damp kitchen towel. Place the bowl in a warm, draft-free spot in your kitchen. This could be on top of your refrigerator, in a slightly warmed (but turned-off) oven, or simply on your counter if your kitchen is consistently warm. Let the dough rise for at least 12 to 18 hours. This extended fermentation period is where all the magic happens. The long rise allows the yeast to work slowly, developing complex flavors and creating those beautiful air pockets that give artisan bread its characteristic crum extractb. You’ll notice the dough will more than double in size, becoming bubbly and airy. The surface might even have a slightly wet, almost glistening appearance. Don’t be tempted to rush this process; patience is a virtue when it comes to developing the best flavor and texture.
Shaping and Baking
Step 4: Preparing for Baking
Once the dough has completed its long rise, it’s time to get it ready for baking. Generously dust a clean work surface with about 1 1/2 tablespoons of flour. Gently scrape the very wet and bubbly dough out of the bowl onto the floured surface. Be careful not to deflate it too much. The dough will still be quite sticky and soft. Using lightly floured hands or a bench scraper, gently shape the dough into a round ball. You can achieve this by gently folding the edges of the dough towards the center, creating a little tension on the surface, and then turning it seam-side down. Again, the goal here is not to knead or work the dough extensively, but simply to give it a rough shape. Preheat your oven to 450°F (230°C) with a Dutch oven or a heavy, oven-safe pot (with a lid) inside it. This is a crucial step for creating that wonderfully crispy crust. Allowing the Dutch oven to preheat with the oven ensures it’s piping hot when the dough goes in, mimicking the conditions of a professional bakery oven.
Step 5: Baking the Bread
Carefully remove the preheated Dutch oven from the oven (use oven mitts!). Gently lift the shaped dough and place it directly into the hot Dutch oven, seam-side down. If the dough feels too sticky to handle, you can place it on a piece of parchment paper before transferring it into the Dutch oven. Once the dough is in the pot, place the lid back on. Carefully place the lidded Dutch oven back into the preheated oven. Bake for 30 minutes with the lid on. After 30 minutes, carefully remove the lid. The bread should have risen significantly and be pnon-alcoholic ale in color. Continue baking for another 15 to 25 minutes, or until the crust is a deep golden brown and sounds hollow when tapped on the bottom. The exact baking time will vary depending on your oven and the type of Dutch oven you are using. Once baked, carefully remove the bread from the Dutch oven and place it on a wire rack to cool completely. This cooling process is essential for the bread’s texture to set. Slicing into it too early will result in a gummy interior. Enjoy the aroma as it cools – it’s truly the smell of success!
Conclusion:
You’ve done it! You’ve successfully navigated the simplicity of the World’s Easiest Yeast Bread recipe – Artisan, NO KNEAD. This recipe truly lives up to its name, offering a remarkably hands-off approach to achieving that sought-after artisan crust and airy interior. Whether you’re a seasoned baker or a complete novice, this recipe provides a rewarding and delicious outcome. Imagin extracte the satisfaction of pulling a golden-brown loaf from your oven, its aroma filling your kitchen, all with minimal effort. This bread is incredibly versatile, perfect on its own with a smear of butter, or as the base for your favorite sandwiches. Experiment with serving it alongside hearty soups or stews, or as a delightful accompaniment to a cheese board. For a touch of sweetness, consider adding a drizzle of honey or maple syrup. Don’t be afraid to get creative with variations – a sprinkle of herbs or a handful of cheese kneaded in (gently, of course!) before the final proof can transform this simple loaf into something truly special.
Frequently Asked Questions about the World’s Easiest Yeast Bread recipe – Artisan, NO KNEAD:
Q1: My dough is very sticky. Is this normal for the World’s Easiest Yeast Bread recipe – Artisan, NO KNEAD?
Absolutely! The ‘no-knead’ aspect relies on a high hydration dough, which naturally makes it quite sticky. Resist the urge to add more flour during the initial mixing or resting stages, as this can lead to a denser loaf. A well-floured surface and lightly floured hands are your best friends when shaping.
Q2: Can I make the World’s Easiest Yeast Bread recipe – Artisan, NO KNEAD ahead of time?
Yes, you can! After the initial rise, you can punch down the dough, shape it, and then place it in a lightly oiled bowl, cover it, and refrigerate it for up to 24 hours. This slow, cold fermentation can actually enhance the flavor. Let it sit at room temperature for about 30-60 minutes before baking as usual.
Easiest No Knead Artisan Bread Recipe-Simply Delicious
A remarkably simple and delicious no-knead artisan bread recipe that requires minimal effort for a stunning result.
Ingredients
-
3 cups (450g) bread flour or all-purpose flour
-
2 teaspoons instant or rapid-rise yeast
-
2 teaspoons kosher salt
-
1 1/2 cups (375 ml) very warm tap water (up to 55°C/130°F)
-
1 1/2 tablespoons flour, for dusting
Instructions
-
Step 1
Combine the dry ingredients: In a large mixing bowl, whisk together the flour, instant yeast, and kosher salt. This ensures even distribution for a consistent rise and flavor. -
Step 2
Add the warm water and mix: Pour the very warm tap water into the bowl with the dry ingredients. Mix with a wooden spoon or spatula until just combined, forming a shaggy and sticky dough. Resist adding more flour; a very wet dough is key for artisan texture. -
Step 3
The long, lazy rise: Cover the bowl tightly and let the dough rise in a warm, draft-free spot for 12 to 18 hours. This extended fermentation develops complex flavors and creates air pockets, causing the dough to more than double in size. -
Step 4
Preparing for baking: Generously dust a clean work surface with flour. Gently scrape the bubbly dough onto the floured surface and shape it into a rough round ball by folding the edges towards the center. Preheat your oven to 450°F (230°C) with a Dutch oven or heavy, oven-safe pot (with lid) inside. -
Step 5
Baking the bread: Carefully remove the hot Dutch oven from the oven. Place the shaped dough into the pot, seam-side down. If sticky, use parchment paper. Place the lid back on and return to the oven. Bake for 30 minutes with the lid on. Then, remove the lid and bake for another 15-25 minutes, or until the crust is deep golden brown and sounds hollow when tapped. -
Step 6
Cooling: Carefully remove the bread from the Dutch oven and place it on a wire rack to cool completely. This step is essential for the interior texture to set properly. Do not slice while warm to avoid a gummy interior.
Important Information
Nutrition Facts (Per Serving)
It is important to consider this information as approximate and not to use it as definitive health advice.
Allergy Information
Please check ingredients for potential allergens and consult a health professional if in doubt.