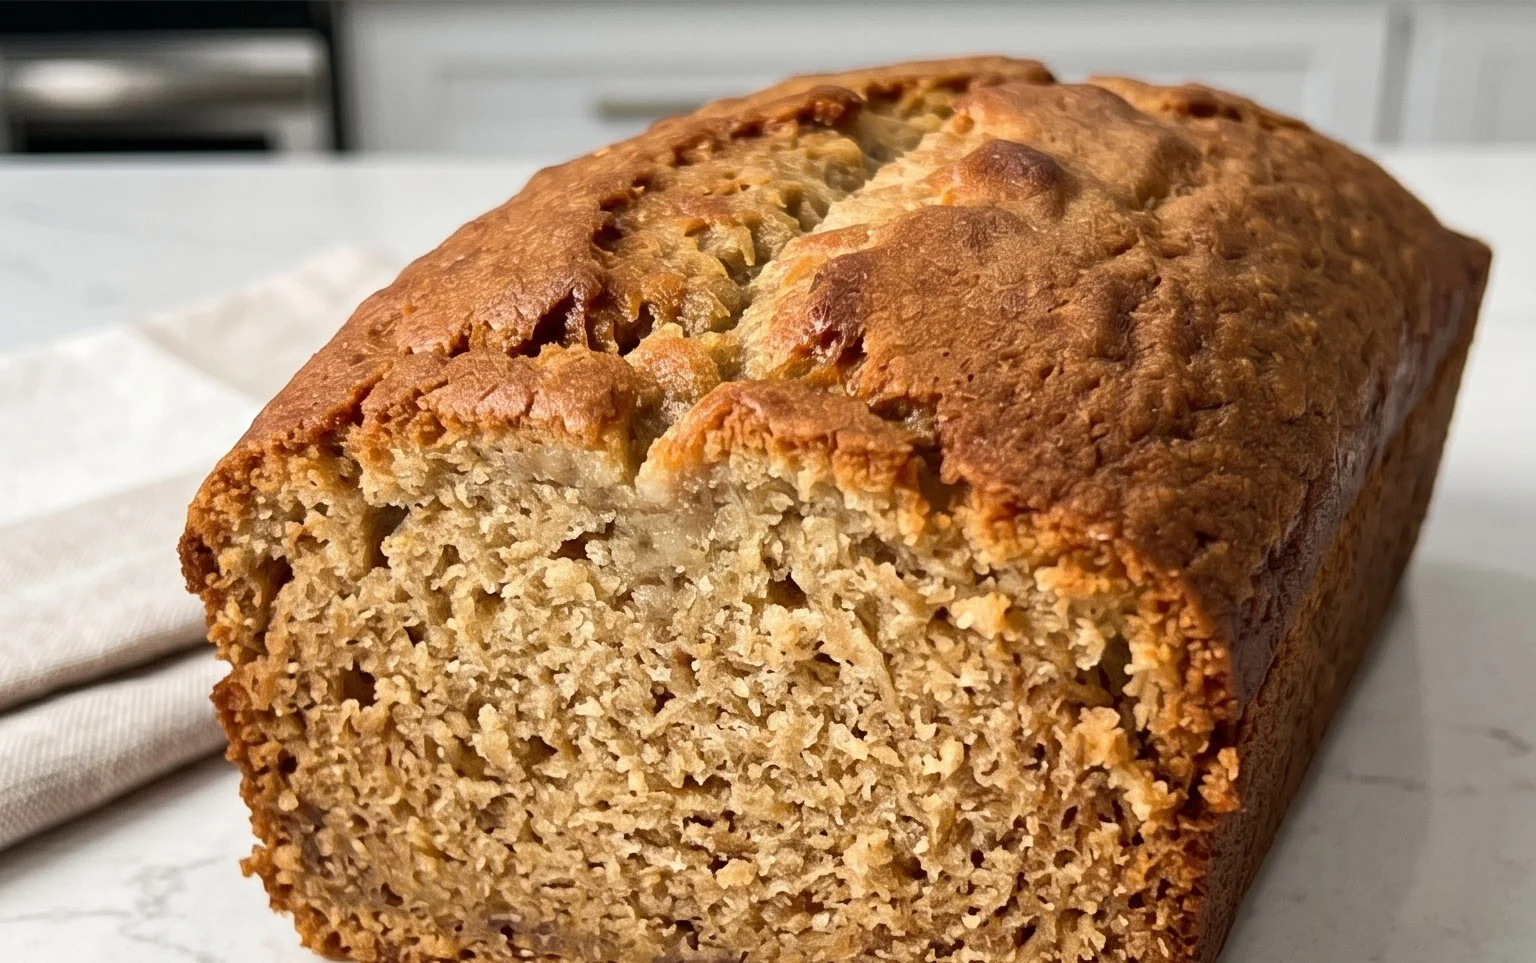
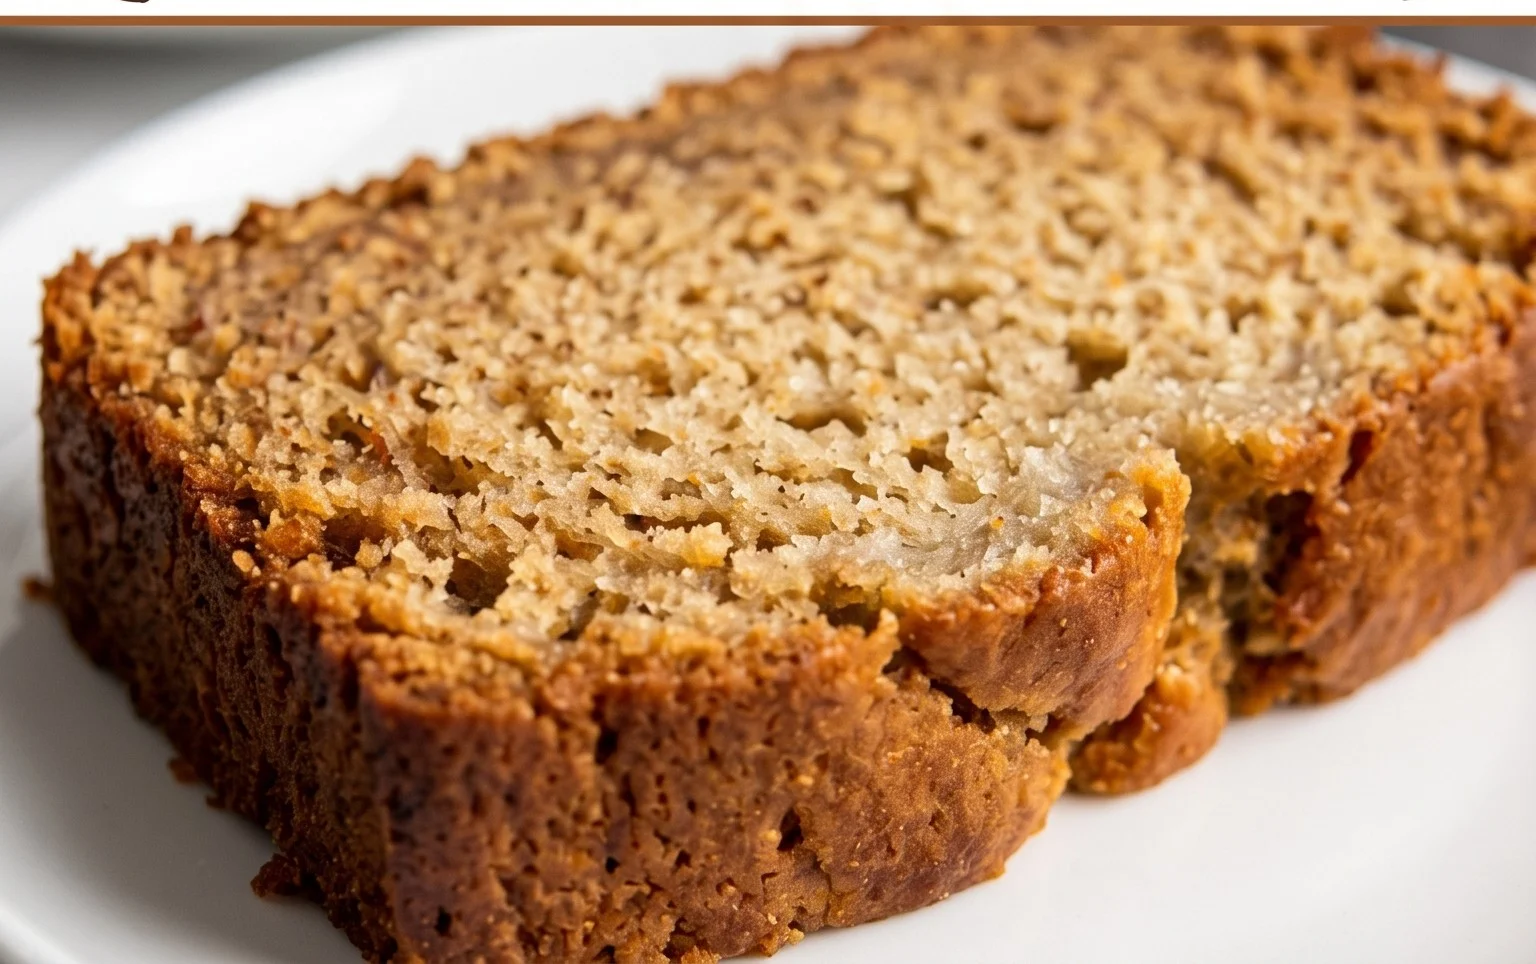
Easy Banana Bread Recipe The Best Ever
The Best Easy Banana Bread Recipe you’ll ever make is about to become your new go-to for those moments when ripe bananas beckon from the fruit bowl. There’s a reason banana bread holds such a special place in our hearts and kitchens. It’s the ultimate comfort food, a sweet embrace on a chilly morning, or a satisfying treat with a cup of coffee. What makes this particular easy banana bread recipe so exceptional? It’s the perfect balance of moist crum extractb, tender texture, and that irresistible sweet banana flavor, all achieved with minimal fuss. Forget complicated steps; this recipe is designed for even the most novice bakers, proving that deliciousness doesn’t have to be difficult. Get ready to fill your home with the most comforting aroma and enjoy a slice of pure happiness.
Best Easy Banana Bread Recipe
There’s something incredibly comforting and satisfying about a slice of warm, homemade banana bread. It’s the perfect treat for breakfast, a snack, or even a simple dessert. For years, I’ve been on a quest for the ultimate easy banana bread recipe – one that’s foolproof, incredibly moist, and packed with delicious banana flavor. And after countless batches, I’m thrilled to share this recipe with you. It’s simple enough for even the most novice baker, yet the results are consistently outstanding. The key to this recipe’s success lies in using very ripe bananas, which not only provide sweetness but also contribute significantly to the bread’s tender crum extractb and rich flavor. Don’t be tempted to use slightly yellow bananas; the spottier, the better!
Ingredients:
Cooking Instructions
Step 1: Prepare Your Bananas and Wet Ingredients
The first step to achieving a truly spectacular banana bread is to properly prepare your bananas. For this recipe, we want them to be super ripe – think brown spots all over. The riper the banana, the sweeter and more potent its flavor, and the more moisture it will contribute to your bread, resulting in a wonderfully tender crum extractb. To mash them, you can use a fork or a potato masher. Aim for a consistency that’s mostly mashed but with a few small lumps remaining for texture. In a large mixing bowl, combine your mashed bananas with the melted salted butter. Stir until these two are well incorporated. Next, add your granulated sugar to the banana and butter mixture. Stir until it’s well combined and the sugar begin extracts to dissolve slightly into the wet ingredients. Now, it’s time to add the beaten egg and the pure vanilla extract. Give everything a good stir until it’s smooth and homogenous. This mixture forms the flavor base of your banana bread, so take your time to ensure everything is thoroughly mixed.
Step 2: Combine Your Dry Ingredients
While your wet ingredients are mingling, it’s time to get your dry ingredients ready. In a separate medium-sized bowl, whisk together the all-purpose flour, baking soda, baking powder, ground cinnamon, and salt. Whisking ensures that the leavening agents (baking soda and baking powder) and the spices are evenly distributed throughout the flour. This is crucial for an even rise and consistent flavor in your banana bread. The baking soda will react with the acidic elements (like brown sugar, if you were to use it, or even the natural acidity in bananas) to create lift, while the baking powder provides an extra boost of leavening. The cinnamon adds a warm, cozy spice note that pairs perfectly with bananas. Don’t skip the salt; it might seem small, but it enhances all the other flavors.
Step 3: Gently Combine Wet and Dry Ingredients
Now comes the magic of bringin extractg everything together. Gradually add the dry ingredients to the wet ingredients, mixing until just combined. It is extremely important not to overmix here. Overmixing develops the gluten in the flour, which can lead to a tough, dense banana bread. A few streaks of flour are perfectly fine, as they will disappear as you fold in the add-ins. Use a spatula or a wooden spoon and gently fold the dry ingredients into the wet ingredients. Stop mixing as soon as you no longer see large pockets of dry flour. Remember, we’re aiming for a tender, moist loaf, and overmixing is the enemy of that goal.
Step 4: Incorporate the Mix-ins and Prepare for Baking
Once the wet and dry ingredients are almost fully combined, it’s time to add your chosen mix-ins. Gently fold in the chopped walnuts or chocolate chips. If you’re using walnuts, they add a lovely crunch and a subtle nutty flavor that complements the banana beautifully. Chocolate chips, on the other hand, melt into pockets of gooey, decadent sweetness. If you’re feeling extra indulgent, you can reserve a small handful of your walnuts or chocolate chips to sprinkle over the top of the batter before baking for a decorative and flavorful finish. Prepare your baking pan by greasing and flouring a standard 9×5 inch loaf pan. Alternatively, you can line it with parchment paper, leaving some overhang on the sides for easy removal. This prevents your beautiful banana bread from sticking.
Step 5: Bake to Golden Perfection
Pour the batter into your prepared loaf pan, spreading it evenly. If you reserved any nuts or chocolate chips for topping, sprinkle them on now. Place the loaf pan in a preheated oven at 350°F (175°C). Bake for approximately 50-65 minutes. The exact baking time will vary depending on your oven, so it’s important to keep an eye on it. You’ll know your banana bread is done when a wooden skewer or toothpick inserted into the center comes out clean, or with just a few moist crum extractbs attached (but no wet batter). If the top of your banana bread starts to brown too quickly before the inside is cooked, you can loosely tent it with aluminum foil. Once baked, carefully remove the loaf pan from the oven and let the banana bread cool in the pan for about 10-15 minutes. This allows it to set up slightly before you attempt to remove it.
Step 6: Cool and Enjoy
After the initial cooling period in the pan, carefully invert the banana bread onto a wire rack to cool completely. Allowing it to cool fully is crucial for the best texture and flavor. While it’s tempting to slice into it immediately, the bread will be much easier to slice and will have a better texture if allowed to cool for at least an hour. Once cooled, slice it up and savor the delicious, homemade goodness. This banana bread is fantastic on its own, but it’s also wonderful toasted and served with a smear of butter, cream cheese, or even a drizzle of honey. Store any leftover banana bread in an airtight container at room temperature for up to 3 days, or in the refrigerator for longer storage. You can also freeze slices or the whole loaf for up to 3 months. Enjoy every delicious bite of your best easy banana bread!
Conclusion:
And there you have it – the best easy banana bread recipe that’s sure to become a staple in your kitchen! What makes this recipe so fantastic is its simplicity. You don’t need any fancy equipment or obscure ingredients. Just a few ripe bananas, pantry staples, and a little bit of love are all it takes to create a wonderfully moist, flavourful, and comforting loaf. It’s the perfect way to use up those overripe bananas and fill your home with an irresistible aroma. I absolutely love how forgiving this recipe is, making it ideal for bakers of all skill levels.
This versatile banana bread is wonderful on its own, but it also shines when served with a smear of butter, a drizzle of honey, or even a dollop of cream cheese frosting. It’s perfect for breakfast, a satisfying snack, or a delightful dessert. Don’t be afraid to get creative! Consider adding chocolate chips, nuts like walnuts or pecans, or even a sprinkle of cinnamon for an extra layer of flavour. I encourage you to give this recipe a try – I’m confident you’ll be hooked!
Frequently Asked Questions:
What’s the best way to ripen bananas for banana bread?
The best bananas for banana bread are those that are heavily speckled or even mostly brown. These bananas have a higher sugar content and a softer texture, which translates to a sweeter and more moist banana bread. If your bananas aren’t ripe enough, you can speed up the process by placing them in a paper bag, optionally with an apple or tomato, at room temperature for a day or two.
Can I make this banana bread recipe gluten-free?
Absolutely! While this recipe uses all-purpose flour, you can easily adapt it to be gluten-free. Simply substitute your favourite gluten-free all-purpose flour blend, often one that contains xanthan gum, in a 1:1 ratio with the regular flour. You might find the texture to be slightly different depending on the blend you use, but the flavour will still be delicious.
Best Easy Banana Bread Recipe
Moist and delicious banana bread made with ripe bananas, a hint of cinnamon, and optional walnuts or chocolate chips. Perfect for a quick breakfast or snack.
Ingredients
-
3-4 ripe bananas (about 2 cups mashed)
-
1/3 cup salted butter, melted
-
3/4 cup (150g) granulated sugar
-
1 large egg, beaten
-
1 teaspoon pure vanilla extract
-
1 teaspoon baking soda
-
1 teaspoon baking powder
-
1/4 teaspoon ground cinnamon
-
1/8 teaspoon salt
-
1 1/2 cups (212g) all-purpose flour
-
1 cup chopped walnuts (or chocolate chips, plus extra for topping if desired)
Instructions
-
Step 1
Preheat your oven to 350°F (175°C). Grease and flour a 9×5 inch loaf pan. -
Step 2
In a large bowl, mash the ripe bananas with a fork until smooth. -
Step 3
Stir in the melted butter, granulated sugar, beaten egg, and vanilla extract until well combined. -
Step 4
In a separate medium bowl, whisk together the all-purpose flour, baking soda, baking powder, ground cinnamon, and salt. -
Step 5
Gradually add the dry ingredients to the wet ingredients, mixing until just combined. Do not overmix. -
Step 6
Fold in the chopped walnuts or chocolate chips (if using). -
Step 7
Pour the batter into the prepared loaf pan and spread evenly. Sprinkle with extra nuts or chips if desired. -
Step 8
Bake for 50-65 minutes, or until a toothpick inserted into the center comes out clean. If the top begins to brown too quickly, loosely tent with aluminum foil. -
Step 9
Let the banana bread cool in the pan for 10 minutes before transferring it to a wire rack to cool completely.
Important Information
Nutrition Facts (Per Serving)
It is important to consider this information as approximate and not to use it as definitive health advice.
Allergy Information
Please check ingredients for potential allergens and consult a health professional if in doubt.