Cheesy Zucchini Breadsticks-Easy Delicious Recipe
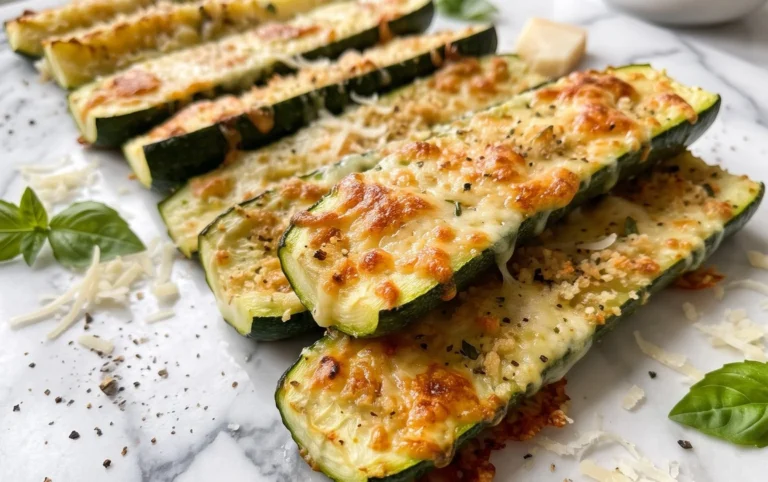
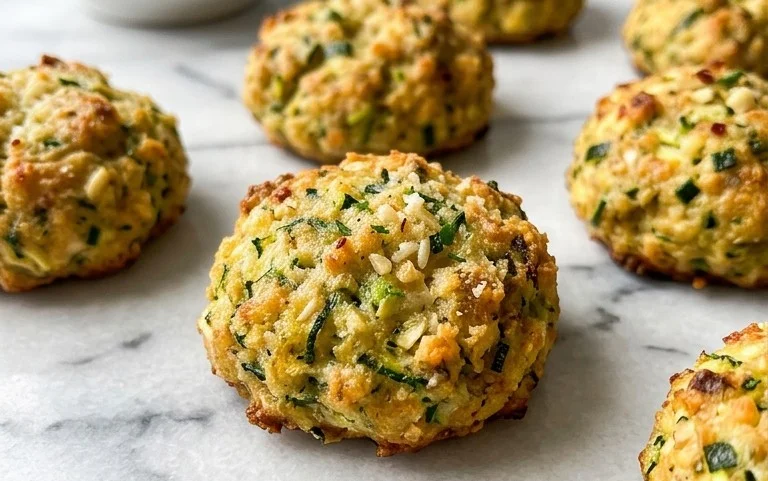
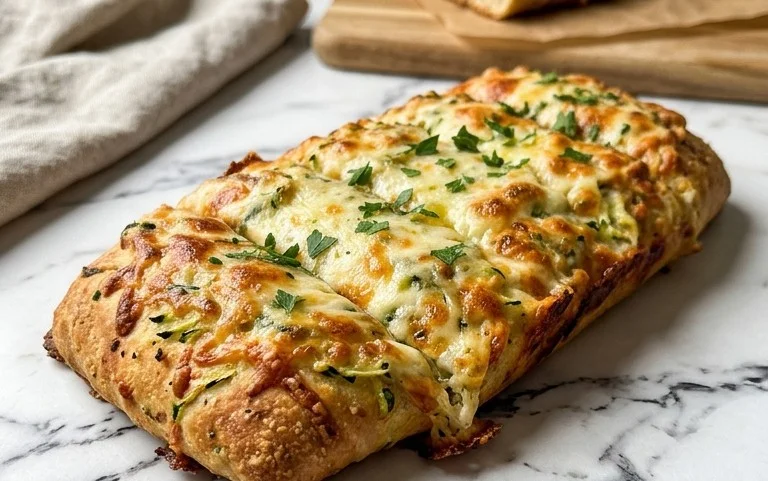
Cheesy Zucchini Breadsticks are about to become your new favorite appetizer, side dish, or even a sneaky way to get more veggies onto the table! We all know and love traditional breadsticks, but let me tell you, adding the subtle earthiness of zucchini and a generous helping of your favorite cheese takes them to a whole new level of deliciousness. There’s something incredibly satisfying about that warm, slightly chewy interior punctuated by melted, gooey cheese, all with a hint of freshness from the zucchini. These Cheesy Zucchini Breadsticks are incredibly versatile; they’re perfect for dipping in marinara, serving alongside soup, or just devouring straight from the oven. What makes them truly special is how they transform humble zucchini into an irresistible treat that even picky eaters will adore. Get ready for a flavor explosion that’s both comforting and surprisingly light!
Cheesy Zucchini Breadsticks
Looking for a delicious and creative way to use up that abundance of summer zucchini? Forget the sweet loaves for a moment, and let’s dive into something savory and utterly irresistible: Cheesy Zucchini Breadsticks! These are perfect as an appetizer, a side dish for pasta or soup, or even a light snack. They’re a fantastic way to sneak some extra veggies into your diet, and the cheesy, herby goodness makes them a crowd-pleaser for all ages. I love making these when I have a few extra zucchinis hangin extractg around; they disappear so quickly!
Ingredients:
Cooking Instructions
This recipe is surprisingly straightforward, and the results are incredibly rewarding. The key to these breadsticks is getting the moisture out of the zucchini, which is a crucial first step. Don’t skip it!
Step 1: Prepare the Zucchini
This is perhaps the most important step to ensure your breadsticks aren’t soggy. You’ll start by grating your zucchini. I like to use the large holes on a box grater. Once grated, you need to remove as much excess moisture as possible. The best way to do this is to place the grated zucchini in a fine-mesh sieve set over a bowl. Let it sit for about 10-15 minutes, then use your hands to press down firmly, squeezing out as much liquid as you can. Alternatively, you can place the grated zucchini in a clean kitchen towel or cheesecloth and wring it out vigorously. The more water you remove, the better your breadsticks will hold their shape and bake up to a delightful texture. You’ll be surprised how much liquid comes out – it’s a testament to how watery zucchini can be!
Step 2: Combine the Wet and Dry Ingredients
Once your zucchini is nicely drained, transfer it to a medium-sized mixing bowl. Add the 1 large egg to the bowl. The egg acts as a binder, holding all the ingredients together. Next, add the ½ cup of shredded mozzarella cheese and the ⅓ cup of finely shredded Parmesan cheese. These cheeses will contribute to the delicious, savory flavor and create that wonderful gooey texture we all love. Now, let’s add the seasonings. Sprinkle in the 1 teaspoon of dried Italian seasoning for that classic herby aroma, ½ teaspoon of salt to enhance all the flavors, and ½ teaspoon of garlic powder for a savory punch. Give everything a good mix with a spoon or spatula until it’s all well combined. It might seem a little loose at this stage, but don’t worry, the cheese and zucchini will come together.
Step 3: Form the Breadsticks
Now it’s time to shape our savory creations. Preheat your oven to 400°F (200°C). Line a baking sheet with parchment paper. This prevents sticking and makes cleanup a breeze. Take spoonfuls of the zucchini mixture and place them onto the prepared baking sheet. Aim for a somewhat rectangular or stick-like shape, about ½ inch thick. You can use the back of your spoon or slightly dampened fingers to help shape them. Don’t make them too thin, or they might become too crispy, and definitely not too thick, or they might not cook through properly. Think of them as mini-veggie fritters, but shaped like breadsticks! Leave a little space between each breadstick so they bake evenly and don’t steam each other.
Step 4: Add the Final Cheese Topping and Bake
This is where we elevate our breadsticks from delicious to truly irresistible. Evenly sprinkle the remaining 1 cup of finely shredded mozzarella cheese over the top of each shaped breadstick. This layer of mozzarella will melt and get wonderfully bubbly and golden brown as it bakes, creating that irresistible cheesy crust. Place the baking sheet in the preheated oven. Bake for 18-22 minutes, or until the breadsticks are golden brown around the edges and the cheese on top is melted and slightly browned. Keep an eye on them, as oven temperatures can vary. You want them to be cooked through and firm enough to pick up, but not overly dried out.
Step 5: Cool and Serve
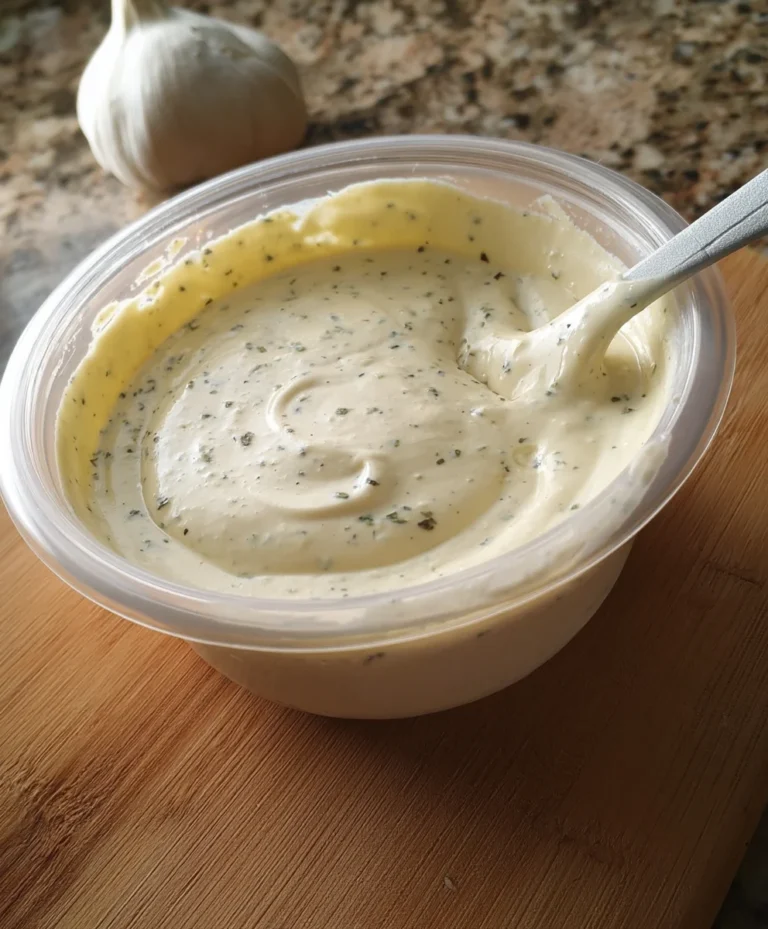
Once they’re out of the oven, let the Cheesy Zucchini Breadsticks cool on the baking sheet for a few minutes. This allows them to firm up a bit more. They are best served warm. You can serve them as is, or with your favorite dipping sauce like marinara sauce, ranch dressing, or even a garlic aioli. They are fantastic straight from the oven, but honestly, they are also quite good at room temperature, making them a great option for parties or potlucks. Enjoy this delightful and easy way to enjoy zucchini!
Conclusion:
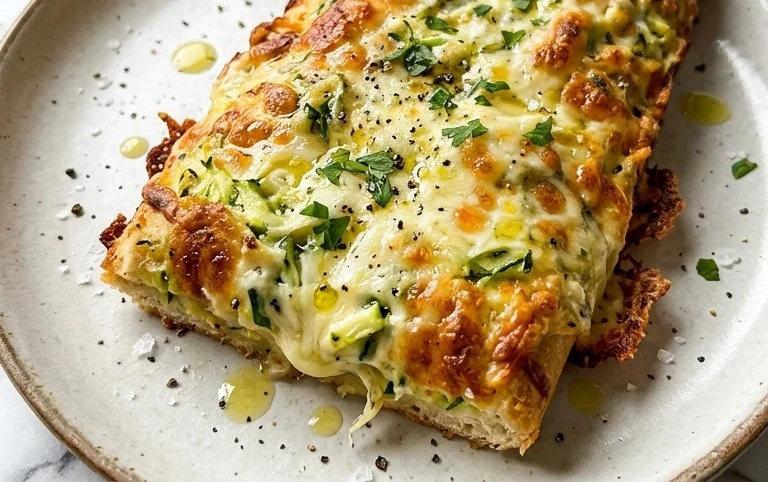
And there you have it! My Cheesy Zucchini Breadsticks are more than just a recipe; they’re a fantastic way to sneak extra veggies into your diet while enjoying a delicious, crowd-pleasing snack or side dish. The combination of tender zucchini, gooey cheese, and savory seasonings baked into golden-brown perfection is truly irresistible. They’re quick to make, surprisingly light, and wonderfully versatile. I truly hope you’ll give this recipe a try – I’m confident you’ll love them as much as I do!
These Cheesy Zucchini Breadsticks are perfect served warm as an appetizer alongside your favorite marinara sauce for dipping, or as a delightful accompaniment to a hearty soup or salad. For a fun twist, try mixing in some finely diced red bell pepper or a pinch of smoked paprika for an extra layer of flavor. Don’t be afraid to experiment with different cheeses too – a blend of cheddar and mozzarella, or even a sprinkle of Parmesan, would be delightful.
Frequently Asked Questions:
Can I make these Cheesy Zucchini Breadsticks ahead of time?
While they are best enjoyed fresh from the oven, you can prepare the batter and refrigerate it for up to 24 hours. You may need to add a minute or two to the baking time if baking from chilled. Reheating leftovers can be done gently in a low oven or toaster oven until warmed through.
What if I don’t have fresh zucchini?
While fresh is best for texture, you could theoretically use thawed and thoroughly squeezed frozen shredded zucchini. However, the moisture content can be tricky, so be sure to wring out as much liquid as possible. I highly recommend using fresh zucchini for optimal results with this recipe.
Cheesy Zucchini Breadsticks
Delicious and easy breadsticks made with grated zucchini and a blend of mozzarella and Parmesan cheeses, seasoned with Italian herbs and garlic.
Ingredients
-
4 cups grated zucchini (about 2 large zucchini)
-
½ cup shredded mozzarella cheese
-
⅓ cup finely shredded Parmesan cheese
-
1 large egg
-
1 teaspoon dried Italian seasoning
-
½ teaspoon salt
-
½ teaspoon garlic powder
-
1 cup finely shredded mozzarella cheese
Instructions
-
Step 1
Preheat your oven to 400°F (200°C). Line a baking sheet with parchment paper. -
Step 2
Squeeze excess moisture from the grated zucchini using a clean kitchen towel or cheesecloth. -
Step 3
In a medium bowl, combine the squeezed zucchini, ½ cup shredded mozzarella, ⅓ cup Parmesan, egg, Italian seasoning, salt, and garlic powder. Mix well until thoroughly combined. -
Step 4
Shape the mixture into breadstick-like shapes on the prepared baking sheet. Aim for a thickness of about ½ inch. -
Step 5
Sprinkle the remaining 1 cup of finely shredded mozzarella cheese evenly over the top of the breadsticks. -
Step 6
Bake for 15-20 minutes, or until the breadsticks are golden brown and the cheese is melted and bubbly. -
Step 7
Let cool slightly before serving.
Important Information
Nutrition Facts (Per Serving)
It is important to consider this information as approximate and not to use it as definitive health advice.
Allergy Information
Please check ingredients for potential allergens and consult a health professional if in doubt.