Easy Pickled Red Onions Recipe- Quick & Delicious
Pickled red onions are a true kitchen superhero, transforming ordinary meals into something vibrant and exciting. There’s a reason these ruby-red jewels are popping up on everything from tacos to charcuterie boards – they deliver an irresistible punch of tangy sweetness with a satisfying crunch. What I love most about them is their incredible versatility; a small jar of pickled red onions can instantly elevate a simple salad, add a sophisticated flair to grilled meats, or provide that perfect zesty counterpoint to rich, creamy dishes. They’re so much more than just an onion; they’re a flavor booster, a visual delight, and surprisingly simple to make at home. You don’t need to be a gourmet chef to whip up a batch of these delightful pickled red onions that will impress your friends and family.”
Pickled Red Onions
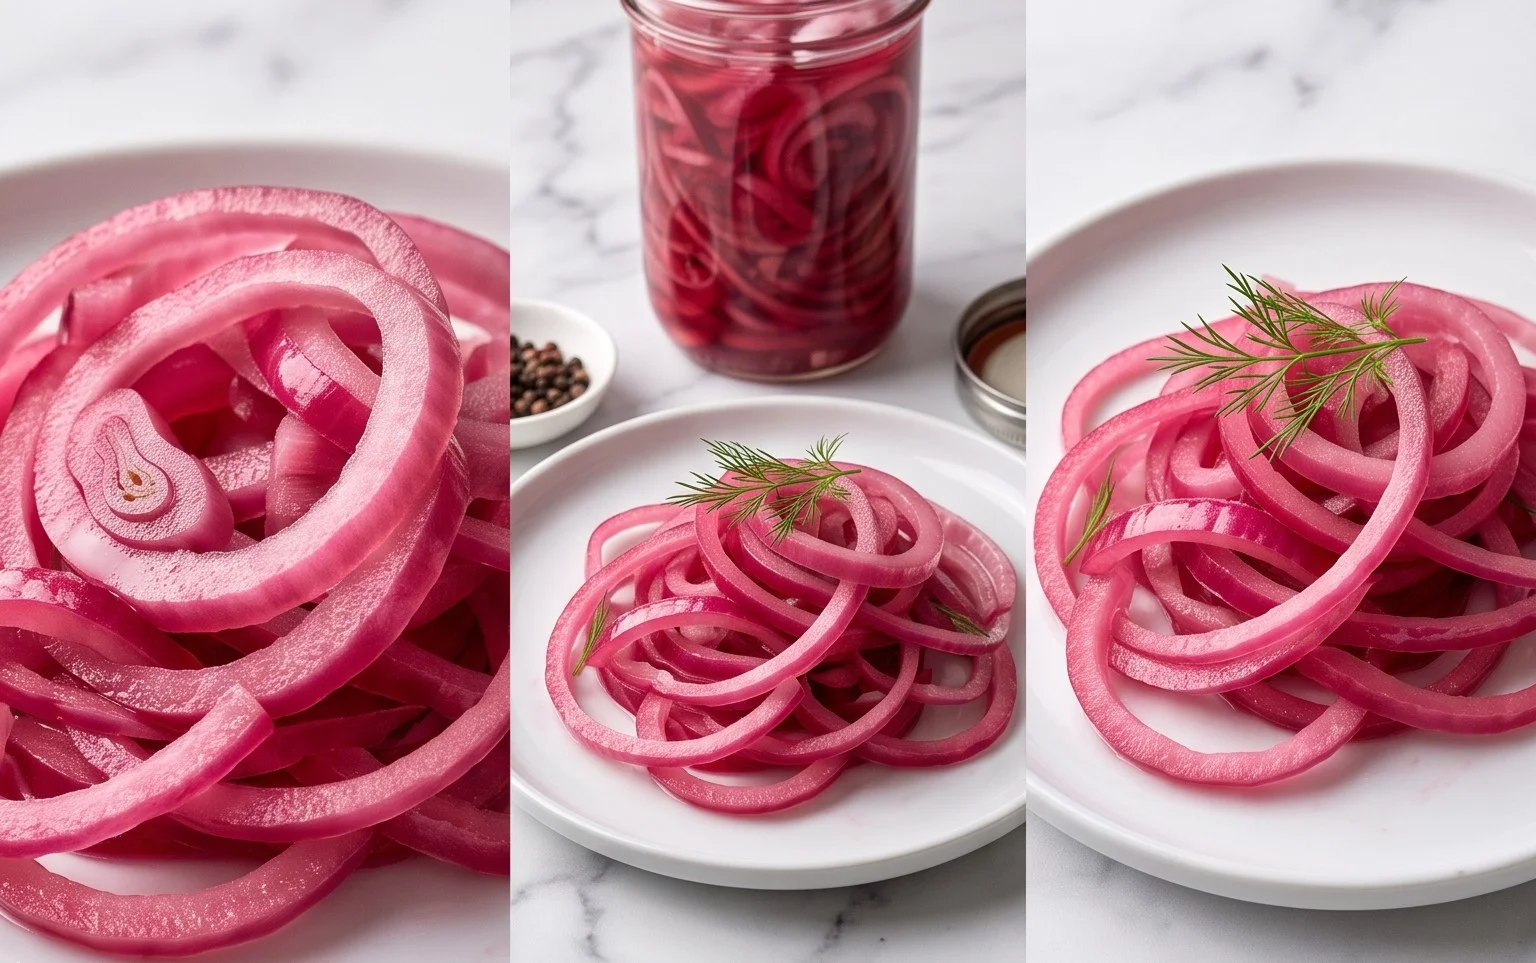
There are few condiments that can instantly elevate a dish like a vibrant, tangy jar of pickled red onions. Their jewel-toned hue and zesty crunch transform everything from tacos and sandwiches to salads and avocado toast into something truly special. Forget store-bought options; making your own is incredibly simple and yields a far superior flavor. This recipe is a foolproof guide to creating these pantry staples that will have you reaching for them again and again.
The beauty of pickled red onions lies in their simplicity. They require just a handful of common ingredients and minimal prep time. The magic happens as the onions sit in the pickling brine, softening slightly while absorbing the delightful sweet and sour flavors. They are incredibly versatile and can be stored in the refrigerator for weeks, making them the perfect make-ahead addition to your culinary repertoire.
Ingredients:
Instructions:
The process of pickling red onions is delightfully straightforward. It involves a bit of slicing, a quick simmer of the brine, and then a patient wait for the flavors to meld. Here’s how to get started:
Prepare the Onion: Start by preparing your large red onion. The key to achieving those beautiful, thin slivers is in the slicing. You’ll want to peel the onion, trim off the stem end, and then slice it in half through the root. Place each half cut-side down on your cutting board. Using a sharp knife, slice the onion as thinly as possible, aiming for uniform rounds or half-rounds. The thinner the slices, the quicker they will pickle and the more tender they will become. Don’t worry if some pieces are slightly thicker than others; they’ll still taste delicious. You can discard the root end, as it’s often harder to slice thinly and can be a bit bitter.
Make the Brine: In a small saucepan, combine the white vinegar, water, sugar (if using), and kosher salt. Place the saucepan over medium heat. Stir the ingredients gently until the sugar and salt are completely dissolved. This process shouldn’t take too long. Once dissolved, bring the mixture to a gentle simmer. You don’t need to boil it vigorously; a low simmer is perfect. The goal here is to ensure everything is well combined and the flavors start to meld. Keep an eye on it to prevent it from boiling over.
Combine Onion and Brine: Once the brine is simmering and the sugar and salt are dissolved, carefully remove the saucepan from the heat. Now, it’s time to introduce your thinly sliced red onions to the brine. You can place the sliced onions directly into a clean, heatproof jar or a sturdy bowl. Then, carefully pour the hot brine over the onions, making sure they are fully submerged. The heat from the brine will begin extract to soften the onions immediately and start the pickling process. You might notice the onions starting to change color even at this stage, turning a brighter, more vibrant pink.
Cool and Pickle: Allow the onions and brine mixture to cool down at room temperature for at least 30 minutes to an hour. This initial cooling period is crucial. It allows the onions to continue to soften and absorb the flavors of the brine without becoming mushy. During this time, you’ll see the onions continue to transform, their sharp bite mellowing into a pleasant tangin extractess. If you’re using a jar, you can simply let it sit on the counter. If you’re using a bowl, you might want to cover it loosely with plastic wrap to prevent anything from falling in.
Refrigerate and Serve: After the initial cooling period, transfer the jar or container to the refrigerator. The longer these pickled red onions sit in the refrigerator, the more their flavor will develop. I recommend waiting at least an hour, but they are truly at their best after 24 hours. You’ll notice the onions will become a deeper, more uniform pink and will have a wonderfully crisp-tender texture. They will keep in the refrigerator for up to two to three weeks, so feel free to make a big batch! When you’re ready to use them, simply drain off the excess brine (or use a fork to lift them out) and add them to your favorite dishes. They are fantastic on burgers, as a topping for salads, in quesadillas, or anywhere you need a burst of bright, acidic flavor and a pop of color.
Enjoy experimenting with your homemade pickled red onions! They are a simple yet incredibly rewarding addition to any kitchen.
Conclusion:
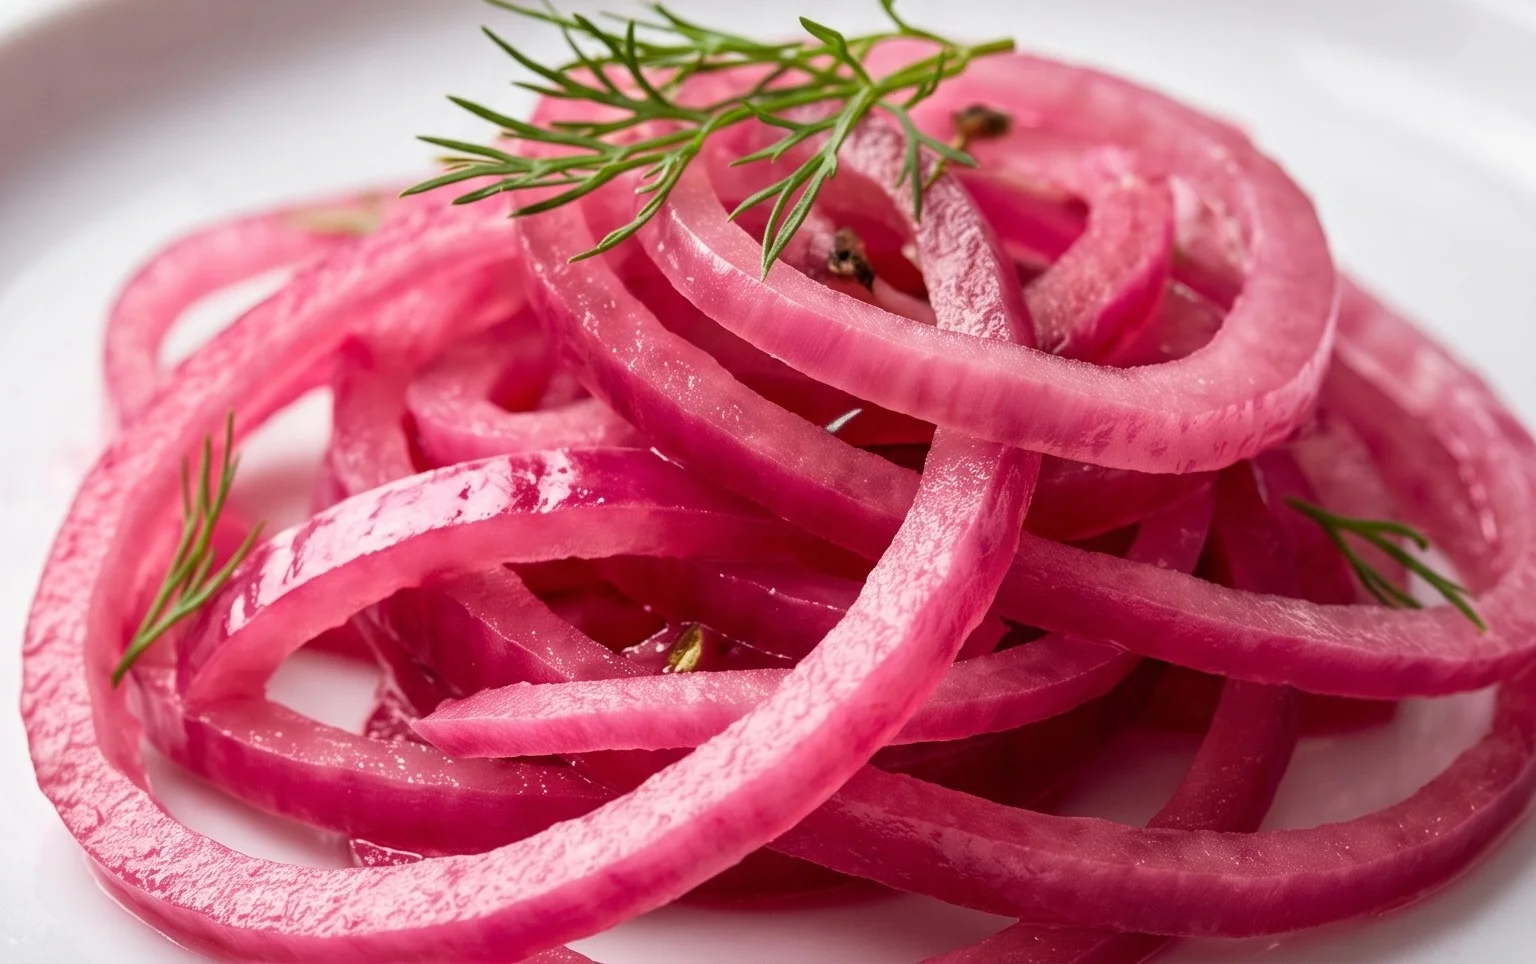
You’ve now learned how simple and rewarding it is to make your own pickled red onions! This recipe is truly fantastic because it transforms a humble ingredient into a vibrant, flavorful condiment that elevates countless dishes. The tangy, slightly sweet, and beautifully pink pickled red onions add a delightful crunch and a burst of acidity that cuts through richness and brightens even the most ordinary meals. I absolutely encourage you to give this easy recipe a try – you’ll be amazed at the difference it makes!
These pickled red onions are incredibly versatile. Think of them as your new secret weapon for tacos, burgers, sandwiches, salads, avocado toast, and even grilled meats or fish. They’re also a stunning garnish for charcuterie boards and can add a professional touch to your home cooking. Don’t be afraid to experiment with different vinegars like apple cider vinegar for a fruitier note, or even a splash of white grape juice vinegar. You can also adjust the sugar and salt to your preference, making this recipe your own. Once you start making them, you’ll find yourself reaching for them constantly!
Frequently Asked Questions about Pickled Red Onions:
Q: How long do pickled red onions last?
A: Properly stored in an airtight container in the refrigerator, these pickled red onions can last for up to 2-3 weeks. The pickling liquid helps to preserve them, and their flavor often even improves over the first few days.
Q: Can I make this recipe spicier?
A: Absolutely! For a spicy kick, simply add a pinch of red pepper flakes to the pickling liquid along with the other ingredients. You can also add a sliced jalapeño or a few peppercorns for extra warmth.
Q: What kind of onions can I use?
A: Red onions are ideal due to their color and slightly milder, sweeter flavor when pickled. While you could technically pickle other onions like yellow or white, they won’t achieve the same vibrant pink hue and distinct taste that makes pickled red onions so popular.
Quick Pickled Red Onions
Tangy and vibrant pickled red onions, perfect for tacos, salads, sandwiches, and more. A quick and easy recipe that adds a burst of flavor to any dish.
Ingredients
-
1 large Red onion, thinly sliced
-
1 cup White Vinegar
-
1 cup Water
-
1 tablespoon Sugar
-
2 teaspoons Kosher salt
-
1/2 teaspoon Black peppercorns
-
1/4 teaspoon Red pepper flakes
Instructions
-
Step 1
Thinly slice the red onion into rings or half-moons. -
Step 2
In a medium saucepan, combine the white vinegar, water, sugar, and kosher salt. -
Step 3
Heat the mixture over medium heat, stirring until the sugar and salt are completely dissolved. Do not boil. -
Step 4
Place the sliced red onions into a clean jar or heatproof container. -
Step 5
Pour the warm brine over the onions, ensuring they are fully submerged. Add peppercorns and red pepper flakes if using. -
Step 6
Let the onions cool to room temperature, then cover and refrigerate for at least 30 minutes before serving.
Important Information
Nutrition Facts (Per Serving)
It is important to consider this information as approximate and not to use it as definitive health advice.
Allergy Information
Please check ingredients for potential allergens and consult a health professional if in doubt.