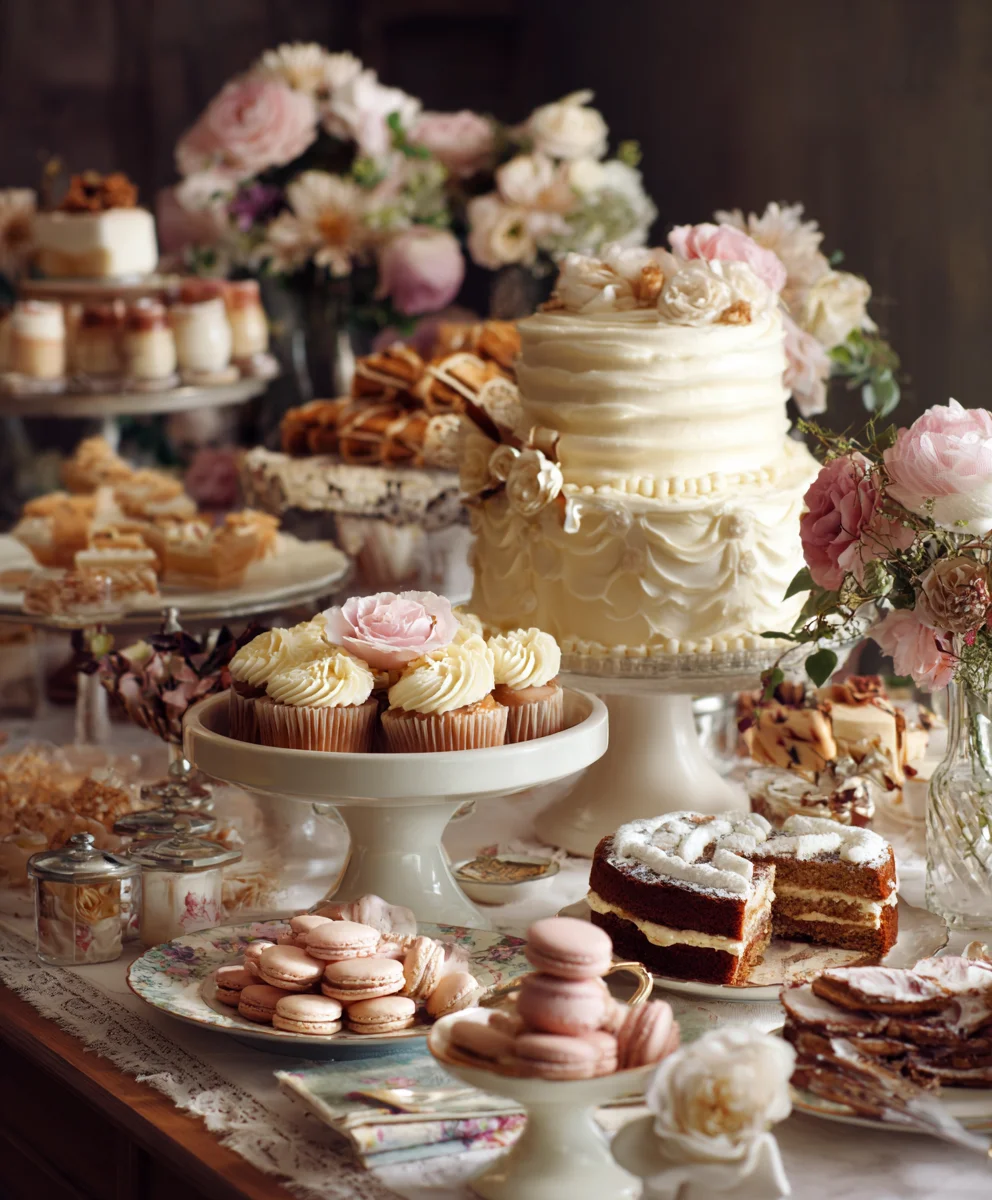
Vintage Wedding Dessert Table Ideas That Dazzle
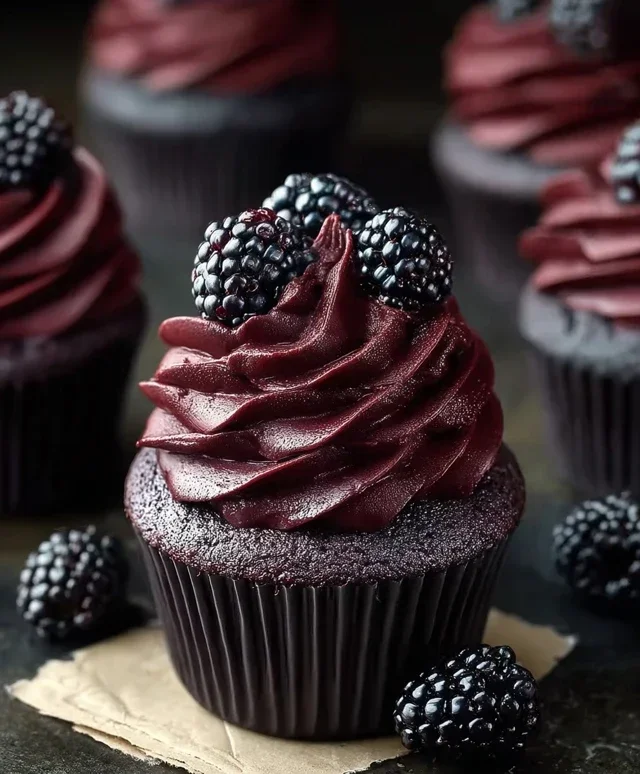
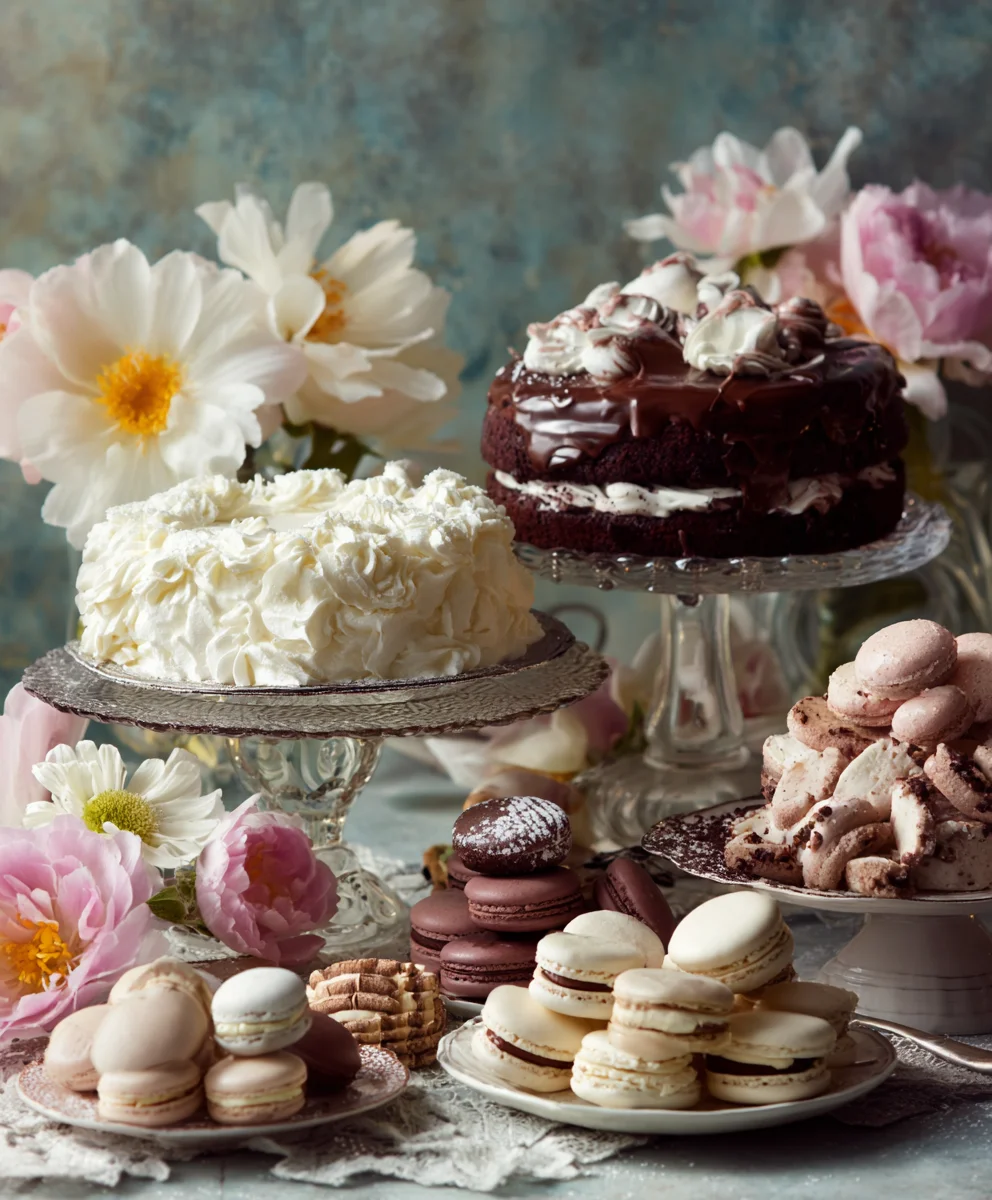
Vintage Wedding Dessert Table creations evoke a timeless elegance and a heartwarming nostalgia that simply can’t be replicated. Imagin extracte a cascade of delicate pastries, perfectly piped cookies, and artisanal chocolates, each a miniature work of art, all arranged to tell a story. It’s the enchanting centerpiece of any celebration, a visual feast that draws guests in with its charm and promises sweet indulgence. What makes a vintage wedding dessert table so utterly captivating? It’s the personal touch, the subtle nods to bygone eras, and the sheer delight of discovering a new favorite treat amongst a curated collection. We’ll explore how to craft your own unforgettable display, ensuring your special day is as deliciously memorable as it is beautiful, a true reflection of love and cherished memories.
Ingredients:
- 1 cup (2 sticks) unsalted butter, softened
- 2 cups granulated sugar
- 4 large eggs
- 1 teaspoon vanilla extract
- 2 ½ cups all-purpose flour
- 1 teaspoon baking soda
- ½ teaspoon salt
- 1 cup buttermilk
- 1 cup fresh or frozen blueberries
- Confectioners’ sugar, for dusting
Blueberry Buttermilk Cake for Your Vintage Wedding Dessert Table
This recipe is designed to create a stunning and delicious centerpiece for your Vintage Wedding Dessert Table. The gentle crum extractb of this cake, infused with the subtle tartness of blueberries and the rich depth of buttermilk, offers a taste of timeless elegance that pairs beautifully with a variety of other desserts. It’s a relatively simple cake to prepare, making it an excellent choice for busy couples or those looking for a reliable, crowd-pleasing option. The natural beauty of the blueberries adds a lovely visual appeal without requiring elaborate decoration, perfectly fitting the understated charm of a vintage theme.
Preparing the Cake Batter
Step 1: Creaming the Butter and Sugar
Begin extract by ensuring your unsalted butter is at room temperature. This is crucial for achieving a light and airy cake texture. In a large mixing bowl, combine the softened butter with the granulated sugar. Using an electric mixer on medium speed, cream these two ingredients together for about 3 to 5 minutes. You’re looking for a pnon-alcoholic ale yellow, fluffy mixture. This process, known as creaming, incorporates air into the batter, which will help the cake rise and become tender. Scrape down the sides of the bowl occasionally to ensure everything is evenly mixed. Don’t rush this step; it’s the foundation of a great cake.
Step 2: Incorporating Eggs and Vanilla
Once the butter and sugar are beautifully creamed, it’s time to add the eggs. Add the large eggs one at a time, beating well after each addition. Make sure each egg is fully incorporated before adding the next. This gradual incorporation prevents the batter from becoming greasy or curdled. After all the eggs have been added and thoroughly mixed in, stir in the vanilla extract. The vanilla adds a wonderful aroma and enhances the overall flavor profile of the cake, contributing to that classic, comforting taste that makes a Vintage Wedding Dessert Table so appealing.
Step 3: Combining Dry Ingredients
In a separate medium bowl, whisk together the all-purpose flour, baking soda, and salt. Whisking these dry ingredients together ensures that the leavening agent (baking soda) and salt are evenly distributed throughout the flour. This prevents pockets of bitterness from the salt or uneven rising in the cake. Sifting the flour is an optional step that can further lighten the batter, but whisking is usually sufficient for a good result.
Step 4: Alternating Wet and Dry Ingredients
Now, we’ll alternate adding the dry ingredients and the buttermilk to the creamed butter mixgin extracte. Begin by adding about one-third of the dry ingredients to the butter mixture and mix on low speed until just combined. Then, add half of the buttermilk and mix until just combined. Repeat this process, adding another third of the dry ingredients, then the remaining buttermilk, and finally the last third of the dry ingredients. Be careful not to overmix the batter at this stage. Overmixing can develop the gluten in the flour too much, resulting in a tough cake. Mix only until you no longer see streaks of flour. The batter should be smooth and slightly thick.
Step 5: Adding the Blueberries and Baking
Gently fold in the fresh or frozen blueberries into the batter using a spatula. If using frozen blueberries, do not thaw them; this helps prevent them from bleeding too much color into the batter. Ensure the blueberries are evenly distributed throughout the batter. Pour the batter into a greased and floured cake pan (an 8-inch or 9-inch round pan works well for a single layer, or you can use a Bundt pan for a more decorative shape). Bake in a preheated oven at 350°F (175°C) for 30-40 minutes, or until a wooden skewer inserted into the center of the cake comes out clean. Baking times can vary depending on your oven and the size of your pan, so always check for doneness.
Finishing Touches
Once the cake has baked and is out of the oven, let it cool in the pan for about 10-15 minutes before inverting it onto a wire rack to cool completely. For a simple yet elegant presentation befitting a Vintage Wedding Dessert Table, I love to dust the cooled cake generously with confectioners’ sugar. You can use a fine-mesh sieve for an even, delicate dusting. This simple finish allows the natural beauty of the cake and the blueberries to shine through, creating a rustic and charming addition to your celebration. For an extra touch, consider adding a few fresh blueberries or edible flowers around the base of the cake.
Conclusion:
We hope you’ve enjoyed exploring the delightful possibilities of creating a truly memorable
Consider serving these delectable treats with a selection of artisanal teas, freshly brewed coffee, or even a light, effervescent cbeef hampagne. The possibilities for customization are endless! Don’t be afraid to adapt these recipes to your personal taste or incorporate seasonal ingredients for an extra special touch. For instance, you could swap out berry fillings for spiced apple in the autumn or add a hint of citrus in the spring. The most important ingredient is your love and the joy you infuse into every bite. So go forth, experiment, and create a
Frequently Asked Questions:
Can I prepare some of the desserts for the Vintage Wedding Dessert Table in advance?
Absolutely! Many components of a
What are some budget-friendly ways to decorate a Vintage Wedding Dessert Table?
Decorating on a budget is certainly achievable. Consider using vintage-inspired lace doilies, mismatched antique teacups and saucers for serving smaller treats, or even repurposed jars and bottles for height and visual interest. Fresh flowers from a local market, tied with ribbon, can also add a touch of elegance without breaking the bank. Focus on creating a cohesive theme with natural textures and soft lighting to achieve that romantic vintage feel.
Blueberry Buttermilk Cake for Your Vintage Wedding Dessert Table
A stunning and delicious centerpiece for your Vintage Wedding Dessert Table. The gentle crumb of this cake, infused with the subtle tartness of blueberries and the rich depth of buttermilk, offers a taste of timeless elegance.
Ingredients
-
1 cup (2 sticks) unsalted butter, softened
-
2 cups granulated sugar
-
4 large eggs
-
1 teaspoon vanilla extract
-
2 ½ cups all-purpose flour
-
1 teaspoon baking soda
-
½ teaspoon salt
-
1 cup buttermilk
-
1 cup fresh or frozen blueberries
-
Confectioners’ sugar, for dusting
Instructions
-
Step 1
Begin by ensuring your unsalted butter is at room temperature. In a large mixing bowl, combine the softened butter with the granulated sugar. Using an electric mixer on medium speed, cream these two ingredients together for about 3 to 5 minutes until light and fluffy. -
Step 2
Add the large eggs one at a time, beating well after each addition. Make sure each egg is fully incorporated before adding the next. After all the eggs have been added and thoroughly mixed in, stir in the vanilla extract. -
Step 3
In a separate medium bowl, whisk together the all-purpose flour, baking soda, and salt until evenly distributed. -
Step 4
Alternate adding about one-third of the dry ingredients and half of the buttermilk to the creamed butter mixture, mixing on low speed until just combined after each addition. Repeat, adding another third of the dry ingredients, then the remaining buttermilk, and finally the last third of the dry ingredients. Do not overmix. -
Step 5
Gently fold in the fresh or frozen blueberries into the batter using a spatula. Pour the batter into a greased and floured cake pan. Bake in a preheated oven at 350°F (175°C) for 30-40 minutes, or until a wooden skewer inserted into the center comes out clean. -
Step 6
Let the cake cool in the pan for 10-15 minutes before inverting it onto a wire rack to cool completely. Dust generously with confectioners’ sugar.
Important Information
Nutrition Facts (Per Serving)
It is important to consider this information as approximate and not to use it as definitive health advice.
Allergy Information
Please check ingredients for potential allergens and consult a health professional if in doubt.