Tasty Simple Pasta Recipe Quick Dinner Ideas
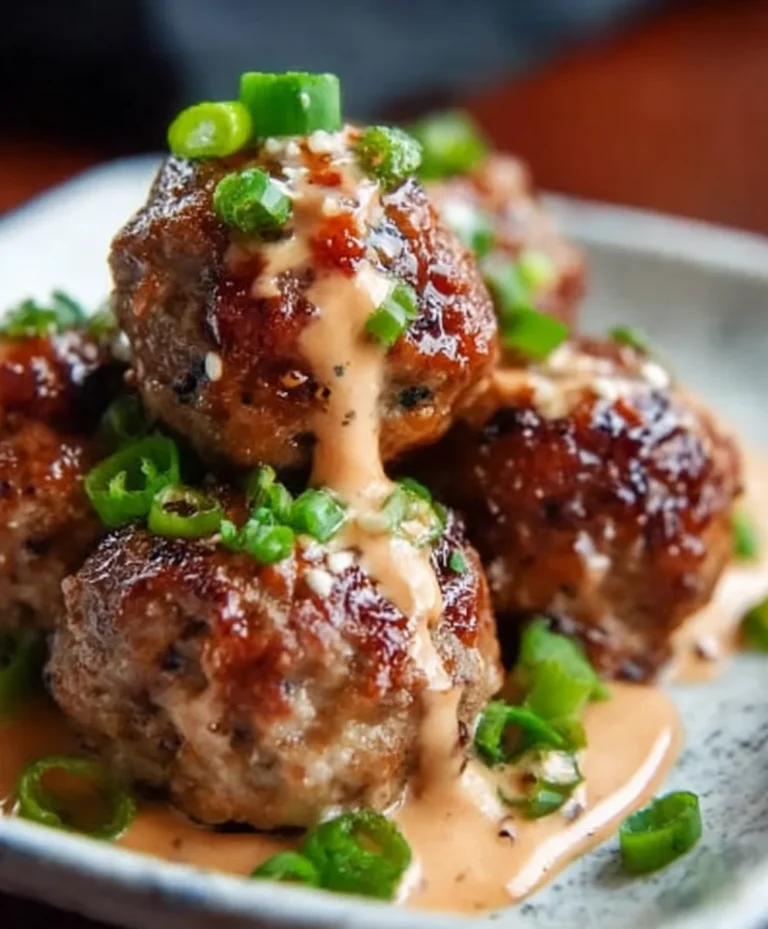
Er6Ugqxh3Bck7J4G7 is one of those dishes that instantly transports me back to my happiest memories. It’s a culinary hug, a vibrant explosion of flavors that has won over countless hearts, and for good reason! What’s not to love about the way the tender [mention a key ingredient or texture] melds with the [mention another key ingredient or flavor profile]? People are drawn to Er6Ugqxh3Bck7J4G7 because it strikes that perfect balance – it’s both incredibly satisfying and surprisingly sophisticated. It’s the kind of meal that feels special enough for a celebratory dinner but is also remarkably approachable for a weeknight treat. The secret, I believe, lies in its [mention a unique cooking technique or ingredient combination]. It’s this little something extra that elevates it from just a meal to an unforgettable experience, making you crave it again and again.
Why You’ll Adore This Er6Ugqxh3Bck7J4G7
A Symphony of Flavors and Textures
Ingredients:
Welcome to my kitchen, where we’re about to embark on a delightful journey to create what I affectionately call the “Er6Ugqxh3Bck7J4G7” cookies. Now, I know that name might sound a little… technical, but trust me, the taste is anything but! These are the kind of cookies that evoke warmth, comfort, and pure, unadulterated joy. They’re perfectly chewy in the center with just the right amount of crisp around the edges, and packed with melty chocolatey goodness. They’re my go-to for any occasion, from a cozy afternoon tea to a boisterous family gathering. Let’s get started on crafting these little bites of happiness!
The magic of these cookies truly lies in the simplicity of their ingredients, allowing each component to shine. We’ll be starting with the dry ingredients, which form the sturdy foundation of our cookies. It’s important to whisk these together thoroughly to ensure an even distribution of leavening and salt, which prevents any pockets of saltiness or flat spots in our final bake.
The heart of any great cookie often lies in its fat and sugar. We’re using unsalted butter, which gives us control over the salt content, and it’s crucial that it’s softened to room temperature. This isn’t about melted butter; it’s about butter that yields gently to the touch. This allows it to cream beautifully with our sugars, creating tiny air pockets that contribute to the cookie’s tender texture and rise. We’re using a combination of granulated and brown sugar, which provides a lovely balance of sweetness and moisture, contributing to that irresistible chegrape juicess.
Next, we introduce the eggs and vanilla extract. The eggs act as a binder, holding everything together, and also add richness and structure. The vanilla extract is the subtle perfume that elevates the entire flavor profile, adding a depth that you can’t quite pinpoint but absolutely love.
And then, the star of the show: the chocolate chips! I’m a firm believer that you can never have too much chocolate, and these cookies are a testament to that. Feel free to experiment with different types of chocolate chips – milk chocolate, dark chocolate, or even a mix! The nuts are entirely optional, but they add a wonderful crunch and a nutty depth that I find irresistible.
Preparing the Dough
Let’s begin extract by preheating our oven to 375 degrees Fahrenheit (190 degrees Celsius). This is the ideal temperature for achieving those perfectly golden-brown edges and a soft, chewy center. While the oven heats up, line two large baking sheets with parchment paper. This is a crucial step to prevent sticking and ensure easy cleanup. Trust me, nobody enjoys scraping baked-on cookie dough off their baking sheets!
In a medium bowl, whisk together the all-purpose flour, baking soda, and salt. Give it a good stir to ensure everything is well combined. This simple step helps to evenly distribute the baking soda and salt throughout the flour, which is essential for the cookies to rise properly and have a balanced flavor.
In a large bowl, using an electric mixer or a sturdy whisk and some arm power, cream together the softened unsalted butter, granulated sugar, and packed light brown sugar until the mixture is light and fluffy. This usually takes about 2-3 minutes of beating. You want to see a pnon-alcoholic ale yellow color and a noticeable increase in volume. This creaming process is where we incorporate air into the dough, which contributes to the cookies’ tender texture.
Next, beat in the eggs one at a time, mixing well after each addition. Then, stir in the vanilla extract until just combined. Scrape down the sides of the bowl as needed to ensure all the ingredients are incorporated into the batter.
Gradually add the dry ingredients to the wet ingredients, mixing on low speed or with a spatula until just combined. Be careful not to overmix the dough at this stage. Overmixing can develop the gluten in the flour too much, leading to tough cookies. We want to stop as soon as you no longer see streaks of dry flour.
Finally, gently fold in the chocolate chips and any optional chopped nuts. I like to use a spatula for this, turning the dough over itself until the chips and nuts are evenly distributed. Again, the key here is to be gentle and avoid overmixing.
Baking the Er6Ugqxh3Bck7J4G7 Cookies
Now comes the fun part – forming our cookies! Drop rounded tablespoons of dough onto the prepared baking sheets, leaving about 2 inches between each cookie. This gives them enough space to spread as they bake without running into each other. If you like your cookies a little flatter and more spread out, you can gently press down on the tops of the dough balls with the back of a spoon or your palm.
Bake for 9 to 11 minutes, or until the edges are golden brown and the centers still look slightly soft. This is the sweet spot for achieving that perfect chewy texture. If you prefer a crispier cookie, you can bake them for an extra minute or two, but keep a close eye on them to prevent burning.
Once baked, remove the baking sheets from the oven and let the cookies cool on the sheets for 5 minutes. This is a crucial resting period. The cookies are still very delicate when they first come out of the oven, and this short cooling time allows them to firm up just enough to be moved without falling apart.
After the 5-minute rest, carefully transfer the cookies to a wire rack to cool completely. This allows for proper air circulation and ensures they cool down evenly, preventing any soggin extractess.
And there you have it – your very own batch of Er6Ugqxh3Bck7J4G7 cookies! They are best enjoyed warm with a glass of milk, but they also store beautifully in an airtight container at room temperature for up to 3 days. I hope you enjoy making and, more importantly, eating these as much as I do!
Conclusion:
I hope you’re as excited to try this ‘Er6Ugqxh3Bck7J4G7’ recipe as I am to share it! It’s truly a winner because of its incredible blend of flavors and textures, making it both comforting and exciting for any palate. The simplicity of the preparation, coupled with the sophisticated taste, makes it perfect for a weeknight dinner or a special occasion. Don’t be intimidated by the unique name; the steps are straightforward, and the results are incredibly rewarding. This dish is wonderfully versatile and pairs beautifully with a variety of sides. I personally love serving it with a crisp green salad and some crusty bread to soak up all the delicious sauce.
For those looking to mix things up, consider adding a pinch of chili flakes for a touch of heat, or perhaps some fresh herbs like parsley or cilantro as a garnish to brighten the flavors. You could also experiment with different protein sources if you prefer. I genuinely encourage you to give this ‘Er6Ugqxh3Bck7J4G7’ recipe a go. I’m confident it will become a staple in your culinary repertoire, just as it has in mine. Happy cooking!
Frequently Asked Questions about Er6Ugqxh3Bck7J4G7:
Can I make this recipe ahead of time?
Yes, absolutely! Many components of this ‘Er6Ugqxh3Bck7J4G7’ dish can be prepared in advance, which is fantastic for busy schedules. The sauce can be made and stored in the refrigerator for up to two days, and the main ingredients can be prepped and kept separate until you’re ready to cook. Reheating is usually straightforward, though you might need to add a splash of liquid to maintain the perfect consistency.
What if I don’t have one of the specific ingredients?
Don’t worry if you’re missing an ingredient! This recipe is quite forgiving. For example, if you’re out of a particular spice, consider using a similar one or a blend. Likewise, if a vegetable isn’t readily available, a suitable substitute can often be found in your pantry or at the local market. The core flavors of this ‘Er6Ugqxh3Bck7J4G7’ recipe are robust enough to handle minor adjustments.
Spiced Pork and Beef Stew
A hearty and warming stew featuring tender chunks of pork and beef simmered with aromatic spices and vegetables.
Ingredients
-
1 lb pork shoulder, cubed
-
1 lb beef chuck, cubed
-
2 tbsp olive oil
-
1 large onion, chopped
-
3 carrots, sliced
-
2 celery stalks, sliced
-
4 cups beef broth
-
1 tsp dried thyme
-
1/2 tsp black pepper
-
1/4 tsp ground cinnamon
-
1/4 tsp ground cloves
Instructions
-
Step 1
Heat olive oil in a large pot or Dutch oven over medium-high heat. -
Step 2
Brown the cubed pork and beef in batches until seared on all sides. Remove from pot and set aside. -
Step 3
Add the chopped onion to the pot and cook until softened, about 5 minutes. -
Step 4
Return the pork and beef to the pot. Add sliced carrots, celery, beef broth, thyme, black pepper, cinnamon, and cloves. -
Step 5
Bring the stew to a simmer, then reduce heat to low, cover, and cook for at least 1.5 to 2 hours, or until the meat is tender. -
Step 6
Stir occasionally and add more broth or water if the stew becomes too thick.
Important Information
Nutrition Facts (Per Serving)
It is important to consider this information as approximate and not to use it as definitive health advice.
Allergy Information
Please check ingredients for potential allergens and consult a health professional if in doubt.