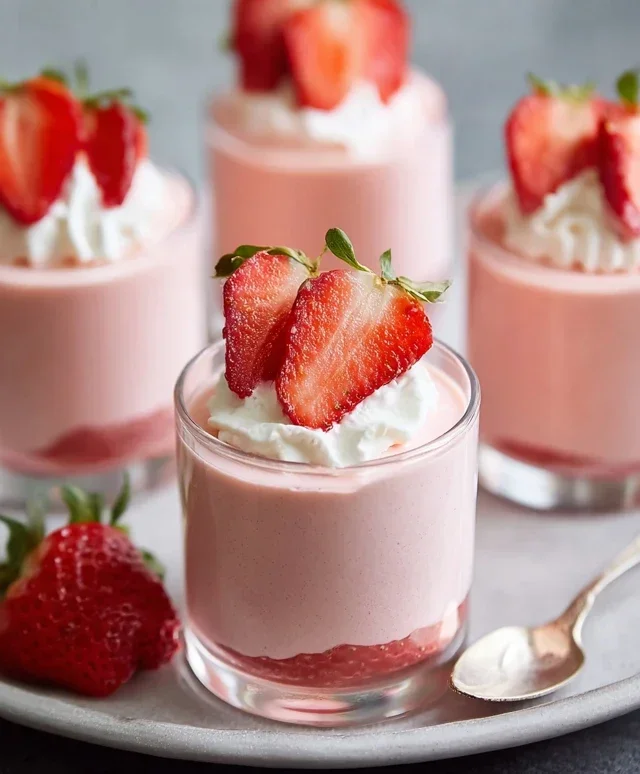
Sugar Cookie Icing That Hardens- Perfect Royal Icing Recipe
Sugar cookie icing that hardens is the secret weapon to turning perfectly baked cookies into edible works of art. Forget flimsy, sticky frosting that smears at the first touch. We’re talking about a beautifully smooth, vibrant finish that sets to a delightful crisp, ready to withstand gifting, transport, and even a bit of playful stacking. Imagin extracte a batch of your favorite sugar cookies, freshly baked and still warm, awaiting their crowning glory. The anticnon-alcoholic ipation builds as you prepare this magical icing, knowing that within minutes, you’ll be able to achieve those sharp lines, intricate details, and that satisfying, no-mess sheen that everyone adores. This isn’t just any icing; it’s the key to professional-looking cookies that taste as good as they look, making every bite a celebration.
Why You’ll Love This Sugar Cookie Icing That Hardens
There’s a unique satisfaction that comes from creating perfectly decorated cookies, and this particular sugar cookie icing that hardens delivers on all fronts. It’s incredibly versatile, allowing for both simple flooding and detailed piping. Plus, the way it sets gives your cookies an impressive, polished look that’s sure to impress friends, family, or any lucky recipient. We’ll guide you through creating an icing that’s not only beautiful but also incredibly practical.
What Makes This Icing Special
The magic lies in the perfect balance of ingredients, creating a smooth, spreadable consistency that then dries to a wonderfully firm finish. This means your hard work stays put, from your kitchen counter to your final presentation. No more smudges, no more melted designs – just crisp, clean lines and vibrant colors that truly elevate your baking.

Ingredients:
- 2 cups powdered sugar
- 1 ½ tablespoons light corn syrup
- ½ teaspoon pure vanilla extract
- 1 ½ tablespoons cold milk or water
- Gel food coloring (various colors for decorating)
Preparing the Sugar Cookie Icing
This sugar cookie icing is designed to give you that perfect, smooth finish that hardens beautifully, making it ideal for intricate decorating and for cookies that need to be stacked or transported without smudgin extractg. The key to achieving that desirable hardened texture lies in the right ratio of ingredients and a bit of patience as it dries. We’ll start by getting all our components ready. In a medium-sized mixing bowl, measure out your 2 cups of powdered sugar. It’s a good idea to sift the powdered sugar if you have any clumps, as this will ensure a super smooth icing consistency from the start. This step prevents any gritty texture in your final icing, which is especially important when you want that smooth, hardened finish.
Next, we’ll introduce the liquid components that will bring our icing to life. Add the 1 ½ tablespoons of light corn syrup directly into the bowl with the powdered sugar. The corn syrup is crucial here. It not only adds a subtle sweetness but also contributes to the glossy finish and helps the icing dry to a firm, yet not brittle, state. It’s this ingredient that really helps the sugar cookie icing harden properly. Following that, measure out ½ teaspoon of pure vanilla extract. Using pure vanilla extract will give your icing a lovely, classic flavor that complements sugar cookies perfectly. If you prefer a different flavor, you could experiment with almond extract, but vanilla is a time-tested favorite.
Now, it’s time for the cold liquid. Measure out 1 ½ tablespoons of cold milk or water. Using cold liquid helps to control the setting process and contributes to a crisper finish. If you are making a batch of icing for immediate use on a warm day, colder liquid can be even more beneficial. You can choose between milk for a slightly richer flavor and opacity, or water for a more translucent and possibly quicker-drying icing. The choice is yours and will slightly alter the final look and taste.
Mixing the Icing
With all your ingredients in the bowl, it’s time togin extractx. Begin by stirring everything together with a spoon or a spatula until it starts to come together. You’ll notice it will be quite thick and perhaps a bit lumpy at first. Don’t worry about this; it’s exactly what we want at this stage. The goal is to incorporate all the dry ingredients into the wet without over-mixing, which can introduce too much air and make the icing prone to cracking as it dries.
Once you have a thick, paste-like consistency, you can transition to using a whisk or an electric mixer on a low speed if you prefer. Whisk the mixture vigorously until it is smooth and glossy. This is where the magic happens. As you whisk, the corn syrup and liquid will emulsify with the powdered sugar, creating a fluid yet substantial icing. You are looking for a consistency that is thick enough to coat the back of a spoon without immediately dripping off, but still fluid enough to be smoothed out easily. If the icing seems too thick, you can add milk or water, a tiny bit at a time (just ¼ teaspoon increments), until you reach your desired consistency. Conversely, if it seems too thin, add a little more powdered sugar, again, a tablespoon at a time. Achieving the right consistency is vital for creating sugar cookie icing that hardens correctly and evenly.
Coloring the Icing
Now for the fun part: adding color! If you want to create beautifully decorated cookies, this is where you’ll divide your icing into smaller bowls and add your gel food coloring. Gel food coloring is highly concentrated, so you’ll only need a very small amount to achieve vibrant colors. Start by adding just a drop or two of gel color to each bowl of icing and stir thoroughly. Gel colors mix in beautifully without adding excess liquid, which is important for maintaining the right consistency for our sugar cookie icing that hardens.
Observe the color and if you desire a deeper or more intense hue, add another drop of gel coloring and mix again. Continue this process until you achieve the perfect shade. Remember that the color will deepen slightly as the icing sits. You can create a rainbow of colors for a festive set of cookies, or stick to classic white for a timeless look. Ensure each bowl of colored icing is mixed until the color is uniform throughout, with no streaks. This ensures consistent color on your finished cookies.
Applying the Icing
Once your icing is the desired consistency and color, it’s ready to be applied to your cooled sugar cookies. You can use piping bags fitted with various tips for intricate designs, or a simple spoon or offset spatula for a smoother, flooded finish. If you’re flooding cookies, pour a small amount of icing onto the center of the cookie and gently spread it to the edges using the back of a spoon or an offset spatula. For more detailed work, use a piping bag to outline your cookie first, then “flood” the inside with thinned icing if necessary (you might need to add a touch more liquid to the icing for flooding to make it more spreadable).
Work in small batches if you are using multiple colors or intricate designs. If the icing starts to thicken too much in your piping bag, you can gently knead the bag or stir the icing briefly to loosen it up. For a smooth, professional finish, gently tap the cookie on the counter a few times after flooding to release any air bubbles. Any imperfections can be smoothed out with a toothpick befgin extract the icing begins to set. This careful application ensures that your sugar cookie icing that hardens will look its best.
Drying and Hardening
This is the final, and arguably most important, step for achieving sugar cookie icing that hardens beautifully. After decorating your cookies, leave them undisturbed on a wire rack in a single layer. The drying time will vary depending on the thickness of your icing, the humidity in your kitchen, and the type of liquid you used. Generally, thin flooding icing will set within an hour or two, while thicker piped icing might take several hours to fully harden.
To ensure the icing hardens completely and achieves that firm texture, it’s best to let them dry at room temperature. Avoid refrigerating them while the icing is still wet, as condensation can make the icing sticky. You can gently touch the surface of the icing after a few hours to check for firmness. If it still feels soft or tacky, give it more time. Once the icing is completely dry and hard to the touch, your cookies are ready to be stacked, packaged, or enjoyed! The patience here is rewarded with beautifully decorated cookies that are durable and visually appealing, all thanks to the magic of properly made sugar cookie icing that hardens.

Conclusion:
Congratulations on mastering the art of Sugar cookie icing that hardens! You’ve now unlocked the secret to creating beautifully decorated cookies that are both visually stunning and deliciously enjoyable. This versatile Sugar cookie icing that hardens provides a smooth, glossy finish that sets firm, making it perfect for intricate designs, layering, and even for cookies that need to be stacked. Remember, practice makes perfect, so don’t be afraid to experiment with different consistencies and decorating techniques. The key is patience, especially when allowing the icing to dry completely.
For serving, these beautifully adorned cookies are a fantastic addition to any celebration, bake snon-alcoholic ale, or as a thoughtful homemade gift. They pair wonderfully with a glass of milk, a cup of tea, or coffee. Consider serving them as part of a dessert platter alongside fresh fruit or other baked goods for a delightful spread.
Feel free to get creative with variations! Add a touch of almond extract for a classic flavor, or experiment with different food colorings to match any theme or occasion. For a touch of sparkle, sprinkle edible glitter or nonpareils onto the wet icing before it sets. This Sugar cookie icing that hardens is a true game-changer for all your cookie decorating adventures.
Frequently Asked Questions about Sugar cookie icing that hardens:
Q1: How long does it typically take for Sugar cookie icing that hardens to dry completely?
The drying time for Sugar cookie icing that hardens can vary depending on the thickness of the application and the humidity in your environment. Generally, a thin layer can start to set within 30-60 minutes, but for a completely hardened finish, especially for intricate designs or stacking, it’s best to allow 8-12 hours, or even overnight. You can help speed up the drying process by placing the decorated cookies in a cool, dry place or using a fan set on a low, cool setting.
Q2: Can I make Sugar cookie icing that hardens ahead of time?
Yes, absolutely! You can prepare the Sugar cookie icing that hardens a day or two in advance. Store it in an airtight container at room temperature, ensuring a piece of plastic wrap is pressed directly onto the surface of the icing to prevent a skin from forming. If the icing becomes too thick upon reheating, you can gently stir in a tiny amount of water or milk, a teaspoon at a time, until it reaches your desired consistency. Remember to give it a good stir before using.
Sugar Cookie Icing That Hardens – Perfect Royal Icing Recipe
A perfect royal icing recipe that hardens beautifully, ideal for intricate decorating and durable cookies.
Ingredients
-
2 cups powdered sugar
-
1 ½ tablespoons light corn syrup
-
½ teaspoon pure vanilla extract
-
1 ½ tablespoons cold milk
-
1 ½ tablespoons cold water
-
Gel food coloring (various colors for decorating)
Instructions
-
Step 1
In a medium bowl, sift 2 cups of powdered sugar to remove any clumps for a smooth consistency. -
Step 2
Add 1 ½ tablespoons of light corn syrup, ½ teaspoon of pure vanilla extract, and 1 ½ tablespoons of cold milk or water to the powdered sugar. -
Step 3
Stir with a spoon until a thick paste forms. Then, whisk vigorously with a whisk or use an electric mixer on low speed until smooth and glossy. Adjust consistency by adding tiny amounts of milk/water (if too thick) or powdered sugar (if too thin). -
Step 4
Divide the icing into smaller bowls for coloring. Add gel food coloring a drop at a time, stirring until uniform color is achieved. The color will deepen slightly as it sits. -
Step 5
Apply icing to cooled sugar cookies using piping bags or spatulas. For flooding, outline first then fill. Gently tap cookies to release air bubbles. -
Step 6
Allow decorated cookies to dry undisturbed on a wire rack at room temperature until completely hard. This can take a few hours depending on thickness and humidity.
Important Information
Nutrition Facts (Per Serving)
It is important to consider this information as approximate and not to use it as definitive health advice.
Allergy Information
Please check ingredients for potential allergens and consult a health professional if in doubt.