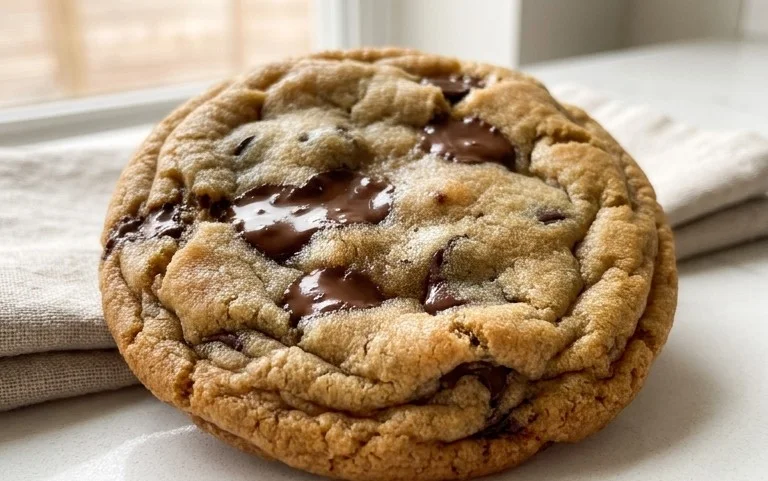
Renee Paj- Decadent French Pastry Perfection
Renee Paj. That’s a name that evokes a sigh of pure comfort, isn’t it? For so many of us, Renee Paj isn’t just a dish; it’s a warm hug on a plate, a nostalgic trip back to childhood kitchens, or a delicious centerpiece for any gathering. What is it about this particular layered delight that captures our hearts and our taste buds so completely? It’s a symphony of textures and flavors: the richness of ground meat, the creamy embrace of bécbeef hamel, the satisfying chew of pasta, all topped with a golden crown of melted cheese. It’s hearty, it’s unpretentious, and yet, it possesses an undeniable elegance that makes it perfect for both a casual weeknight meal and a more special occasion. I’m so excited to share my version of this beloved Renee Paj with you, a recipe that I’ve tinkered with to bring out all its glorious potential. Get ready to fall in love all over again.
Ingredients:
Renee Paj: A Comforting Embrace in Every Bite
There are some recipes that just feel like a warm hug, and Renee Paj is absolutely one of them. This isn’t just a dessert; it’s a nostalgic journey, a comforting embrace in every bite, and a testament to the simple magic that can be conjured from pantry staples. I remember the first time I tried Renee Paj, and it instantly became a go-to for those moments when you need something sweet, satisfying, and utterly delicious. It’s wonderfully adaptable, making it perfect for a weeknight treat or a show-stopping addition to a weekend brunch. The combination of sweet, ripe bananas, wholesome oats, and a hint of cinnamon creates a flavor profile that is both comforting and incredibly moreish. Whether you’re a seasoned baker or just starting out, this recipe is designed to be straightforward, yielding fantastic results every time. Get ready to fill your kitchen with the most wonderful aroma – your Renee Paj is about to be born!
Crafting the Perfect Base
The beauty of Renee Paj lies in its simplicity and the way the ingredients come together to create a delightful texture and flavor. We’re going to start by combining all of our dry ingredients. This ensures that everything is evenly distributed, which is crucial for achieving consistent results. In a large mixing bowl, you’ll add the old fashioned oats. I prefer old fashioned oats for their texture; they provide a lovely chegrape juicess to the final product. Next, we’ll incorporate the all-purpose flour, which forms the structural foundation of our paj. The packed light brown sugar will lend a beautiful sweetness and a subtle caramel note, while also contributing to a tender crum extractb. Don’t skip the packing step – it ensures you have the right amount of sweetness.
For a touch of flavor and to help with leavening, we’ll add our baking soda and baking powder. The kosher salt is essential for balancing the sweetness and enhancing all the other flavors present in the recipe. Finally, a generous pinch of ground cinnamon adds that quintessential warm spice that makes baked goods so inviting. Whisk all of these dry ingredients together thoroughly until they are well combined. You want to make sure there are no pockets of flour or lumps of sugar. This step is quick but incredibly important for the overall success of your Renee Paj.
The Heart of the Matter: Banana Bliss
Now, let’s turn our attention to the star of the show – the bananas! For this recipe, it’s absolutely imperative that your bananas are very ripe. The riper the banana, the sweeter and more intensely flavored it will be, and it will also contribute to the moisture and binding of the paj. You’ll know they’re perfect when their skins are heavily speckled with brown spots, perhaps even almost entirely brown. Don’t shy away from those “ugly” bananas; they are nature’s candy for baking!
In a separate bowl, you’ll mash the ripe bananas. You can use a fork, a potato masher, or even a hand mixer on a low setting if you prefer a smoother consistency. I personally like to leave a few small chunks for a bit of texture, but it’s entirely up to your preference. Once mashed, crack in your two large eggs. Eggs are binders and add richness and structure to our paj. Add the pure vanilla extract; this little bit of magic enhances the sweetness and rounds out all the other flavors beautifully. And finally, drizzle in your cooking oil. Any neutral-flavored oil like corn or canola will work perfectly. Whisk this wet ingredient mixture until it’s smooth and well combined.
Bringin extractg It All Together
This is where the magic truly happens – combining the wet and dry ingredients to create our paj batter. Make a well in the center of your dry ingredients. Pour the mashed banana mixture into this well. Now, gently fold the ingredients together. It’s important not to overmix at this stage. Overmixing can develop the gluten in the flour too much, leading to a tougher paj. You want to mix until just combined, with no dry streaks of flour remaining. A few lumps are perfectly fine!
If you’ve opted for the chopped walnuts, this is the perfect time to gently fold them in. Walnuts add a lovely crunch and a nutty depth that complements the sweetness of the bananas beautifully. Be sure to fold them in gently to avoid overmixing. The batter should be thick but still pourable.
Baking to Golden Perfection
Preheat your oven to 350 degrees Fahrenheit (175 degrees Celsius). Prepare your baking dish. A 9×13 inch baking dish is ideal for this recipe. You can grease it lightly with cooking spray or butter, or line it with parchment paper for easy removal. Pour the batter evenly into the prepared baking dish, spreading it out with a spatula to ensure an even layer.
Now, it’s time to bake! Place the dish in the preheated oven and bake for approximately 30-40 minutes. The baking time can vary depending on your oven, so it’s important to keep an eye on it. You’ll know your Renee Paj is ready when the edges are golden brown and a toothpick inserted into the center comes out clean. If the top starts to brown too quickly before the inside is cooked, you can loosely tent it with aluminum foil.
Cooling and Enjoying Your Creation
Once baked, carefully remove the Renee Paj from the oven. The aroma filling your kitchen at this point will be absolutely divine! Let the paj cool in the baking dish on a wire rack for at least 15-20 minutes before slicing. This cooling period is crucial for the paj to set properly. If you try to slice it too soon, it might be a bit crum extractbly.
Once it has cooled sufficiently, you can cut it into squares or rectangles. Renee Paj is absolutely delicious served warm on its own, but it’s also fantastic with a scoop of vanilla ice cream, a dollop of whipped cream, or even a drizzle of honey. I often find myself enjoying a slice with my morning coffee as a delightful breakfast treat. The combination of wholesome ingredients and comforting flavors makes Renee Paj a recipe you’ll want to make again and again. Enjoy every delicious bite!
Conclusion:
I truly hope you’ve been inspired to try making this Renee Paj! It’s a recipe that offers a delightful combination of comforting flavors and satisfying textures, making it perfect for a cozy evening or a special occasion. The ease of preparation, especially for such a rewarding outcome, is one of its strongest selling points. Whether you’re a seasoned baker or just starting out, this recipe is incredibly approachable and will undoubtedly impress your taste buds and anyone you share it with. The fragrant spices and the rich, creamy filling are what make this Renee Paj an absolute winner.
When it comes to serving, I love pairing it with a dollop of fresh whipped cream or a scoop of vanilla bean ice cream. A light dusting of cinnamon or powdered sugar also adds a beautiful finishing touch. Don’t be afraid to experiment with variations! Consider adding a handful of chopped nuts like walnuts or pecans for extra crunch, or even a touch of citrus zest like orange or lemon to brighten the flavors. The possibilities are endless, and the joy of creating something so delicious is truly something special. So go ahead, preheat your oven, and get ready to experience the magic of this wonderful Renee Paj!
Frequently Asked Questions:
Can I make this Renee Paj ahead of time?
Absolutely! You can prepare the filling and crust separately a day in advance and assemble and bake it closer to serving time. For the best texture, I recommend baking it fresh for optimal crispness.
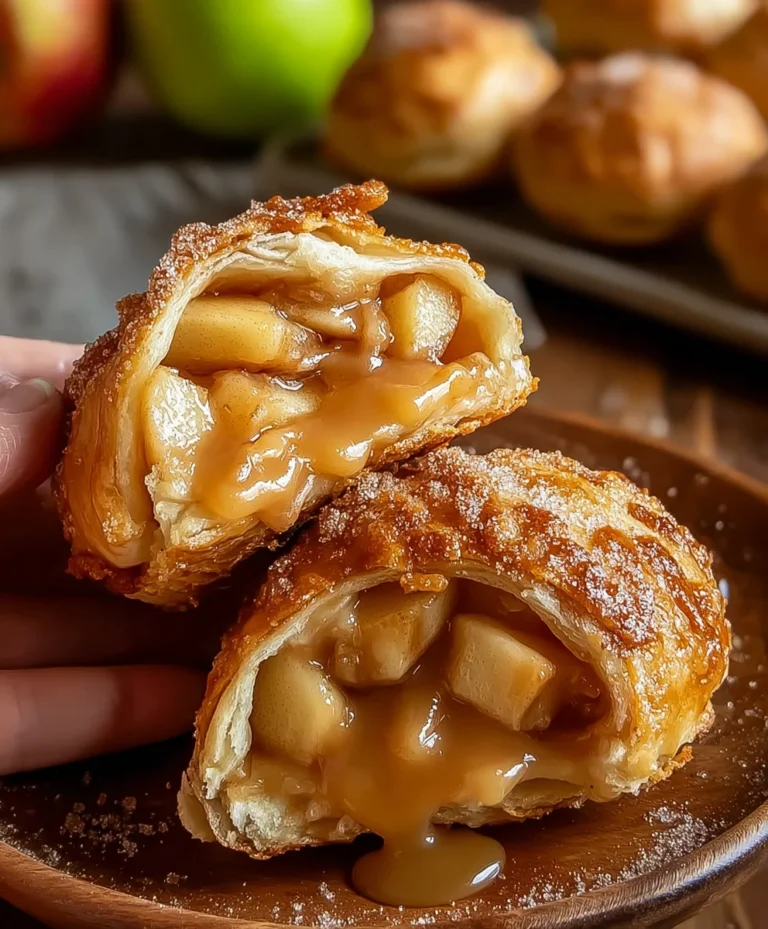
What kind of apples work best for this recipe?
While many apples will work, a mix of tart and sweet apples is ideal for a balanced flavor. Granny Smith, Honeycrisp, or Fuji apples are excellent choices that hold their shape well during baking.
Renee Paj
A delicious and simple banana oat bread recipe, perfect for breakfast or a snack.
Ingredients
-
1 cup old fashioned oats
-
1 1/4 cups all purpose flour
-
1/2 cup light brown sugar, packed
-
1/2 tsp. kosher salt
-
1/2 tsp. baking soda
-
1/4 tsp. baking powder
-
1/2 tsp. ground cinnamon
-
3 large, ripe bananas, cut into chunks
-
2 large eggs
-
1 tsp. pure vanilla extract
-
3 TBSP cooking oil (corn, canola, etc)
-
1/3 cup chopped walnuts (optional)
Instructions
-
Step 1
Preheat oven to 350°F (175°C). Grease and flour a 9×5 inch loaf pan. -
Step 2
In a large bowl, combine the oats, flour, brown sugar, salt, baking soda, baking powder, and cinnamon. -
Step 3
In a separate bowl, mash the bananas. Whisk in the eggs and vanilla extract, then stir in the cooking oil. -
Step 4
Add the wet ingredients to the dry ingredients and mix until just combined. Fold in the chopped walnuts if using. -
Step 5
Pour the batter into the prepared loaf pan and spread evenly. -
Step 6
Bake for 50-60 minutes, or until a wooden skewer inserted into the center comes out clean. -
Step 7
Let the bread cool in the pan for 10 minutes before removing it to a wire rack to cool completely.
Important Information
Nutrition Facts (Per Serving)
It is important to consider this information as approximate and not to use it as definitive health advice.
Allergy Information
Please check ingredients for potential allergens and consult a health professional if in doubt.