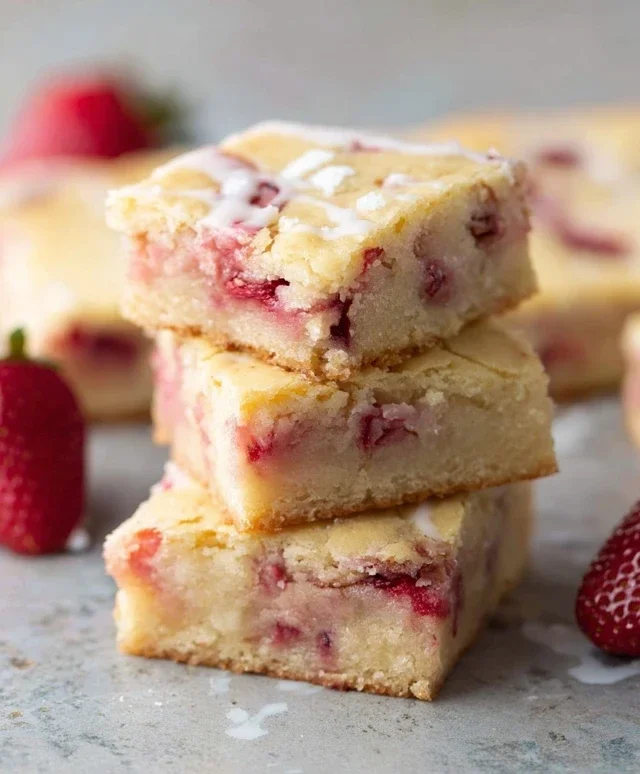
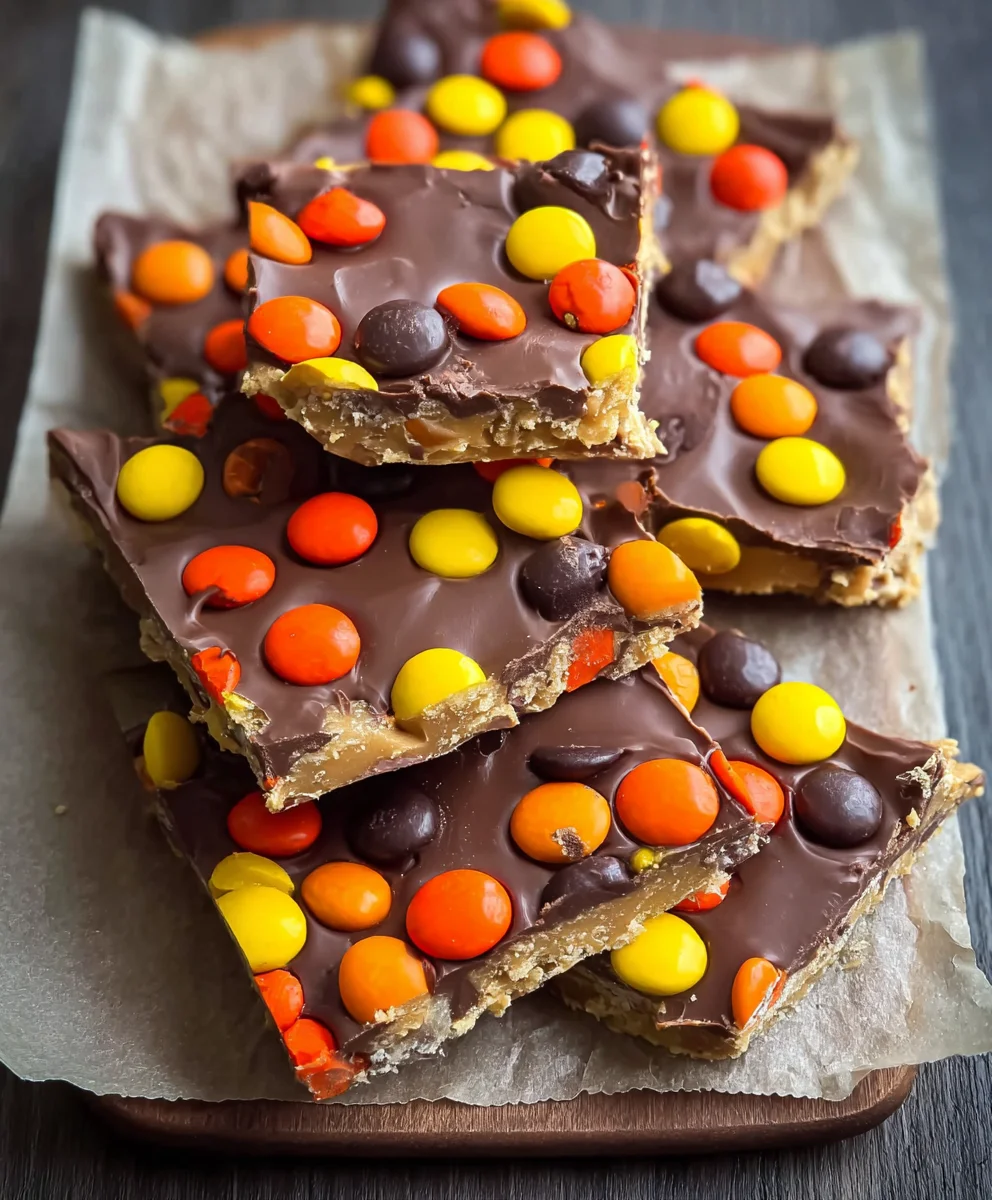
Reese’s Pieces Peanut Butter Bark-Easy Sweet Treat
Reese’s Pieces Peanut Butter Bark isn’t just a dessert; it’s an experience. Imagin extracte that moment when you discover a hidden treasure, a sweet and salty revelation that melts in your mouth, leaving you craving just one more bite. That’s the magic of this incredibly addictive treat. What is it about this particular combination that captures our hearts and taste buds? It’s the perfect harmony of rich, creamy peanut butter, the satisfying crunch of those iconic candy-coated pieces, and the smooth, decadent chocolate that binds it all together. It’s comfort food elevated, a nostalgic nod to childhood favorite candies, transformed into a sophisticated yet ridiculously easy-to-make confection. Whether you’re a lifelong peanut butter enthusiast or simply looking for a crowd-pleasing treat that screams “fun,” this Reese’s Pieces Peanut Butter Bark is guaranteed to deliver smiles and satisfied sighs. Prepare to be amazed by its simplicity and utterly delighted by its flavor explosion.
Ingredients:
- 3 1/2 cups (637g) milk chocolate chips, divided
- 1 cup (258g) creamy peanut butter
- 1 cup (125g) confectioners’ sugar
- 3 tablespoons unsalted butter, softened
- 1 cup (188g) Reese’s Pieces candy
Prepare Your Workspace and Ingredients
Gathering Your Supplies
The first step to creating this delightful Reese’s Pieces Peanut Butter Bark is to gather all your ingredients and prepare your workspace. This ensures a smooth and enjoyable baking experience. Measure out all your ingredients accurately. For the chocolate chips, we’ll be using them in two stages, so it’s a good idea to separate them now: measure out 2 1/2 cups for melting and reserve the remaining 1 cup for garnishing. Ensure your butter is softened, meaning it’s at room temperature and easily yields to gentle pressure. This is crucial for achieving a smooth peanut butter mixture. Take out a baking sheet and line it with parchment paper or wax paper. This will prevent the bark from sticking and make for easy removal once it’s set. A neatly prepared workspace will make the entire process feel less daunting and more like the fun activity it should be.
Crafting the Peanut Butter Layer
Creating the Creamy Base
Now, let’s get started on the luscious peanut butter layer. In a medium bowl, combine the creamy peanut butter, the softened unsalted butter, and the confectioners’ sugar. It’s important to use softened butter here because it will help create a much smoother, more uniform peanut butter mixture. If your butter is too cold, you’ll end up with lumps, which will affect the texture of your bark. You can achieve the perfect consistency by either creaming these ingredients together with an electric mixer on medium speed until they are light and fluffy, or by using a sturdy whisk and a bit of elbow grease. Whichever method you choose, aim for a pnon-alcoholic ale, creamy texture that is easy to spread. This layer is the heart of the peanut butter flavor, so make sure it’s well combined and free of any pockets of unsweetened confectioners’ sugar or unincorporated butter. This smooth, rich layer will be the foundation for our chocolate and Reese’s Pieces.
Melting and Layering the Chocolate
Achieving Silky Smooth Chocolate
The next crucial step is to melt the majority of our milk chocolate chips. You have a couple of reliable methods for this. The most common and often easiest is the microwave method. Place 2 1/2 cups of milk chocolate chips in a microwave-safe bowl. Microwave on 50% power for 30-second intervals, stirring well after each interval. It’s essential to stir thoroughly, as the residual heat will continue to melt the chocolate. Be patient; overheating chocolate can cause it to seize, becoming grainy and unusable. Alternatively, you can use a double boiler. Fill the bottom pot of a double boiler with about an inch of water and bring it to a gentle simmer. Place the chocolate chips in the top bowl, ensuring the bottom of the bowl doesn’t touch the water. Stir constantly until the chocolate is smooth and completely melted. Once your chocolate is perfectly melted and silky, carefully pour it onto the prepared baking sheet. Use a spatula to spread it into an even layer, about 1/4 inch thick. Don’t worry if it’s not perfectly rectangular; rustic is beautiful for bark!
Assembling the Reese’s Pieces Peanut Butter Bark
Building the Layers
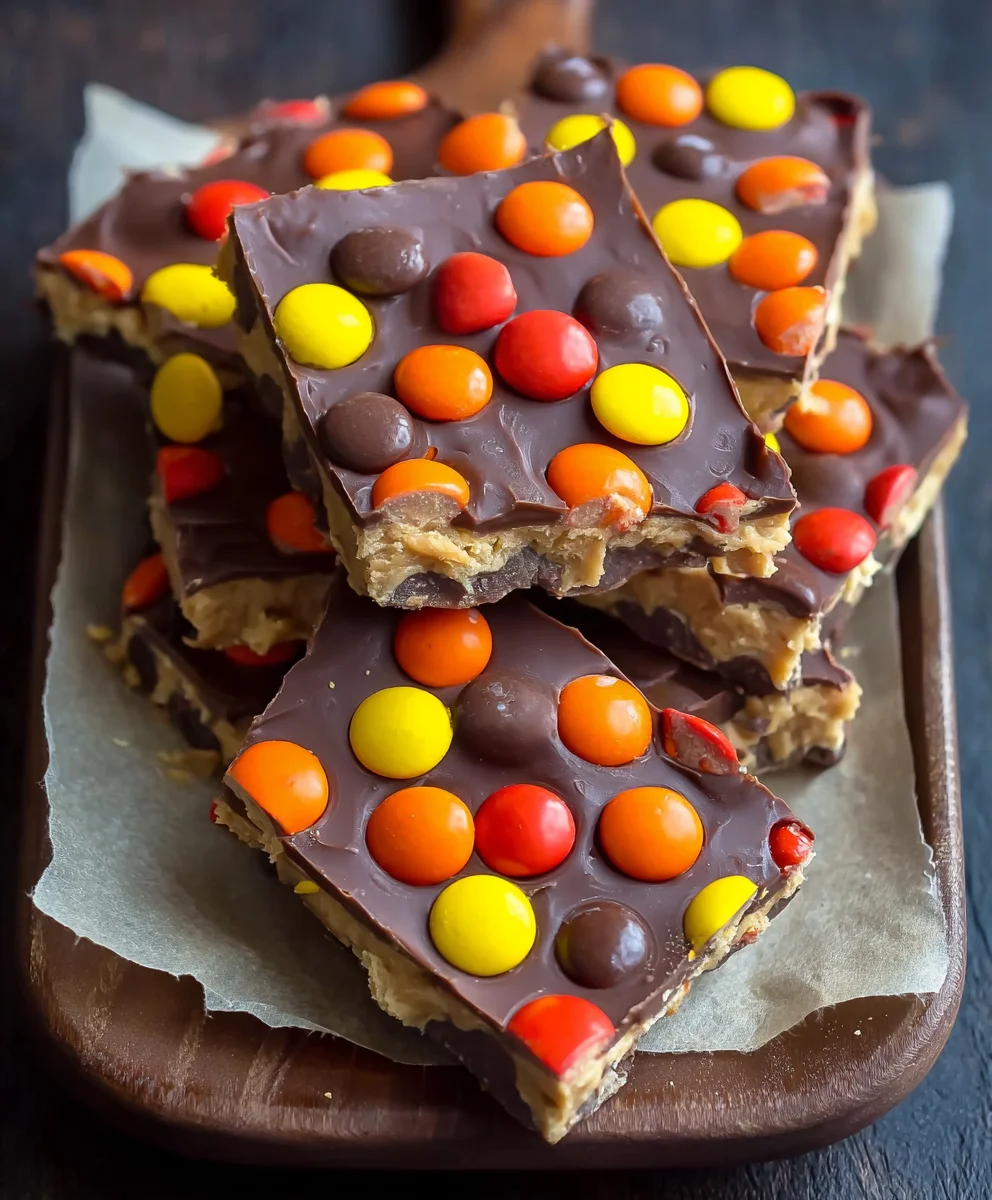
With your chocolate layer spread evenly, it’s time to add the flavorful peanut butter mixture. Gently dollop spoonfuls of the prepared peanut butter mixture over the melted chocolate. Then, using your spatula or a butter knife, carefully spread the peanut butter layer over the chocolate. Try to spread it evenly, but don’t worry about achieving a perfectly smooth surface. In fact, a slightly textured peanut butter layer can add to the visual appeal. Work relatively quickly, as the chocolate will begin extract to set. Once the peanut butter layer is spread, gently press the remaining 1 cup of milk chocolate chips into the peanut butter layer. Distribute them evenly across the surface. These chips will melt slightly into the peanut butter, creating lovely pockets of chocolate throughout the bark. Finally, scatter the colorful Reese’s Pieces candy generously over the top of the bark. Press them down gently into the chocolate and peanut butter so they adhere well and don’t fall off when the bark is cut. The vibrant colors of the Reese’s Pieces add a fantastic visual appeal and are the star of this delightful treat.
Setting and Finishing Your Masterpiece
Allowing the Bark to Firm Up
Once all the layers are in place and the Reese’s Pieces are artfully scattered, it’s time for the bark to set. Carefully transfer the baking sheet to the refrigerator. Allow it to chill for at least 2 to 3 hours, or until the chocolate and peanut butter layers are completely firm to the touch. Resist the urge to speed this process up significantly in the freezer, as extreme cold can sometimes cause the chocolate to bloom, creating white streaks. Patience is key for a beautiful finish. Once the bark is firm, remove it from the refrigerator. Gently lift the parchment paper from the baking sheet. You can then use a sharp knife to break or cut the bark into desired pieces. For cleaner cuts, you might find it helpful to warm the knife slightly by running it under hot water and then drying it thoroughly. Store your finished Reese’s Pieces Peanut Butter Bark in an airtight container at room temperature or in the refrigerator, depending on your preference and the climate. Enjoy this irresistible combination of smooth chocolate, creamy peanut butter, and crunchy candy!
Conclusion:
And there you have it – the incredibly simple yet undeniably delicious Reese’s Pieces Peanut Butter Bark! This recipe is a true crowd-pleaser, perfect for holiday gatherings, a quick afternoon treat, or even as a homemade gift. The combination of creamy peanut butter, rich chocolate, and the sweet crunch of Reese’s Pieces is simply irresistible. I hope you have as much fun making and devouring this as I do!
This bark is fantastic served as is, broken into rustic pieces. For an extra touch, try pairing it with a scoop of vanilla ice cream or a glass of cold milk.
Feeling adventurous? Don’t hesitate to experiment! You can swap out the semi-sweet chocolate for milk chocolate or dark chocolate. Consider adding a sprinkle of sea salt on top before it sets for a sweet and salty contrast, or even fold in some chopped pretzels for added crunch. The possibilities are endless!
I truly encourage you to give this Reese’s Pieces Peanut Butter Bark a try. It’s a testament to how a few simple ingredients can come together to create something truly special. Happy baking (or, in this case, melting and spreading)!
Frequently Asked Questions:
Q: How should I store the Reese’s Pieces Peanut Butter Bark?
The best way to store your Reese’s Pieces Peanut Butter Bark is in an airtight container in a cool, dry place. If your kitchen is particularly warm, it’s a good idea to store it in the refrigerator to prevent the chocolate from melting. It should stay fresh for up to two weeks.
Q: Can I use a different type of candy instead of Reese’s Pieces?
Absolutely! While Reese’s Pieces are the star here, feel free to get creative. Other candy-coated chocolates like M&M’s would be a great substitute. You could also try chopped peanut butter cups or even small candy bars broken into pieces. The key is to maintain a good balance of chocolate and your chosen mix-ins.
Reese’s Pieces Peanut Butter Bark
An easy and delicious sweet treat featuring layers of smooth chocolate, creamy peanut butter, and colorful Reese’s Pieces candy.
Ingredients
-
3 1/2 cups (637g) milk chocolate chips, divided
-
1 cup (258g) creamy peanut butter
-
1 cup (125g) confectioners’ sugar
-
3 tablespoons unsalted butter, softened
-
1 cup (188g) Reese’s Pieces candy
Instructions
-
Step 1
Gather all ingredients and prepare your workspace. Measure ingredients accurately, separating 2 1/2 cups of chocolate chips for melting and reserving 1 cup for garnishing. Ensure butter is softened and line a baking sheet with parchment or wax paper. -
Step 2
In a medium bowl, combine creamy peanut butter, softened unsalted butter, and confectioners’ sugar. Cream together with an electric mixer or whisk until light, fluffy, and easy to spread. Aim for a smooth, creamy texture. -
Step 3
Melt 2 1/2 cups of milk chocolate chips using the microwave method (30-second intervals at 50% power, stirring between) or a double boiler until smooth and silky. Pour melted chocolate onto the prepared baking sheet and spread into an even layer. -
Step 4
Dollop spoonfuls of the peanut butter mixture over the melted chocolate and carefully spread it into an even layer. Gently press the remaining 1 cup of milk chocolate chips into the peanut butter layer. Scatter Reese’s Pieces candy generously over the top and press them gently into the layers. -
Step 5
Transfer the baking sheet to the refrigerator and chill for at least 2 to 3 hours, or until completely firm. Avoid freezing to prevent chocolate bloom. Once firm, lift the bark from the baking sheet using the parchment paper. Break or cut into desired pieces.
Important Information
Nutrition Facts (Per Serving)
It is important to consider this information as approximate and not to use it as definitive health advice.
Allergy Information
Please check ingredients for potential allergens and consult a health professional if in doubt.