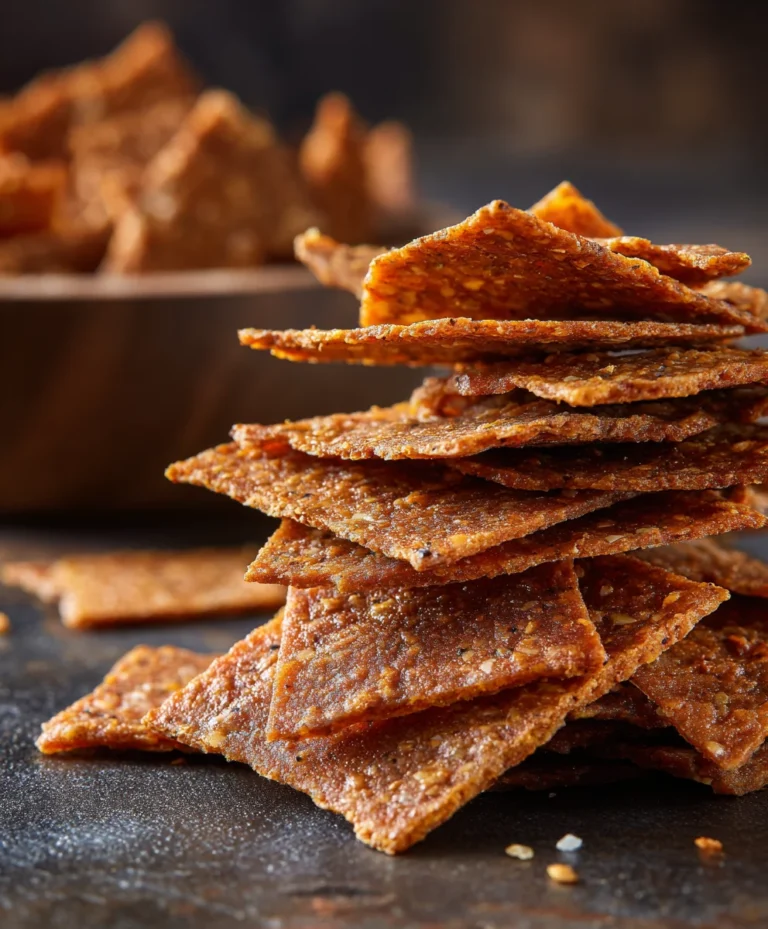
Quick Air Fryer Tortilla Garlic Bread Recipe
Quick Air Fryer Tortilla Garlic Bread is the answer to your weeknight dinner prayers and a seriously delicious shortcut to satisfying those carb cravings. Forget the fuss of traditional garlic bread that can often lead to a messy kitchen and a lot of waiting. This ingenious recipe transforms simple tortillas into crispy, golden, garlicky delights in mere minutes, making it perfect for busy evenings or when you need an impressive side dish in a flash. What’s not to love about that? People adore this dish because it delivers all the irresistible flavor and texture of classic garlic bread without any of the hassle. The air fryer is the magic ingredient here, creating a wonderfully crisp exterior that’s incredibly addictive, while the inside remains delightfully soft. This isn’t just another side; it’s a game-changer that elevates any meal from ordinary to extraordinary with its bold garlic punch and satisfying crunch. You’ll find yourself reaching for this quick air fryer tortilla garlic bread again and again.

Ingredients:
- 2 flour tortilla shells
- 1 tablespoon butter, softened
- ½ cup grated mozzarella cheese
- Garlic powder, to taste
- Italian seasoning, to taste
- Fresh parsley, chopped (optional, for garnish)
Preparing Your Quick Air Fryer Tortilla Garlic Bread
Phase 1: Getting Ready
To kick off this super simple yet incredibly satisfying “Quick Air Fryer Tortilla Garlic Bread,” the first thing you’ll want to do is gather all your ingredients. Having everything prepped and ready to go is key to a smooth cooking process, especially when you’re aiming for speed.
Take your tablespoon of softened butter. Softened butter is crucial here; it needs to be spreadable, not melted. If your butter is too hard, you can gently warm it for just a few seconds in the microwave, but be careful not to liquefy it. You want it to have a nice, creamy consistency that will glide easily onto the tortilla.
Next, have your ½ cup of grated mozzarella cheese ready. Pre-shredded cheese is perfectly fine for this recipe, and it saves you a step. Ensure it’s easily accessible so you can sprinkle it evenly.
Measure out your garlic powder and Italian seasoning. The beauty of this recipe is its adaptability to your taste preferences. “To taste” means you are in charge! I usually start with about ½ teaspoon of garlic powder and ¼ teaspoon of Italian seasoning for each tortilla, but feel free to adjust as you see fit. Remember, you can always add more seasoning, but you can’t take it away.
If you’re opting for the optional fresh parsley garnish, make sure it’s washed and finely chopped. This adds a lovely burst of freshness and a pop of color to the finished product.
Phase 2: Assembling the Tortilla Garlic Bread
Now, let’s get our tortillas ready for their delicious transformation. Lay your two flour tortilla shells flat on a clean surface. You can work with them one at a time or set them up side-by-side if you have enough space.
Take your softened butter and, using a butter knife or a small spatula, spread a thin, even layer over the entire surface of one side of each tortilla. Make sure to go all the way to the edges. This buttery layer is going to create that irresistible crispiness and act as the binder for our seasonings and cheese. It’s the foundation of your garlic bread!
Once the butter is spread, it’s time to season. Sprinkle the garlic powder generously over the buttered side of each tortilla. Don’t be shy with the garlic powder – it’s the star of the show, after all! Follow this with an even sprinkle of Italian seasoning. The combination of garlic and Italian herbs is classic and always a winner. Again, adjust the amount to your liking. You want a nice coating, but not so much that it clumps.
The final layer before cooking is the cheese. Evenly distribute the ½ cup of grated mozzarella cheese over the seasoned tortillas. Try to get an even coverage so that every bite is cheesy and delightful. The cheese will melt and become wonderfully gooey in the air fryer, creating that sought-after pull.
Phase 3: Air Frying for Perfection
This is where the magic happens, and the “air fryer” part of our “Quick Air Fryer Tortilla Garlic Bread” truly shines. Preheat your air fryer to 375°F (190°C). Allowing the air fryer to reach the desired temperature beforehand is important for even cooking and ensuring your tortilla garlic bread gets perfectly crispy from the start.
Carefully place one prepared tortilla, seasoned and cheesed side up, into the air fryer basket. It’s important not to overcrowd the basket. If your air fryer is small, you might need to cook them one at a time. Overcrowding can lead to uneven crisping and prevent the air from circulating properly, which is essential for this method.
Air fry for approximately 4 to 6 minutes. Now, here’s where you’ll need to keep an eye on things. Air fryer models can vary, and tortilla thickness can also play a role. Start checking around the 4-minute mark. You’re looking for the cheese to be fully melted and bubbly, and the edges of the tortilla to be golden brown and slightly crispy. If it’s not quite there after 4 minutes, give it another minute or two, but watch closely to prevent burning. The goal is a delightful crunch without any charring.
Once the first tortilla is perfectly cooked, carefully remove it from the air fryer basket. Use tongs or a spatula to slide it onto a cutting board or plate. Repeat the air frying process with the second tortilla, ensuring it also reaches that golden, crispy, and bubbly perfection.
Phase 4: Finishing Touches and Serving
Once both of your “Quick Air Fryer Tortilla Garlic Bread” creations are out of the air fryer and still warm, it’s time for the final flourish. If you’re using fresh parsley, sprinkle the finely chopped parsley over the top of each tortilla garlic bread. This not only adds a vibrant visual appeal but also a fresh, herbaceous note that beautifully complements the savory garlic and cheese.
Let the tortillas cool for just a minute or two before slicing. They will be hot, and the cheese will be wonderfully molten. Slicing them while slightly cooled will make for cleaner cuts and prevent the cheese from all sliding off. You can slice them into wedges, strips, or any shape you prefer. They are fantastic served warm as a side dish to pasta, soup, or salads, or enjoyed on their own as a quick and delicious snack. The crispiness of the tortilla combined with the savory, cheesy, garlicky topping is truly addictive!

Conclusion:
There you have it! Your guide to making the unbelievably simple yet incredibly delicious Quick Air Fryer Tortilla Garlic Bread. We’ve transformed humble tortillas into a crispy, garlicky masterpiece that’s perfect as a side, a snack, or even a base for your favorite toppings. The beauty of this recipe lies in its speed and versatility, making it a weeknight savior. I encourage you to try it out and experience the delightful crunch and savory flavor for yourself. It’s a fantastic way to elevate any meal with minimal effort.
For serving suggestions, these are fantastic alongside pasta dishes, soups, chilis, or even as a dipper for hummus or salsa. Don’t be afraid to get creative with variations! Try adding a sprinkle of Italian seasoning, red pepper flakes for a kick, or even a dusting of Parmesan cheese before air frying. You can also get fancy by topping them with a bit of mozzarella and marinara after they come out of the air fryer for mini garlic bread pizzas!
Frequently Asked Questions:
How can I make the Quick Air Fryer Tortilla Garlic Bread crispier?
To achieve maximum crispiness, ensure your tortillas are evenly coated with the garlic butter mixture. Avoid overcrowding the air fryer basket, as this can lead to steaming rather than crisping. You might need to air fry in batches. If your air fryer has an option for higher crispiness, feel free to use it, but keep a close eye to prevent burning.
Can I use different types of tortillas?
Absolutely! While standard flour tortillas work wonderfully, you can experiment with whole wheat, corn, or even gluten-free tortillas. Keep in mind that the cooking time might vary slightly depending on the thickness and composition of the tortilla you choose. Corn tortillas may become crispier faster than flour ones.
Quick Air Fryer Tortilla Garlic Bread
A super simple and incredibly satisfying recipe for garlic bread made with flour tortillas in an air fryer.
Ingredients
-
2 flour tortilla shells
-
1 tablespoon butter, softened
-
½ cup grated mozzarella cheese
-
Garlic powder, to taste
-
Italian seasoning, to taste
-
Fresh parsley, chopped (optional, for garnish)
Instructions
-
Step 1
Gather all ingredients. Ensure butter is softened and spreadable, not melted. Have grated mozzarella cheese, garlic powder, and Italian seasoning measured out. Chop fresh parsley if using. -
Step 2
Lay two flour tortilla shells flat. Spread a thin, even layer of softened butter over one side of each tortilla, going all the way to the edges. -
Step 3
Sprinkle garlic powder generously over the buttered side of each tortilla. Follow with an even sprinkle of Italian seasoning. Adjust amounts to your liking. -
Step 4
Evenly distribute the grated mozzarella cheese over the seasoned tortillas. Ensure good coverage. -
Step 5
Preheat air fryer to 375°F (190°C). Carefully place one prepared tortilla, cheese-side up, into the air fryer basket. Cook for 4-6 minutes, or until cheese is melted and bubbly, and edges are golden brown and crispy. Watch closely to prevent burning. -
Step 6
Repeat the air frying process with the second tortilla. Once cooked, remove from air fryer. If using, sprinkle with fresh chopped parsley. -
Step 7
Let cool for a minute or two before slicing into wedges or strips. Serve warm.
Important Information
Nutrition Facts (Per Serving)
It is important to consider this information as approximate and not to use it as definitive health advice.
Allergy Information
Please check ingredients for potential allergens and consult a health professional if in doubt.