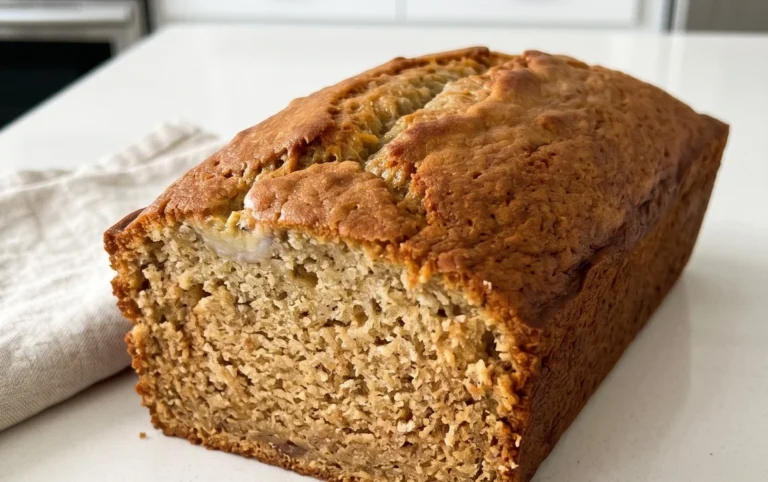
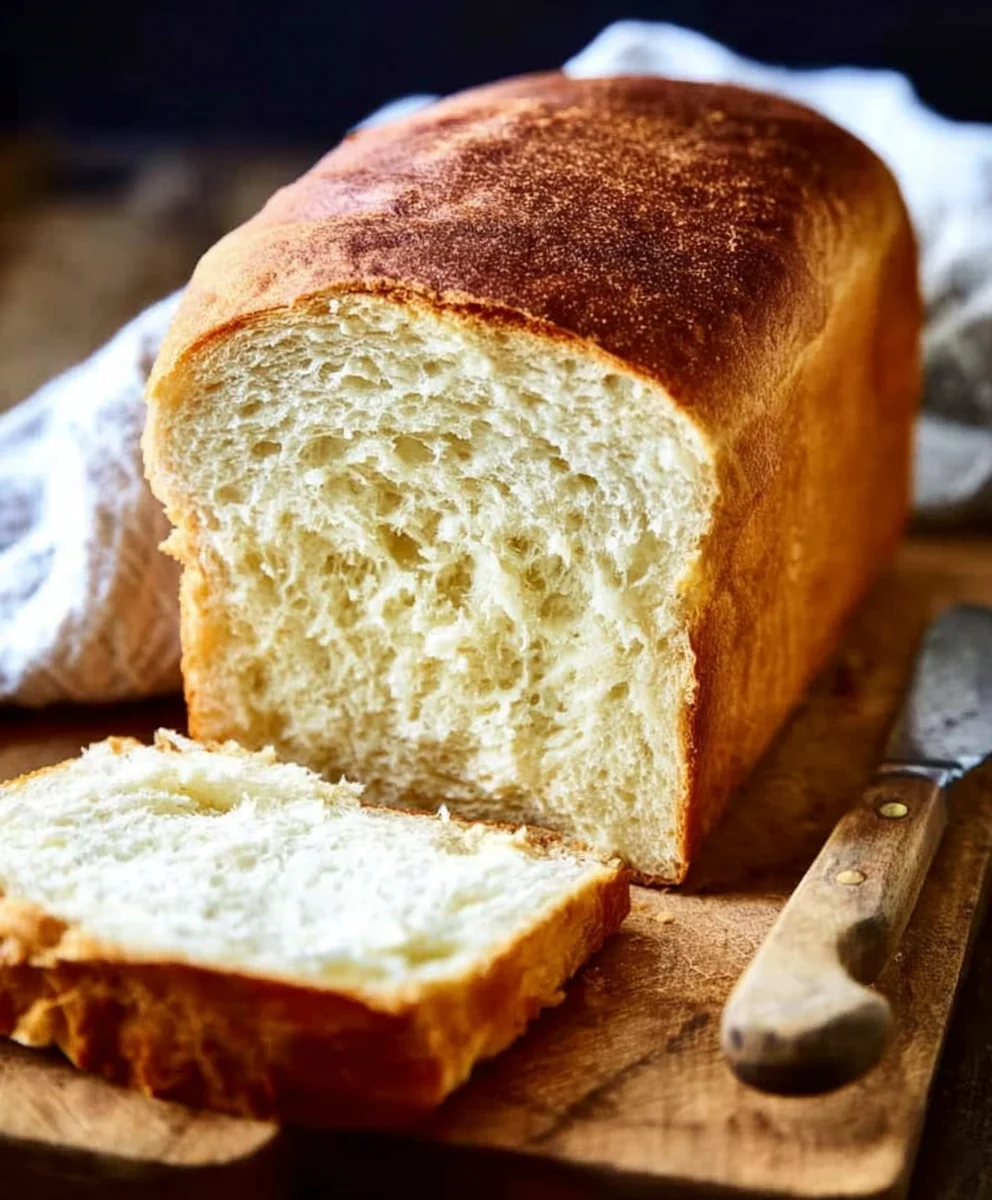
Easy Buttermilk Bread Recipe-Soft & Delicious
Buttermilk Bread Recipe. Oh, the pure joy of a warm, freshly baked loaf of buttermilk bread! It’s a culinary embrace, a simple yet profoundly satisfying creation that has graced tables for generations. What is it about this particular bread that captures our hearts and taste buds? It’s the incredibly tender crum extractb, the subtle tang from the buttermilk, and that perfect, golden-brown crust that promises pure deliciousness with every bite. Forget thosrum extractry, crumbly store-bought imposters; this homemade buttermilk bread recipe delivers a melt-in-your-mouth experience that’s both comforting and surprisingly elegant.
Why We Adore This Buttermilk Bread Recipe
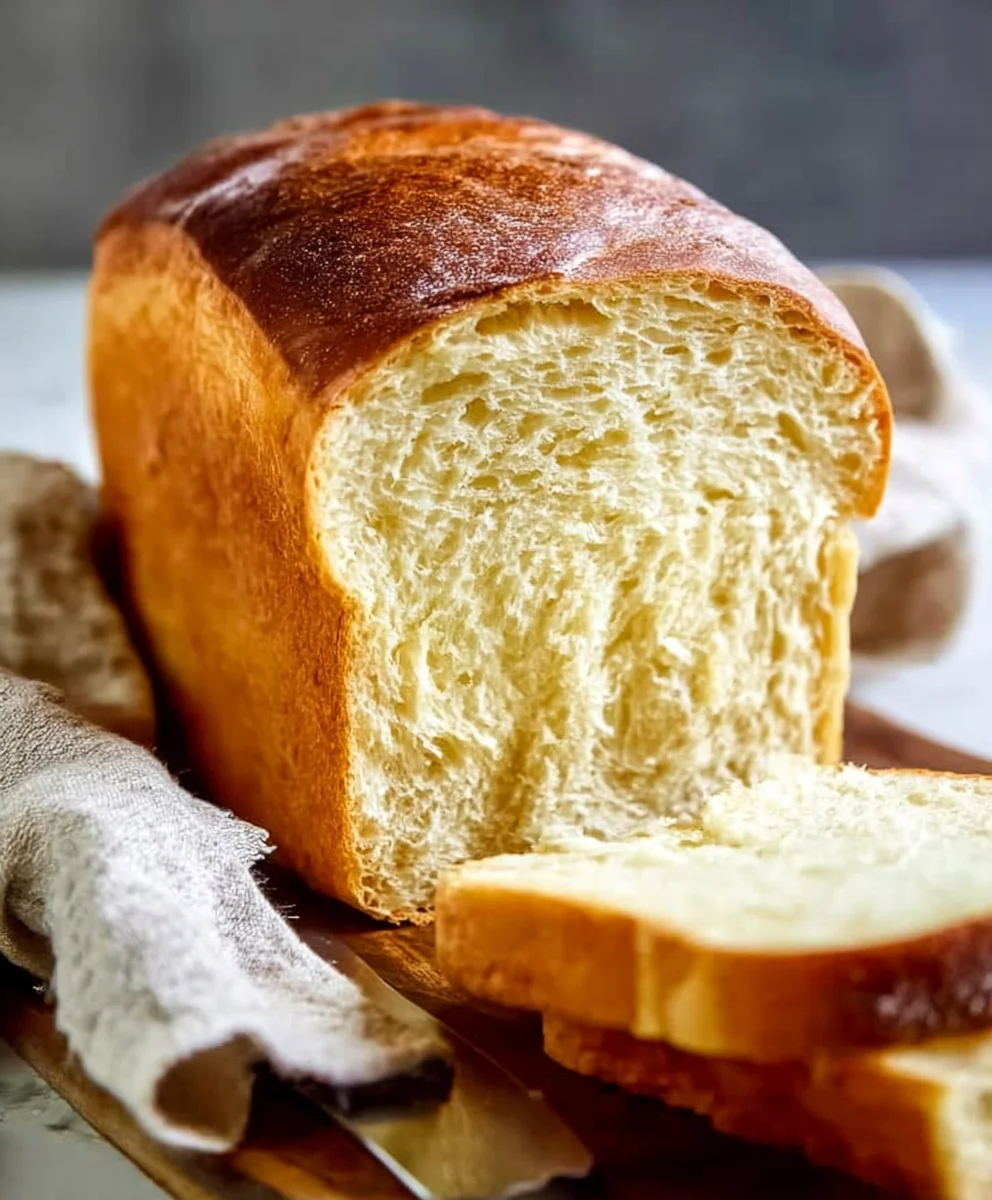
There’s an undeniable magic that happens when simple ingredients like flour, yeast, and, of course, buttermilk come together. People love this recipe because it’s approachable for novice bakers, yet yields results that are truly spectacular. The acidity in the buttermilk reacts with the baking soda (if used) or simply tenderizes the gluten, resulting in an unbelievably soft interior. This isn’t just bread; it’s an experience. Imagin extracte slicing into a still-warm loaf, the steam carrying the irresistible aroma of baked goodness, ready to be slathered with butter or enjoyed on its own. It’s the ultimate comfort food, perfect for sandwiches, toast, or alongside your favorite soup or stew.
The Secret to Its Unforgettable Texture
The secret, as you might have guessed, lies in the star ingredient: buttermilk. Its unique properties transform ordinary dough into something truly extraordinary. It’s the key to that signature moistness and the delicate, airy structure that makes this buttermilk bread recipe a perennial favorite. Get ready to impress yourself and everyone lucky enough to share this delightful loaf with you!
Ingredients:
- 1 packet active dry yeast
- 1 pinch ground gin extractger
- 1 teaspoon granulated sugar
- 1/4 cup warm water (105F – 110F)
- 2 cups cultured buttermilk, warm (105F – 110F)
- 1/3 cup honey
- 1 teaspoon kosher salt (or 3/4 teaspoon table salt)
- 3/4 teaspoon baking soda
- 6 cups bread flour, plus more for dusting
- 1/4 cup unsalted butter, melted and cooled slightly
Activating the Yeast
The first step to an amazing buttermilk bread recipe is ensuring your yeast is alive and ready to work its magic. In a large mixing bowl, combine the warm water, granulated sugar, and the packet of active dry yeast. Gently stir to dissolve the sugar and yeast. This might seem like a small detail, but the sugar provides the yeast with its initial food source. Cover the bowl loosely with a clean kitchen towel or plastic wrap and let it sit in a warm place for about 5 to 10 minutes. You’ll know the yeast is active when it becomes foamy and bubbly on the surface. This indicates that the yeast is producing carbon dioxide, which is essential for the bread to rise. If you don’t see any foam, your yeast might be old or the water was too hot or too cold, and you’ll need to start over with fresh yeast.
Mixing the Dough
Once your yeast mixture is happily frothing, it’s time to add the rest of the wet ingredientgin extractnd begin building the dough. To the activated yeast, add the warm cultured buttermilk and the honey. Stir everything together until it’s well combined. The buttermilk not only adds a delightful tang to our bread but also helps to create a wonderfully soft and tender crum extractb. Honey contributes to the subtle sweetness and aids in browning. Now, let’s add the dry ingredients to this liquid base. Whisk together the bread flour, kosher salt, and baking soda in a separate medium bowl. The baking soda is a crucial addition in a buttermilk bread recipe; it works with the acidity of the buttermilk to create an even lighter and more tender texture than yeast alone could achieve. Gradually add the dry ingredients to the wet ingredients, mixing with a sturdy spoon or a dough whisk until agin extractaggy dough begins to form. Once most of the flour is incorporated, add the slightly cooled melted butter. The butter contributes richness and further enhances the softness of the finished loaf.
Kneading the Dough
Now comes the part where we develop the gluten structure that gives our bread its characteristic chew and rise. Turn the shaggy dough out onto a lightly floured surface. If the dough feels excessively sticky, you can add a little more flour, about a tablespoon at a time, but try not to add too much, as this can gin extracte the bread tough. Begin kneading the dough by pushing it away from you with the heels of your hands, then folding it back over itself and giving it a quarter turn. Continue this process for about 8 to 10 minutes. You’re looking for a dough that is smooth, elastic, and no longer sticks to your hands or the work surface. It should feel supple and have a slight bounce back when you press it with your finger. This kneading is vital for creating the network of gluten strands that will trap the gasses produced by the yeast during fermentation, leading to a beautifully risen loaf. Don’t be tempted to rush this step; patience here will be rewarded.
First Rise (Bulk Fermentation)
Lightly grease a clean large bowl with a little oil or cooking spray. Place the kneaded dough into the greased bowl and turn it over to coat all sides with the oil. This prevents a dry skin from forming on the dough as it rises. Cover the bowl tightly with plastic wrap or a damp kitchen towel. Place the bowl in a warm, draft-free spot to let the dough rise. A good place is in a slightly warmed oven (turned off, of course!) or on top of your refrigerator. Allow the dough to rise for about 1 to 1.5 hours, or until it has doubled in size. The exact time will depend on the warmth of your environment. You’ll know it’s ready when it looks puffy and a finger poked gently into the dough leaves a small indentation that slowly springs back. This first rise, also known as bulk fermentation, is where the yeast does the majority of its work, developing flavor and structure.
Shaping and Second Rise
Once the dough has doubled in size, gently punch it down to release the air that has accumulated within. Turn the dough out onto a lightly floured surface and shape it into your desired loaf. For a classic sandwich loaf, you’ll want to flatten the dough into a rectangle about 8×10 inches. Then, starting from one of the shorter sides, tightly roll up the dough, like a jelly roll, pinching the seam to seal it. Tuck the ends under to create a neat loaf shape. Place the shaped loaf into a greased 9×5 inch loaf pan. Cover the pan loosely with plastic wrap or a clean kitchen towel and let it rise again in a warm place for another 45 to 60 minutes, or until the dough has risen about an inch above the rim of the pan. This second rise ensures a lighter, airier texture in the final bread. Preheat your oven to 375°F (190°C) during this second rise so it’s ready when the dough is.
Conclusion:
I hope you’ve enjoyed learning how to make this incredibly versatile and delicious Buttermilk Bread Recipe! This recipe delivers a wonderfully tender crum extractb and a slightly tangy flavor that truly elevates it beyond your average loaf. Whether you’re a seasoned baker or just starting out, this Buttermilk Bread Recipe is a fantastic addition to your baking repertoire. It’s proof that simple ingredients can create something truly special.
This Buttermilk Bread Recipe is perfect served warm with a generous spread of butter, or alongside your favorite soups and stews. It also makes for amazing toast or the base for delicious sandwiches. For variations, consider adding herbs like rosemary or thyme to the dough for an savory twist, or a touch of honey for a subtle sweetness. Don’t be afraid to experiment!
I encourage you to give this Buttermilk Bread Recipe a try. The aroma that fills your kitchen as it bakes is simply divine, and the taste is even better. Happy baking!
Frequently Asked Questions about Buttermilk Bread Recipe:
Q: Can I use regular milk instead of buttermilk in this Buttermilk Bread Recipe?
While you can substitute, the unique tang and tenderizing properties of buttermilk are what make this Buttermilk Bread Recipe so special. If you must substitute, you can create a buttermilk substitute by mixing 1 tablespoon of lemon juice or white vinegar with enough milk to make 1 cup, then let it sit for 5-10 minutes before using. However, the texture and flavor will be slightly different.
Q: How should I store leftover Buttermilk Bread?
Store your cooled Buttermilk Bread at room temperature in an airtight container or bread bag for up to 3-4 days. If you won’t finish it within that time, it freezes beautifully. Wrap the loaf or individual slices tightly in plastic wrap, then in foil or a freezer bag, and it will keep for up to 3 months.
Easy Buttermilk Bread Recipe-Soft & Delicious
A soft, delicious, and easy-to-make buttermilk bread recipe with a tender crumb and a delightful tang.
Ingredients
-
1 packet active dry yeast
-
1 pinch ground ginger
-
1 teaspoon granulated sugar
-
1/4 cup warm water (105F – 110F)
-
2 cups cultured buttermilk, warm (105F – 110F)
-
1/3 cup honey
-
1 teaspoon kosher salt
-
3/4 teaspoon baking soda
-
6 cups bread flour
-
1/4 cup unsalted butter, melted and cooled slightly
Instructions
-
Step 1
Activate the yeast by combining warm water, sugar, and active dry yeast in a large mixing bowl. Stir gently and let sit for 5-10 minutes until foamy and bubbly. -
Step 2
Add warm cultured buttermilk and honey to the activated yeast. Stir until well combined. In a separate bowl, whisk together bread flour, kosher salt, and baking soda. Gradually add dry ingredients to wet ingredients, mixing until a shaggy dough forms. Stir in melted butter. -
Step 3
Turn the dough onto a lightly floured surface and knead for 8-10 minutes until smooth and elastic. Add a tablespoon of flour at a time if too sticky, but avoid over-flouring. -
Step 4
Place the kneaded dough in a lightly greased bowl, cover, and let rise in a warm place for 1 to 1.5 hours, or until doubled in size. -
Step 5
Gently punch down the dough, shape it into a loaf, and place it into a greased 9×5 inch loaf pan. Cover and let rise for another 45-60 minutes until about an inch above the rim. Preheat oven to 375°F (190°C) during this rise. -
Step 6
Bake the bread in the preheated oven for 30-35 minutes, or until golden brown and the internal temperature reaches 200°F (93°C).
Important Information
Nutrition Facts (Per Serving)
It is important to consider this information as approximate and not to use it as definitive health advice.
Allergy Information
Please check ingredients for potential allergens and consult a health professional if in doubt.