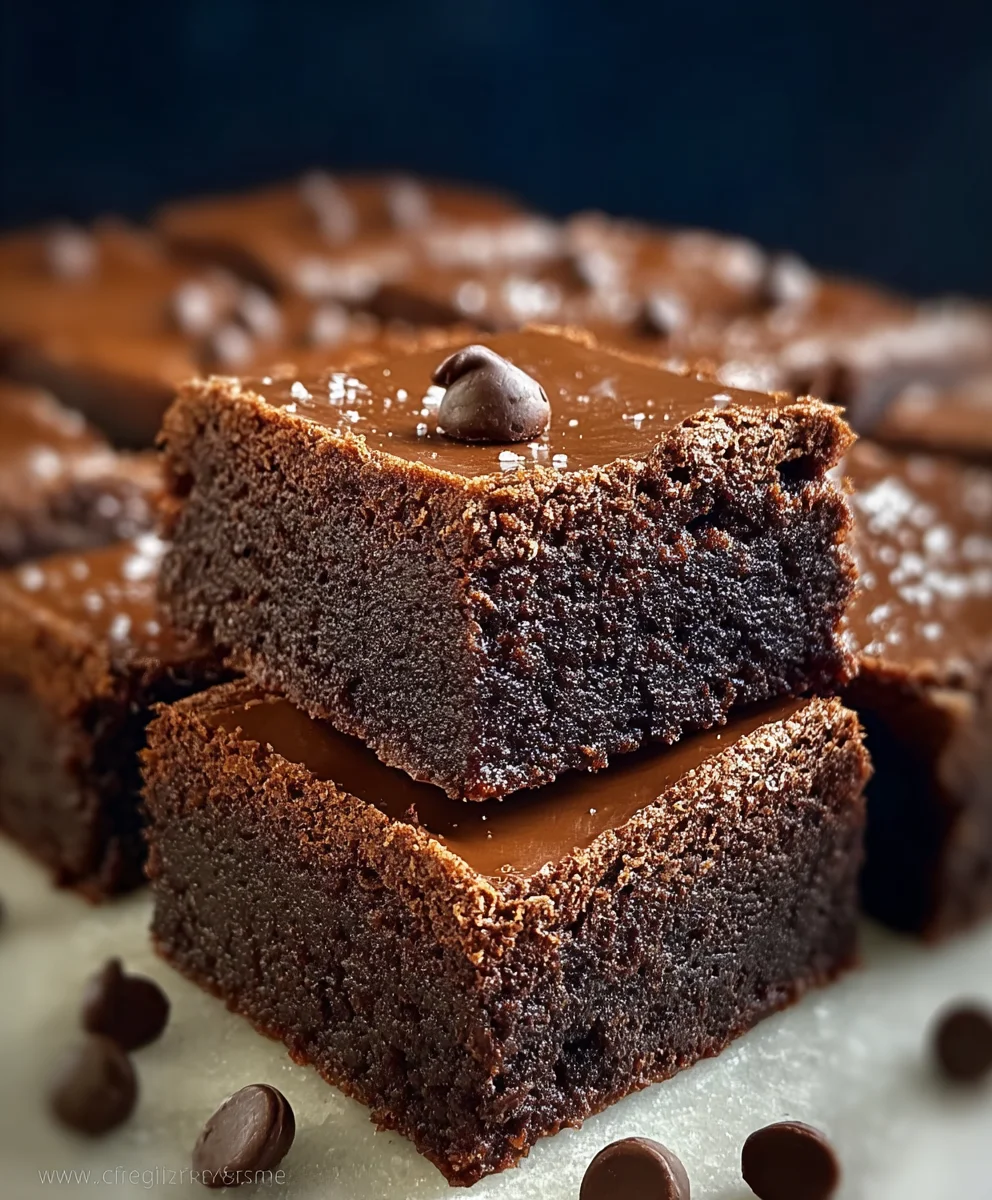
Decadent Chocolate Brownie Squares-Easy Homemade Treat
Chocolate Brownie Squares are more than just a dessert; they are a symphony of rich, fudgy indulgence that transports you to a state of pure bliss. Who can resist the allure of that deep, dark chocolate flavor, the satisfying chew, and the occasional delightful surprise of a molten chocolate chip? These aren’t just any brownies; they’re a hug in edible form, perfect for celebrating life’s little victories or simply as a comforting companion on a quiet evening. What truly sets our Chocolate Brownie Squares apart is the delicate balance of intense cocoa, the perfect crum extractb, and an unforgettably gooey center. They strike that elusive chord between cakey and fudgy, making every bite an absolute dream. Get ready to bake up a batch of pure happiness that will have everyone beggin extractg for the secret recipe.
Ingredients:
- 1/2 cup unsalted butter, melted
- 1 cup granulated sugar
- 1/3 cup brown sugar
- 2 large eggs
- 1 teaspoon vanilla extract
- 1/2 cup unsweetened cocoa powder
- 3/4 cup all-purpose flour
- 1/4 teaspoon salt
- 1/4 teaspoon baking powder
- 1/2 cup chocolate chips (for the batter)
- 1/2 cup milk chocolate chips (for topping)
Preparing Your Brownie Batter
Step 1: Combine Wet Ingredients and Sugars
First, let’s get our wet ingredients and sugars combined. In a medium-sized mixing bowl, pour in your 1/2 cup of melted unsalted butter. To this, add your 1 cup of granulated sugar and 1/3 cup of brown sugar. Whisk these together vigorously until the mixture is smooth and well combined. It’s important to ensure the sugars are thoroughly incorporated with the butter, as this contributes to the fudgy texture of the brownies. The brown sugar, in particular, adds a wonderful chegrape juicess and a deeper caramel note to the finished product. Don’t be afraid to whisk for a good minute or two; this step is foundational for delicious brownies.
Step 2: Incorporate Eggs and Vanilla
Next, we’ll add our eggs and vanilla extract to the sugar and butter mixture. Crack your 2 large eggs into the bowl, one at a time, whisking well after each addition. This ensures the eggs are fully emulsified into the batter, creating a richer and more stable structure. Following the eggs, add the 1 teaspoon of vanilla extract. The vanilla doesn’t just add flavor; it also helps to enhance the chocolatey notes of the cocoa. Continue whisking until everything is smoothly incorporated and the mixture has a glossy appearance. You should notice the color deepening slightly at this stage.
Step 3: Sift in Dry Ingredients
Now it’s time to bring in our dry ingredients. In a separate, smaller bowl, whisk together the 1/2 cup of unsweetened cocoa powder, 3/4 cup of all-purpose flour, 1/4 teaspoon of salt, and 1/4 teaspoon of baking powder. Sifting these ingredients together is a crucial step. Sifting helps to aerate the flour and cocoa powder, preventing lumps and ensuring even distribution of all the dry components. This leads to a more consistent texture in your Chocolate Brownie Squares. Once sifted, gently add this dry mixture to your wet ingredients.
Step 4: Gently Mix Until Just Combined
This is a critical stage for achieving fudgy brownies. Using a spatula or a wooden spoon, gently fold the dry ingredients into the wet ingredients. Mix only until there are no visible streaks of flour. Overmixing at this point can develop the gluten in the flour too much, resulting in tougher brownies, and we want them to be wonderfully tender and chewy. You might still see a few small lumps, and that’s perfectly fine. The goal here is to incorporate everything without overworking the batter. It should be thick and rich.
Step 5: Fold in Chocolate Chips and Prepare for Baking
Finally, it’s time to add the delightful chocolate chips. Gently fold in the 1/2 cup of chocolate chips for the batter. These will melt slightly during baking, creating pockets of gooey chocolate throughout your Chocolate Brownie Squares. Once the chips are evenly distributed, prepare your baking pan. Preheat your oven to 350°F (175°C). Grease and flour an 8×8 inch baking pan, or line it with parchment paper, leaving an overhang on the sides to help lift the brownies out easily once they’re baked. Pour the brownie batter into the prepared pan and spread it evenly.
Finishing Touches and Baking
Step 6: Add Topping and Bake
Before baking, we’ll add our final layer of chocolatey goodness. Evenly sprinkle the 1/2 cup of milk chocolate chips over the top of the brownie batter. These will melt into a beautiful, glossy topping. Place the pan in your preheated oven and bake for 25-30 minutes. The brownies are done when a toothpick inserted into the center comes out with moist crum extractbs attached, but not wet batter. Be careful not to overbake, as this will dry them out. The edges should look set, and the center might still appear slightly soft.
Step 7: Cool and Cut
Once baked, carefully remove the pan from the oven and place it on a wire rack to cool completely. This is perhaps the hardest part – waiting! Allowing the Chocolate Brownie Squares to cool fully is essential for clean cutting and for the flavors to meld. Resist the urge to cut into them while they’re hot. Once completely cooled, use the parchment paper overhang to lift the entire slab of brownies out of the pan. Place it on a cutting board and use a sharp knife to cut them into squares. For an extra professional finish, you can wipe your knife clean between cuts. Enjoy your homemade Chocolate Brownie Squares!
Conclusion:
And there you have it – your very own batch of perfect Chocolate Brownie Squares! We hope you’ve enjoyed this journey into creating a truly decadent and satisfying dessert. The rich, fudgy center, the slightly chewy edge, and that irresistible chocolatey aroma are all hallmarks of a successful bake. These Chocolate Brownie Squares are incredibly versatile, making them a fantastic treat for any occasion. Serve them warm, perhaps with a scoop of vanilla ice cream or a dollop of whipped cream, for an extra touch of indulgence. They’re also delightful at room temperature with a glass of cold milk or a cup of coffee. Don’t be afraid to experiment with variations! You can fold in some chopped nuts like walnuts or pecans, swirl in some peanut butter or caramel, or even add a handful of chocolate chips for an extra chocolatey punch. We encourage you to get creative and make these Chocolate Brownie Squares your own. Happy baking!
Frequently Asked Questions:
How can I ensure my Chocolate Brownie Squares are fudgy?
To achieve that coveted fudgy texture, avoid overmixing the batter once you add the flour. Overmixing develops gluten, which can lead to tougher, cake-like brownies. Also, be careful not to overbake them! They should still look slightly underdone in the center when you take them out, as they will continue to cook as they cool.
Can I make Chocolate Brownie Squares ahead of time?
Absolutely! Chocolate Brownie Squares actually taste even better the next day after the flavors have had a chance to meld. Store them in an airtight container at room temperature for up to 3 days, or in the refrigerator for up to a week. You can gently rewarm them if desired.
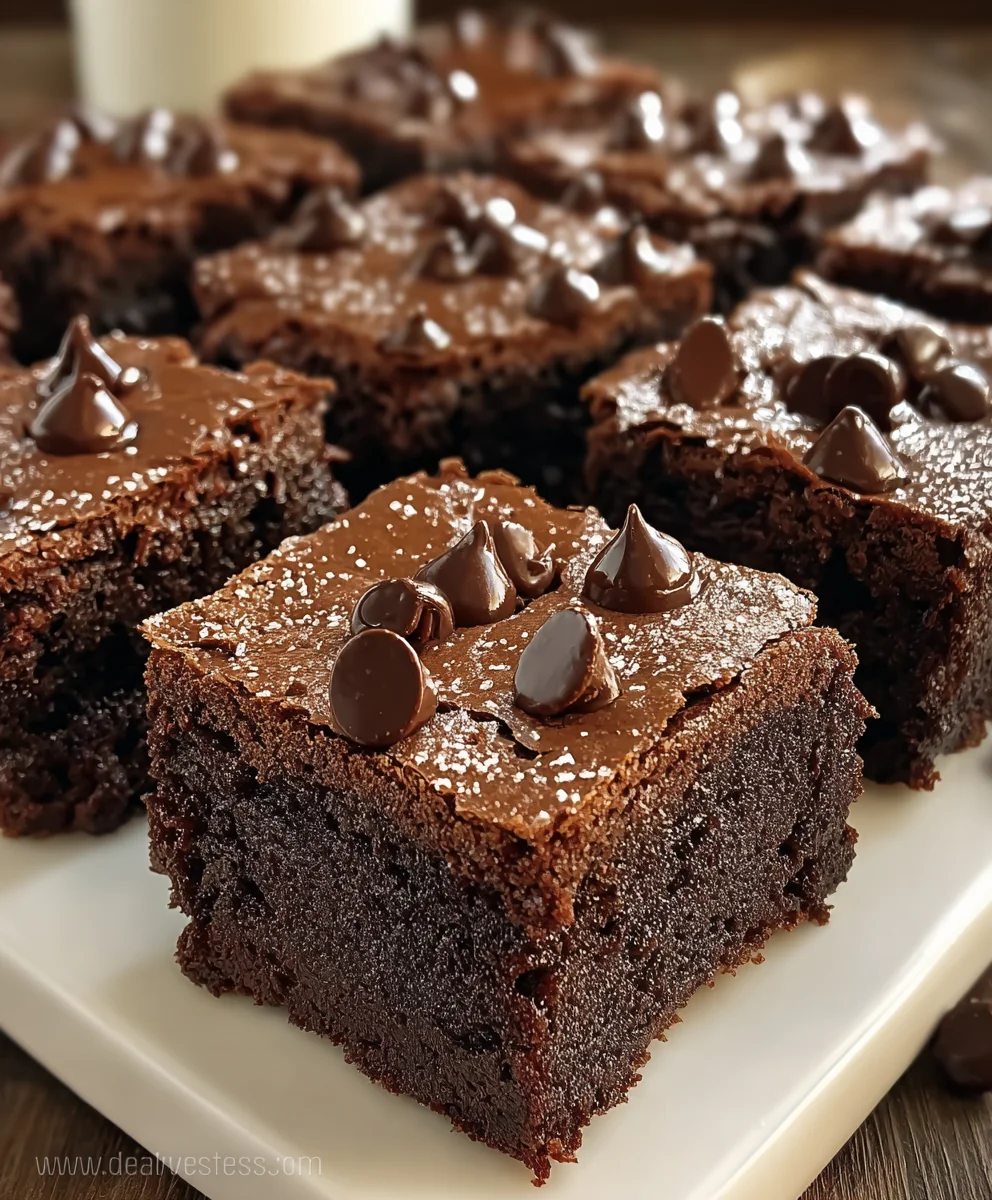
Decadent Chocolate Brownie Squares-Easy Homemade Treat
Whip up a batch of these incredibly easy and decadent homemade chocolate brownie squares. Rich, fudgy, and packed with chocolate chips, they’re the perfect treat for any occasion.
Ingredients
-
1/2 cup unsalted butter, melted
-
1 cup granulated sugar
-
1/3 cup brown sugar
-
2 large eggs
-
1 teaspoon vanilla extract
-
1/2 cup unsweetened cocoa powder
-
3/4 cup all-purpose flour
-
1/4 teaspoon salt
-
1/4 teaspoon baking powder
-
1/2 cup chocolate chips (for the batter)
-
1/2 cup milk chocolate chips (for topping)
Instructions
-
Step 1
In a medium bowl, whisk together melted butter, granulated sugar, and brown sugar until smooth and well combined. -
Step 2
Beat in eggs one at a time, then whisk in vanilla extract until the mixture is glossy. -
Step 3
In a separate bowl, whisk together cocoa powder, flour, salt, and baking powder. Sift this dry mixture into the wet ingredients. -
Step 4
Gently fold the dry ingredients into the wet ingredients with a spatula until just combined. Be careful not to overmix. -
Step 5
Fold in the chocolate chips for the batter. Preheat oven to 350°F (175°C). Grease and flour an 8×8 inch baking pan or line with parchment paper. -
Step 6
Pour batter into the prepared pan, spread evenly, and sprinkle the milk chocolate chips for topping over the batter. Bake for 25-30 minutes, or until a toothpick inserted into the center comes out with moist crumbs. -
Step 7
Let cool completely on a wire rack before cutting into squares. Enjoy!
Important Information
Nutrition Facts (Per Serving)
It is important to consider this information as approximate and not to use it as definitive health advice.
Allergy Information
Please check ingredients for potential allergens and consult a health professional if in doubt.