Cherry Cheesecake Hand Pies- Easy & Delicious Dessert
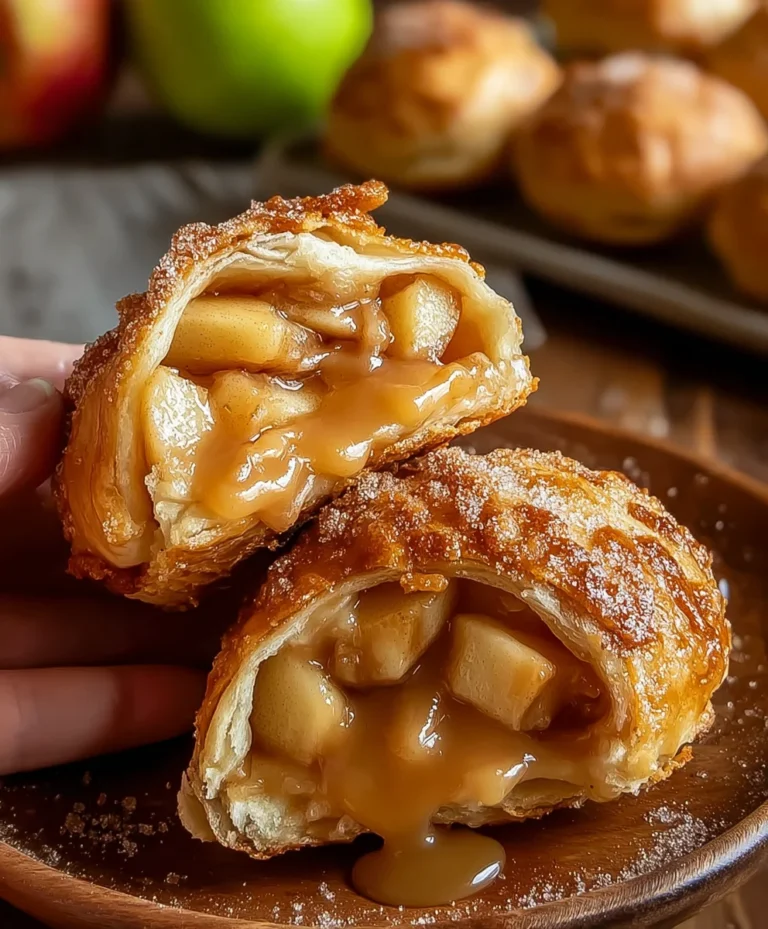
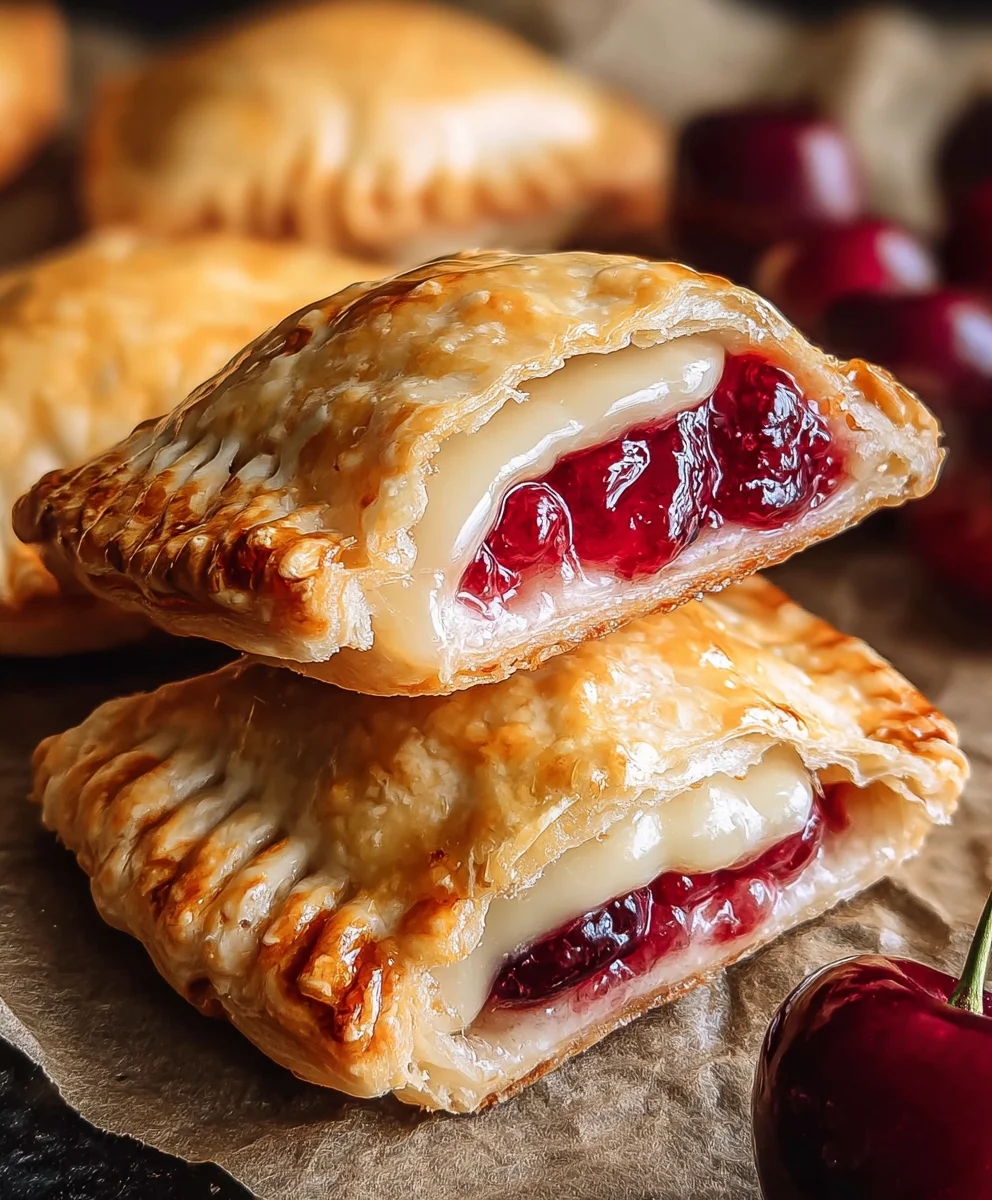
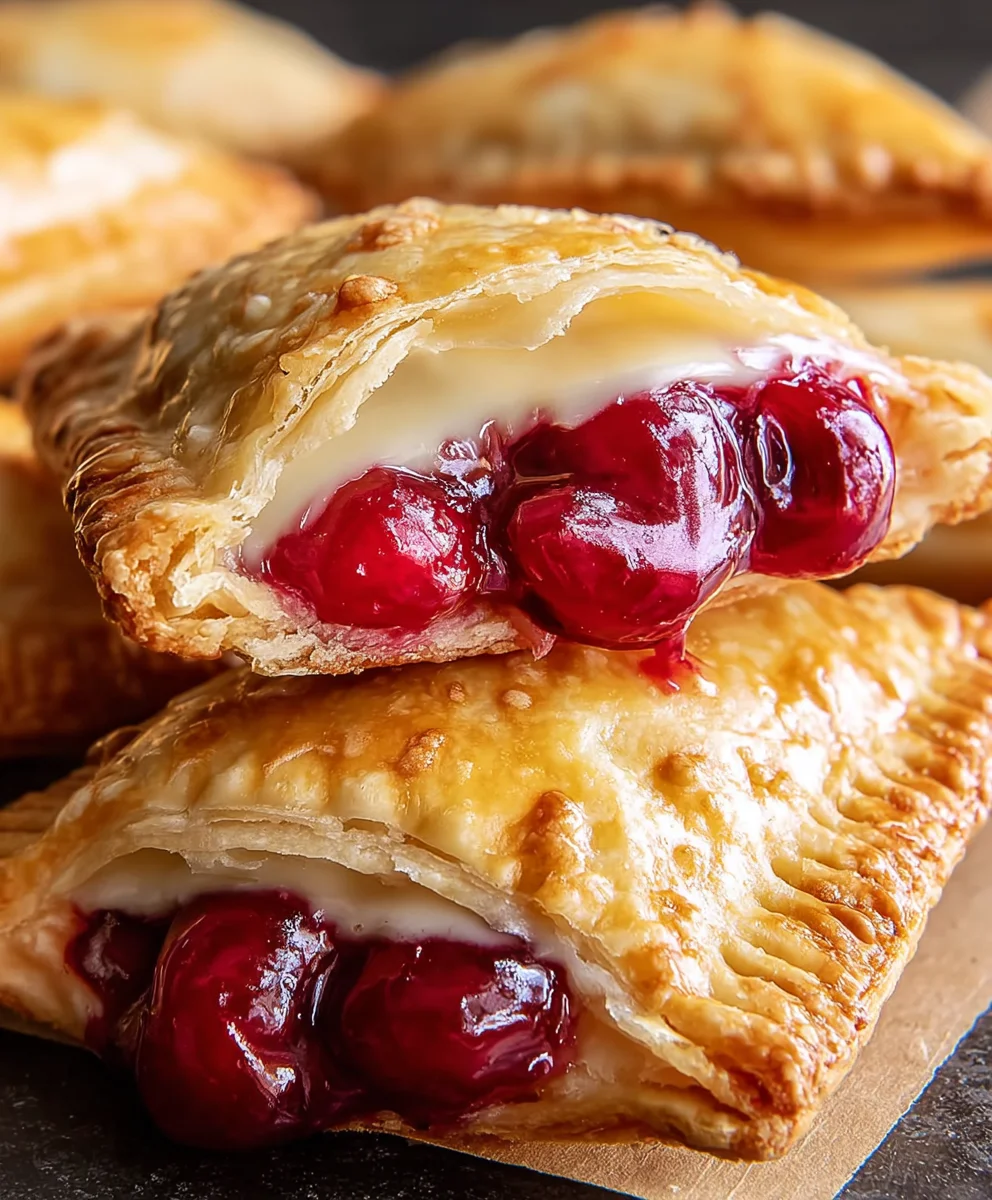
Cherry Cheesecake Hand Pies are more than just a dessert; they’re a delightful journey back to childhood picnics and carefree summer afternoons, all rolled into a perfectly portable package. There’s an undeniable magic in the combination of creamy, tangy cheesecake filling nestled within a tender, flaky crust, bursting with the sweet-tart flavor of ripe cherries. This isn’t your average cheesecake; the hand pie format makes it incredibly fun and accessible, perfect for sharing at parties, packing for a lunchbox treat, or simply enjoying as a personal indulgence. What truly sets these Cherry Cheesecake Hand Pies apart is the masterful balance of textures and flavors – the crisp exterior giving way to the smooth, luxurious filling, all complemented by the vibrant pop of cherry. Get ready to fall in love with this whimsical and utterly delicious creation!
Ingredients:
- 1/4 cup granulated sugar
- 4 oz cream cheese, softened
- 21 oz can cherry pie filling
- 1 package refrigerated pie crust (2 crusts)
- 1/2 cup powdered sugar
- 1 teaspoon corn syrup
- 1 tablespoon water
- Vegetable oil, for deep frying (about 4-6 cups)
Preparing the Filling
Cherry Cream Cheese Mixture
To begin extract crafting these delightful Cherry Cheesecake Hand Pies, our first step is to create the luscious filling that will bring everything together. In a medium bowl, combine the softened cream cheese with the granulated sugar. It’s crucial that your cream cheese is truly softened; this will make it much easier to achieve a smooth, lump-free texture. You can leave it on the counter for about an hour or gently warm it in the microwave for 15-20 second intervals, being careful not to melt it. Once combined, beat these two ingredients together with a whisk or an electric mixer on low speed until they are thoroughly blended and creamy. This forms the rich base for our cherry cheesecake experience.
Next, gently fold in the entire can of cherry pie filling into the cream cheese mixture. Use a spatula for this to avoid breaking up the cherries too much, as we want to retain some of their delightful texture. The goal here is to evenly distribute the cherries throughout the creamy base, creating swirls of vibrant red within the pnon-alcoholic ale cream cheese. This mixture should be thick and spoonable, ready to be encased in our flaky pie crusts. Set this prepared filling aside while we move on to the crust.
Assembling the Hand Pies
Cutting and Filling the Crusts
Now it’s time to work with our refrigerated pie crusts. Unroll one package of refrigerated pie crusts onto a lightly floured surface. You’ll find two crusts in the package. Carefully separate them. Using a round cookie cutter, a biscuit cutter, or even the rim of a drinking glass, cut out as many circles as you can from each crust. Aim for a diameter of about 4 to 5 inches. The number of circles you get will depend on the size of your cutter, but you should have enough for at least 8-10 hand pies, depending on how closely you space your cuts. Gather any scraps, re-roll them gently, and cut out more circles to maximize your yield.
Take one of your cut crust circles and place it on a clean, dry work surface or a piece of parchment paper. Spoon about 1 to 2 tablespoons of the cherry cream cheese filling onto one half of the circle, leaving a 1/2-inch border around the edge. Be careful not to overfill, as this can make sealing difficult and might cause the filling to ooze out during frying. Repeat this process with the remaining crust circles and filling.
Sealing the Hand Pies
Now, take a second crust circle and place it over the filling on the first circle, aligning the edges as best as possible. Use your fingers to gently press the edges together, ensuring a good seal. For an extra secure seal and a decorative touch, you can use the tines of a fork to crimp the edges. Press down firmly with the fork along the entire perimeter of the hand pie. This not only helps prevent any filling from escaping during the frying process but also gives your Cherry Cheesecake Hand Pies a classic, appealing look. If any filling did manage to escape onto the edges, gently wipe it away with a damp paper towel before proceeding, as this can interfere with the seal.
Frying the Hand Pies
Heating the Oil
This is where the magic happens, transforming our assembled pies into golden, crispy delights. In a large, heavy-bottomed pot or a deep fryer, pour in your vegetable oil. You’ll need enough oil to allow the hand pies to be fully submerged, so about 4-6 cups should suffice, depending on the size of your pot. Heat the oil over medium-high heat until it reaches a temperature of 350°F (175°C). It’s highly recommended to use a thermometer to monitor the oil temperature. If the oil isn’t hot enough, the pies will absorb too much grease and become soggy. If it’s too hot, they will brown too quickly on the outside while remaining undercooked on the inside. You can test the oil by dropping a tiny bit of pie crust dough into it; it should sizzle immediately and float to the top.
Frying to Golden Perfection
Once the oil is at the correct temperature, carefully place 2-3 hand pies into the hot oil at a time. Do not overcrowd the pot, as this will lower the oil temperature and lead to uneven frying. Fry the hand pies for about 2-3 minutes per side, or until they are beautifully golden brown and puffed up. Use a slotted spoon or a spider strainer to gently turn the pies over to ensure even browning. They will puff up slightly as they cook, indicating the flaky layers are crisping beautifully.
As each batch of hand pies is done, carefully remove them from the hot oil with your slotted spoon and place them on a wire rack set over a baking sheet or a plate lined with paper towels. This allows any excess oil to drain off, keeping your Cherry Cheesecake Hand Pies wonderfully crisp. Allow the oil to return to 350°F (175°C) before frying the next batch.
Glazing the Hand Pies
Preparing the Glaze
While your delicious Cherry Cheesecake Hand Pies are cooling slightly, we can prepare a simple yet elegant glaze to enhance their flavor and appearance. In a small bowl, whisk together the powdered sugar, corn syrup, and water until smooth and lump-free. The corn syrup is key here; it adds a beautiful sheen and helps the glaze set slightly without becoming hard. If the glaze seems too thick, add a tiny bit more water, a teaspoon at a time, until you reach your desired drizzling consistency. If it’s too thin, add a little more powdered sugar.
Applying the Glaze
Once the hand pies have cooled for a few minutes and are no longer piping hot, but still warm, it’s time to apply the glaze. You can either drizzle the glaze over the top of each hand pie using a spoon or a piping bag, or you can dip the tops of the hand pies directly into the glaze. For a more artistic touch, a drizzle is often preferred. Let the glaze set for a few minutes before serving. Enjoy these amazing Cherry Cheesecake Hand Pies!
Conclusion:
And there you have it – your very own batch of delicious Cherry Cheesecake Hand Pies! We’ve walked through each step to ensure your success, from creating the perfect flaky pastry to crafting that irresistible creamy cheesecake filling and vibrant cherry topping. These little pockets of joy are a delightful way to bring a classic dessert into a portable, fun-sized package.
I hope you feel inspired and confident to whip up these treats for any occasion. They are wonderfully versatile! Serve them warm with a dollop of whipped cream or a scoop of vanilla ice cream for an extra decadent experience. For a lighter option, a dusting of powdered sugar or a simple fruit salad makes a perfect accompaniment. Don’t be afraid to experiment with variations – perhaps swap the cherries for mixed berries, add a hint of lemon zest to the cheesecake filling, or even try a chocolate crust. The possibilities are endless! Enjoy sharing these delightful Cherry Cheesecake Hand Pies with loved ones, or savoring them all to yourself. Happy baking!
Frequently Asked Questions:
Can I make the pastry dough ahead of time?
Absolutely! You can prepare the pastry dough up to two days in advance and store it wrapped tightly in plastic wrap in the refrigerator. It often tastes even better when it has had time to chill. Just let it sit at room temperature for about 15-20 minutes before rolling it out.
How should I store leftover Cherry Cheesecake Hand Pies?
Leftover Cherry Cheesecake Hand Pies can be stored in an airtight container at room temperature for up to two days, or in the refrigerator for up to four days. For longer storage, you can freeze them, either baked or unbaked. Baked pies should be cooled completely before freezing. Reheat gently in a moderate oven or toaster oven to restore crispness.
Cherry Cheesecake Hand Pies
Easy and delicious handheld dessert with a creamy cherry cheesecake filling encased in a flaky fried crust, finished with a sweet glaze.
Ingredients
-
1/4 cup granulated sugar
-
4 oz cream cheese, softened
-
21 oz can cherry pie filling
-
1 package refrigerated pie crust (2 crusts)
-
1/2 cup powdered sugar
-
1 teaspoon corn syrup
-
1 tablespoon water
-
Vegetable oil, for deep frying (about 4-6 cups)
Instructions
-
Step 1
Prepare the filling: In a medium bowl, combine softened cream cheese and granulated sugar. Beat until smooth and creamy. Gently fold in the cherry pie filling, being careful not to break up the cherries too much. Set aside. -
Step 2
Assemble the hand pies: Unroll pie crusts and cut out 4-5 inch circles. Place 1-2 tablespoons of filling onto one half of each circle, leaving a border. Place a second crust circle over the filling, aligning edges. Crimp edges with a fork to seal. -
Step 3
Heat oil for frying: Heat 4-6 cups of vegetable oil in a large, heavy-bottomed pot or deep fryer to 350°F (175°C). Use a thermometer to monitor temperature. -
Step 4
Fry the hand pies: Carefully place 2-3 hand pies into the hot oil. Fry for 2-3 minutes per side, until golden brown and puffed. Remove with a slotted spoon and place on a wire rack to drain. -
Step 5
Prepare and apply the glaze: Whisk together powdered sugar, corn syrup, and water until smooth. Drizzle or dip the slightly cooled hand pies into the glaze. Let set before serving.
Important Information
Nutrition Facts (Per Serving)
It is important to consider this information as approximate and not to use it as definitive health advice.
Allergy Information
Please check ingredients for potential allergens and consult a health professional if in doubt.