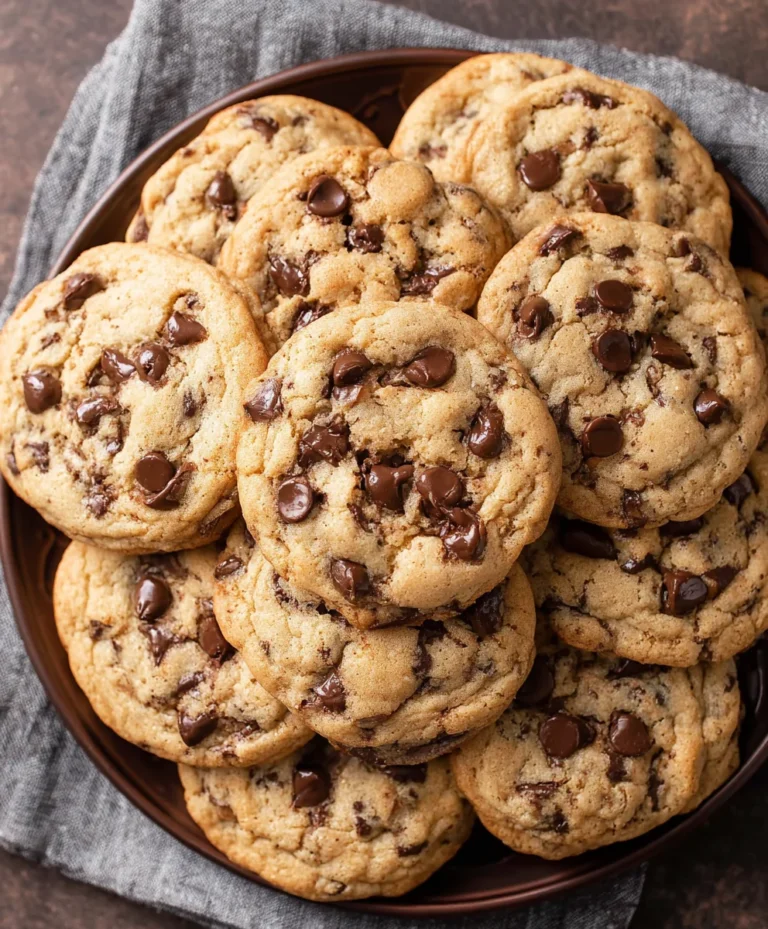
Bakery Style Chocolate Chip Cookies Recipe – The Best
Bakery Style Chocolate Chip Cookies are more than just a treat; they’re a warm hug in cookie form, a nostalgic trip back to childhood, and a guaranteed smile-maker. We all have that memory, don’t we? That perfect cookie from the local bakery, slightly crisp on the edges, wonderfully soft and chewy in the center, packed with melt-in-your-mouth chocolate chips. That’s precisely the magic we’re capturing today. Forget the dry, crum extractbly imposters; we’re diving deep into the secrets that elevate a simple cookie to an artisanal masterpiece. What makes these Bakery Style Chocolate Chip Cookies so irresistible? It’s a delicate balance of ingredients, a touch of technique, and a whole lot of love that results in that unmistakable, crave-worthy texture and flavor that rivals any professional patisserie. Prepare to impress yourself and everyone around you with these incredible cookies!

Ingredients:
- 2 cups minus 2 tablespoons cake flour (228 grams)
- 1 2/3 cups bread flour (217 grams)
- 1 1/4 teaspoons baking soda (5 grams)
- 1 1/2 teaspoons baking powder (6 grams)
- 1 teaspoon salt (6 grams)
- 1 1/4 cups salted butter, softened (10 ounces)
- 1 1/4 cups light brown sugar (275 grams)
- 1 cup plus 2 tablespoons white granulated sugar (226 grams)
- 2 large eggs
- 2 teaspoons vanilla extract (10 grams)
- 1 cup shaved or finely chopped dark chocolate (at least 60% cacao) (146 grams)
- 1 1/2 cups dark chocolate chips (or semi-sweet if preferred) (267 grams)
- 1/4 cup white granulated sugar (for rolling dough balls)
- Sea salt, for sprinkling on top
Preparing the Dough
Let’s get started on these incredible Bakery Style Chocolate Chip Cookies! The first crucial step is to combine our dry ingredients. In a medium-sized bowl, whisk together the cake flour, bread flour, baking soda, baking powder, and salt. Whisking these together thoroughly ensures that the leavening agents and salt are evenly distributed throughout the flour mixture, which is key for consistent cookie texture and rise. Set this bowl aside for now.
Next, in a large mixing bowl, we’ll cream together the softened butter and sugars. I find it easiest to use an electric mixer for this, but a sturdy whisk and some arm power will also work. You want to beat the butter and sugars until the mixture is light and fluffy. This creaming process incorporates air into the dough, which contributes significantly to the cookie’s tender texture and chegrape juicess. Scrape down the sides of the bowl periodically to make sure all the butter and sugar are incorporated evenly.
Now it’s time to add the wet ingredients to our creamed butter and sugar mixture. Add the two large eggs, one at a time, beating well after each addition until fully incorporated. Then, stir in the vanilla extract. The eggs act as a binder, and the vanilla adds that classic comforting aroma and flavor that we all love in chocolate chip cookies. Make sure everything is well combined before moving on to the dry ingredients.
Gradually add the dry ingredient mixture to the wet ingredients, mixing on low speed or by hand until just combined. Be careful not to overmix at this stage! Overmixing can develop the gluten in the flour too much, resulting in tougher cookies. We’re looking for a dough that has just come together, with no streaks of dry flour visible.
Now for the stars of the show: the chocolate! Gently fold in the shaved or finely chopped dark chocolate and the dark chocolate chips. Using a mix of shaved chocolate and chips gives us wonderful pockets of melted chocolate along with those satisfying chip textures. A spatula is perfect for this folding motion, ensuring that the chocolate is distributed evenly without crushing the dough.
Chilling and Shaping the Cookies
This is where patience pays off for truly bakery-style results. Cover the bowl with plastic wrap and refrigerate the dough for at least 2 hours, or preferably overnight. Chilling the dough allows the flour to fully hydrate and the fats to firm up. This not only deepens the flavor but also prevents the cookies from spreading too much during baking, resulting in thicker, chewier cookies with beautifully crinkled tops.
When you’re ready to bake, preheat your oven to 375°F (190°C). Line baking sheets with parchment paper. This prevents sticking and makes cleanup a breeze. Scoop out portions of the chilled dough using a cookie scoop or by rolling them into balls about 1.5 to 2 inches in diameter. Place the dough balls about 2 inches apart on the prepared baking sheets.
For an extra touch of bakery magic, prepare a small bowl with the 1/4 cup of white granulated sugar. Gently roll each dough ball in the sugar before placing it on the baking sheet. This creates a delightful crispy exterior and adds a subtle sweetness. Then, just before baking, lightly sprinkle a few flakes of sea salt on top of each cookie dough ball. The salt enhances the sweetness of the chocolate and balances the overall flavor profile beautifully.
Baking to Perfection
Bake for 9 to 12 minutes, or until the edges are golden brown and the centers still look slightly soft and underdone. The cookies will continue to cook and set up on the baking sheet after you remove them from the oven. This is the secret to achieving that perfect chewy center. If you prefer a crispier cookie, you can bake them a minute or two longer, but keep a close eye on them to prevent burning.
Once baked, let the cookies cool on the baking sheets for about 5-10 minutes before transferring them to a wire rack to cool completely. This allows them to firm up enough to be moved without falling apart. Enjoy these decadent Bakery Style Chocolate Chip Cookies with a glass of milk or your favorite hot beverage!
Conclusion:
You’ve done it! You’ve successfully baked your very own batch of Bakery Style Chocolate Chip Cookies. These aren’t just any cookies; they’re the kind that evoke warm memories and satisfy every sweet craving with their perfect balance of chewy centers and slightly crisp edges, bursting with rich chocolatey goodness. The aroma filling your kitchen as they bake is truly a reward in itself.
These delightful cookies are incredibly versatile. Enjoy them warm from the oven with a tall glass of cold milk for a truly classic experience. They’re also fantastic crum extractbled over ice cream, used to make decadent cookie sandwiches, or simply enjoyed with your favorite hot beverage.
Don’t be afraid to get creative with variations! Feel free to experiment with different types of chocolate chips like dark, milk, white, or even a mix. Adding chopped nuts such as walnuts or pecans can provide a lovely crunch, or try a pinch of sea salt on top just before baking for a gourmet touch. I encourage you to make this recipe your own and discover your favorite way to enjoy these Bakery Style Chocolate Chip Cookies. Happy baking!
Frequently Asked Questions:
Why are my Bakery Style Chocolate Chip Cookies not flat and chewy?
This often happens if your butter is too cold or if you overmix the dough. For flatter, chewier cookies, ensure your butter is softened but not melted, and avoid overworking the dough once the flour is added. Chilling the dough before baking can also sometimes result in slightly puffier cookies, so for ultimate flatness, try baking immediately after mixing.
Can I freeze the dough for Bakery Style Chocolate Chip Cookies?
Absolutely! Cookie dough freezes exceptionally well. Scoop individual portions onto a baking sheet, freeze until solid, then transfer to a freezer-safe bag or container. When you’re ready to bake, you can bake them directly from frozen, adding a few extra minutes to the baking time.
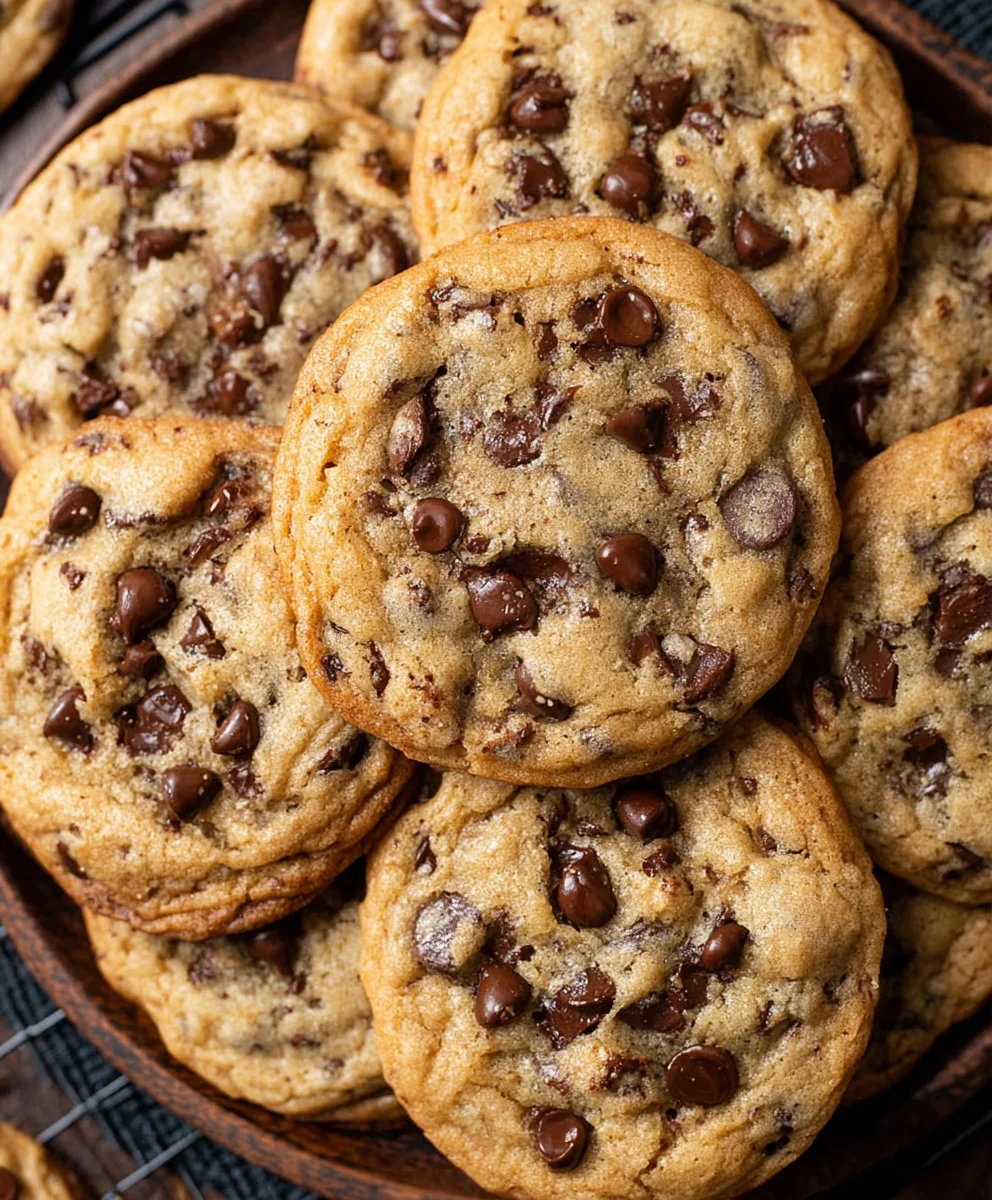
Bakery Style Chocolate Chip Cookies – The Best
Irresistible chocolate chip cookies with a perfect bakery-style texture, featuring a blend of shaved chocolate and chips for ultimate indulgence.
Ingredients
-
2 cups minus 2 tablespoons cake flour (228 grams)
-
1 2/3 cups bread flour (217 grams)
-
1 1/4 teaspoons baking soda (5 grams)
-
1 1/2 teaspoons baking powder (6 grams)
-
1 teaspoon salt (6 grams)
-
1 1/4 cups salted butter, softened (10 ounces)
-
1 1/4 cups light brown sugar (275 grams)
-
1 cup plus 2 tablespoons white granulated sugar (226 grams)
-
2 large eggs
-
2 teaspoons vanilla extract (10 grams)
-
1 cup shaved or finely chopped dark chocolate (at least 60% cacao) (146 grams)
-
1 1/2 cups dark chocolate chips (or semi-sweet if preferred) (267 grams)
-
1/4 cup white granulated sugar, for rolling dough balls
-
Sea salt, for sprinkling on top
Instructions
-
Step 1
In a medium bowl, whisk together cake flour, bread flour, baking soda, baking powder, and salt. Set aside. -
Step 2
In a large bowl, cream softened butter with light brown sugar and white granulated sugar until light and fluffy. Beat in eggs one at a time, then stir in vanilla extract. -
Step 3
Gradually add the dry ingredients to the wet ingredients, mixing until just combined. Fold in the shaved dark chocolate and chocolate chips. -
Step 4
Cover the dough and refrigerate for at least 2 hours, or preferably overnight. This step is crucial for flavor and texture. -
Step 5
Preheat oven to 375°F (190°C). Line baking sheets with parchment paper. Scoop dough into 1.5 to 2-inch balls. Roll each ball in 1/4 cup white granulated sugar and sprinkle with sea salt. -
Step 6
Bake for 9-12 minutes, or until edges are golden brown and centers are slightly soft. Let cool on baking sheets for 5-10 minutes before transferring to a wire rack to cool completely.
Important Information
Nutrition Facts (Per Serving)
It is important to consider this information as approximate and not to use it as definitive health advice.
Allergy Information
Please check ingredients for potential allergens and consult a health professional if in doubt.