Sweet Spicy Peach Salsa Canning Recipe-Flavorful Jar
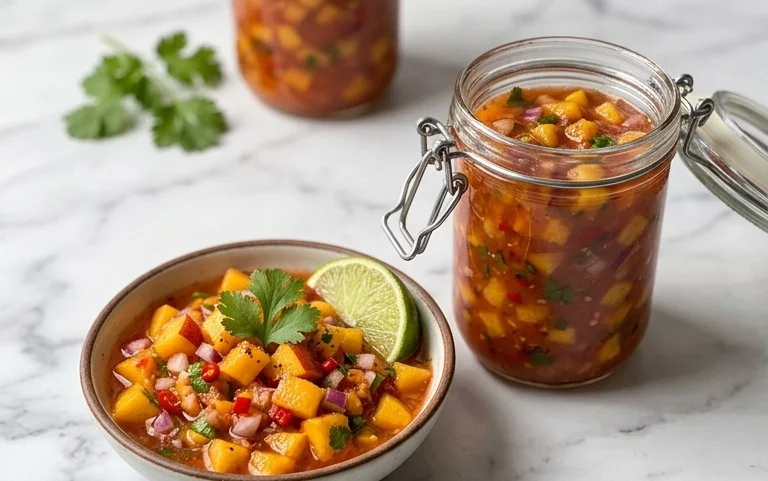
Sweet & Spicy Peach Salsa Canning Recipe is the ultimate way to capture the sun-kissed essence of summer and preserve it for months to come. Imagin extracte the vibrant burst of juicy peaches, kissed with a gentle heat and brightened with zesty lime and aromatic cilantro – it’s a flavor combination that truly sings. This isn’t just any salsa; it’s a gourmet condiment that transforms ordinary meals into extraordinary experiences. We love it because it offers that perfect balance of sweet and spicy, making it incredibly versatile. Whether you’re dipping tortilla chips, topping grilled chicken, or adding a surprising twist to your morning eggs, this sweet & spicy peach salsa canning recipe will become your go-to. Its magic lies in its ability to deliver a fresh, vibrant taste even in the depths of winter, a sweet reminder of warmer days.
Sweet & Spicy Peach Salsa Canning Recipe
There’s something incredibly satisfying about preserving the bounty of the season, and this sweet and spicy peach salsa is a perfect example of that. Imagin extracte vibrant summer peaches, their sweetness balanced by a touch of heat and the tang of lime and vinegar. Canning this salsa means you can enjoy a taste of sunshine all year round, whether slathered on grilled chicken, dolloped onto tacos, or simply scooped up with your favorite tortilla chips. This recipe is designed to be vibrant, flavorful, and, most importantly, safely preserved for your pantry. Let’s get started on creating this delicious condiment!
Ingredients:
Canning Preparation: A Foundation for Success
Before we dive into cooking, it’s crucial to prepare our canning station. Ensure you have clean canning jars, lids, and bands. Sterilize your jars by washing them thoroughly in hot, soapy water and then either running them through a dishwasher on a sanitize cycle or boiling them in water for at least 10 minutes. Keep them hot until ready to fill. Prepare your canner by filling it with enough water to cover the jars by at least an inch, and bring it to a simmer. Having everything ready streamlines the process and ensures a safe and successful canning experience.
Creating the Vibrant Salsa Base
The magic of this salsa lies in the fresh ingredients coming together. We’ll start by combining our prepared produce. In a large, non-reactive pot or Dutch oven, combine your diced peaches, diced tomatoes, diced chile peppers, and diced red onion. The peaches will lend their natural sweetness, while the tomatoes provide a juicy, acidic base. The chile peppers are where you can truly customize the heat level – jalapeños offer a moderate kick, while habaneros will bring a serious punch. Red onion adds a subtle sharpness that complements the sweetness of the fruit.
Building the Flavor Profile
Next, we introduce the aromatics and liquids that will transform these fresh ingredients into a cohesive and delicious salsa. Add the minced garlic to the pot. Garlic is essential for depth of flavor in any salsa. Pour in the distilled white vinegar and the bottled lime juice. Vinegar provides acidity, which is vital for both flavor and preservation, while lime juice adds a bright, zesty counterpoint that cuts through the sweetness of the peaches. Now, stir in the chile pepper flakes. Start with 1 tablespoon and taste later, adding more if you desire a spicier salsa. Finally, add the sea salt, which enhances all the other flavors.
Cooking and Simmering: Marrying the Flavors
Now it’s time to let the flavors meld and the salsa cook down slightly. Place the pot over medium-high heat and bring the mixture to a boil, stirring occasionally. Once boiling, reduce the heat to medium-low and let the salsa simmer, uncovered, for about 20-30 minutes. During this time, the vegetables will soften, and the liquid will reduce, concentrating the flavors. Stir frequently to prevent sticking, especially as it thickens. This simmering period is key to developing the characteristic texture and taste of a well-made salsa. You’ll notice the colors deepen and the aroma become incredibly enticing. If you find the salsa is too thin after 30 minutes, you can continue to simmer it for a bit longer, stirring more often. Conversely, if it becomes too thick for your liking, you can add a splash more lime juice or vinegar.
Testing for Set and Acidity
Before jarring, it’s important to ensure your salsa has the right consistency and acidity for safe canning. A good indication of the right consistency is when a spoonful dripped from the spoon holds its shape for a few seconds before sliding off. As for acidity, the vinegar and lime juice provide the necessary acidity for safe water bath canning. This recipe has been formulated to meet the required acidity levels for safe preservation when processed correctly. However, it’s always a good practice to have a pH meter if you are concerned about acidity levels, as variations in fruit and vegetable acidity can occur.
Jarring and Processing: Sealing in the Sunshine
Once your salsa has reached the desired consistency and you are happy with the flavor, it’s time to fill your hot, sterilized jars. Ladle the hot salsa into the prepared jars, leaving about 1/2 inch of headspace. Headspace is the empty space between the top of the food and the rim of the jar; it’s crucial for creating a proper seal. Wipe the rims of the jars clean with a damp cloth to remove any food residue, which could interfere with sealing. Place the flat lids on the jars and screw on the bands fingertip-tight. Do not overtighten, as air needs to escape during processing.
Carefully place the filled jars into your simmering water bath canner, ensuring they are covered by at least an inch of water. Once all jars are in the canner, increase the heat and bring the water to a rolling boil. Process the jars for the recommended time for your altitude. For altitudes up to 1,000 feet, a processing time of 15 minutes is typically recommended. For higher altitudes, adjust the processing time accordingly. It’s essential to consult a reliable canning guide for specific altitude adjustments.
Cooling and Checking for Seals: The Final Frontier
After the processing time is complete, turn off the heat and carefully remove the canner lid. Let the jars sit in the canner for 5 minutes. This tempering period helps prevent thermal shock and jar breakage. Then, using a jar lifter, carefully remove the jars from the canner and place them on a towel-lined counter or cooling rack. Leave at least an inch of space between jars to allow for air circulation. You will likely hear popping sounds as the jars cool; this is the lids sealing. Let the jars cool undisturbed for 12-24 hours. After this time, check each lid by pressing down on the center. If the lid does not flex or pop up, it has senon-alcoholic aled properly. Unsenon-alcoholic aled jars should be refrigerated and consumed within a few weeks or reprocessed. Store senon-alcoholic aled jars in a cool, dark, and dry place. Enjoy your homemade sweet and spicy peach salsa!
Conclusion:
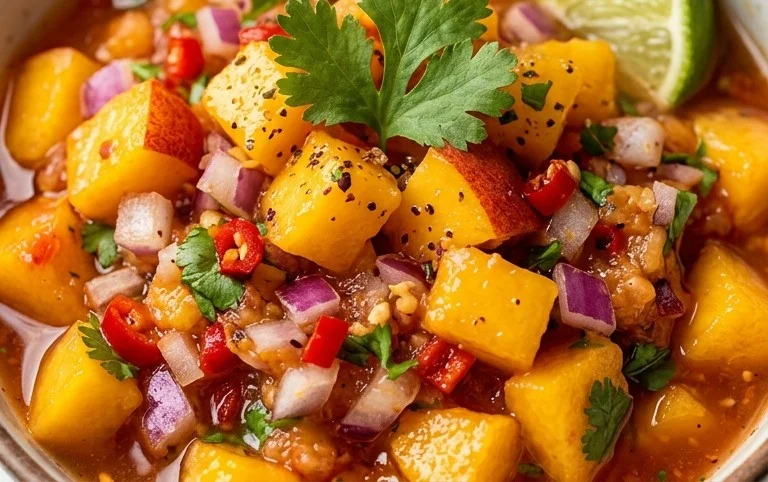
There you have it – a delicious and vibrant Sweet & Spicy Peach Salsa canning recipe that’s perfect for preserving the taste of summer! This salsa is truly a winner because it strikes that perfect balance between the natural sweetness of ripe peaches and a delightful kick of spice. The canning process ensures you can enjoy this delightful condiment all year round, bringin extractg a burst of sunshine to any meal. I love serving it with grilled chicken or fish, as a topping for tacos, or even as a dip with tortilla chips. The versatility is fantastic!
Feel free to get creative with variations! You can adjust the heat level by adding more or less jalapeño or even trying different chili peppers like serrano for an extra punch. If you’re not a fan of cilantro, try adding fresh mint or basil for a different herbaceous note. I highly encourage you to give this Sweet & Spicy Peach Salsa canning recipe a try. It’s a rewarding project that yields incredibly delicious results!
Frequently Asked Questions:
What kind of peaches are best for this recipe?
You’ll want to use firm, ripe freestone peaches. This makes them easier to peel and pit. Overly soft or bruised peaches can become mushy during the canning process.
Can I make this salsa without canning it?
Absolutely! If you plan to consume the salsa within a week or two, you can simply store it in an airtight container in the refrigerator. Just be aware that the flavor and texture will be freshest when enjoyed sooner rather than later compared to the long-term preservation offered by canning.
How long does the canned salsa last?
Properly canned salsa can last for at least a year, sometimes even longer, when stored in a cool, dark place. Always check for signs of spoilage like bulgin extractg lids or off odors before consuming.
Sweet & Spicy Peach Salsa Canning Recipe
A delicious and vibrant peach salsa with a sweet and spicy kick, perfect for canning and enjoying year-round.
Ingredients
-
8 cups diced peaches (peeled and pitted)
-
4 cups diced tomatoes
-
2 cups diced chile peppers (choose pepper according to your heat preference)
-
2 cups diced red onion
-
5-7 cloves garlic (minced)
-
1 1/2 cup distilled white vinegar
-
1 cup bottled lime juice
-
1-2 tablespoons chile pepper flakes (more or less according to to taste)
-
1 tablespoon sea salt
Instructions
-
Step 1
Prepare your canning supplies: sterilize jars, lids, and bands. Have a large pot for boiling jars and a smaller pot for the salsa. -
Step 2
In a large pot, combine the diced peaches, diced tomatoes, diced chile peppers, diced red onion, and minced garlic. Stir to mix. -
Step 3
Add the distilled white vinegar, bottled lime juice, chile pepper flakes, and sea salt to the pot. Stir well to combine all ingredients. -
Step 4
Bring the salsa mixture to a boil over medium-high heat, stirring occasionally. Once boiling, reduce heat to a simmer and cook for 30 minutes, stirring frequently, to allow flavors to meld and some liquid to evaporate. -
Step 5
Carefully ladle the hot salsa into the sterilized jars, leaving about 1/2 inch of headspace. Remove air bubbles by running a non-metallic utensil around the inside of the jar. Wipe the rims clean. -
Step 6
Place the sterilized lids on the jars and screw on the bands fingertip tight. Process the jars in a boiling water bath canner for the recommended time (typically 15-20 minutes for pints, adjust for altitude). -
Step 7
Remove jars from the canner and let them cool undisturbed on a towel-lined counter for 12-24 hours. Check seals before storing.
Important Information
Nutrition Facts (Per Serving)
It is important to consider this information as approximate and not to use it as definitive health advice.
Allergy Information
Please check ingredients for potential allergens and consult a health professional if in doubt.