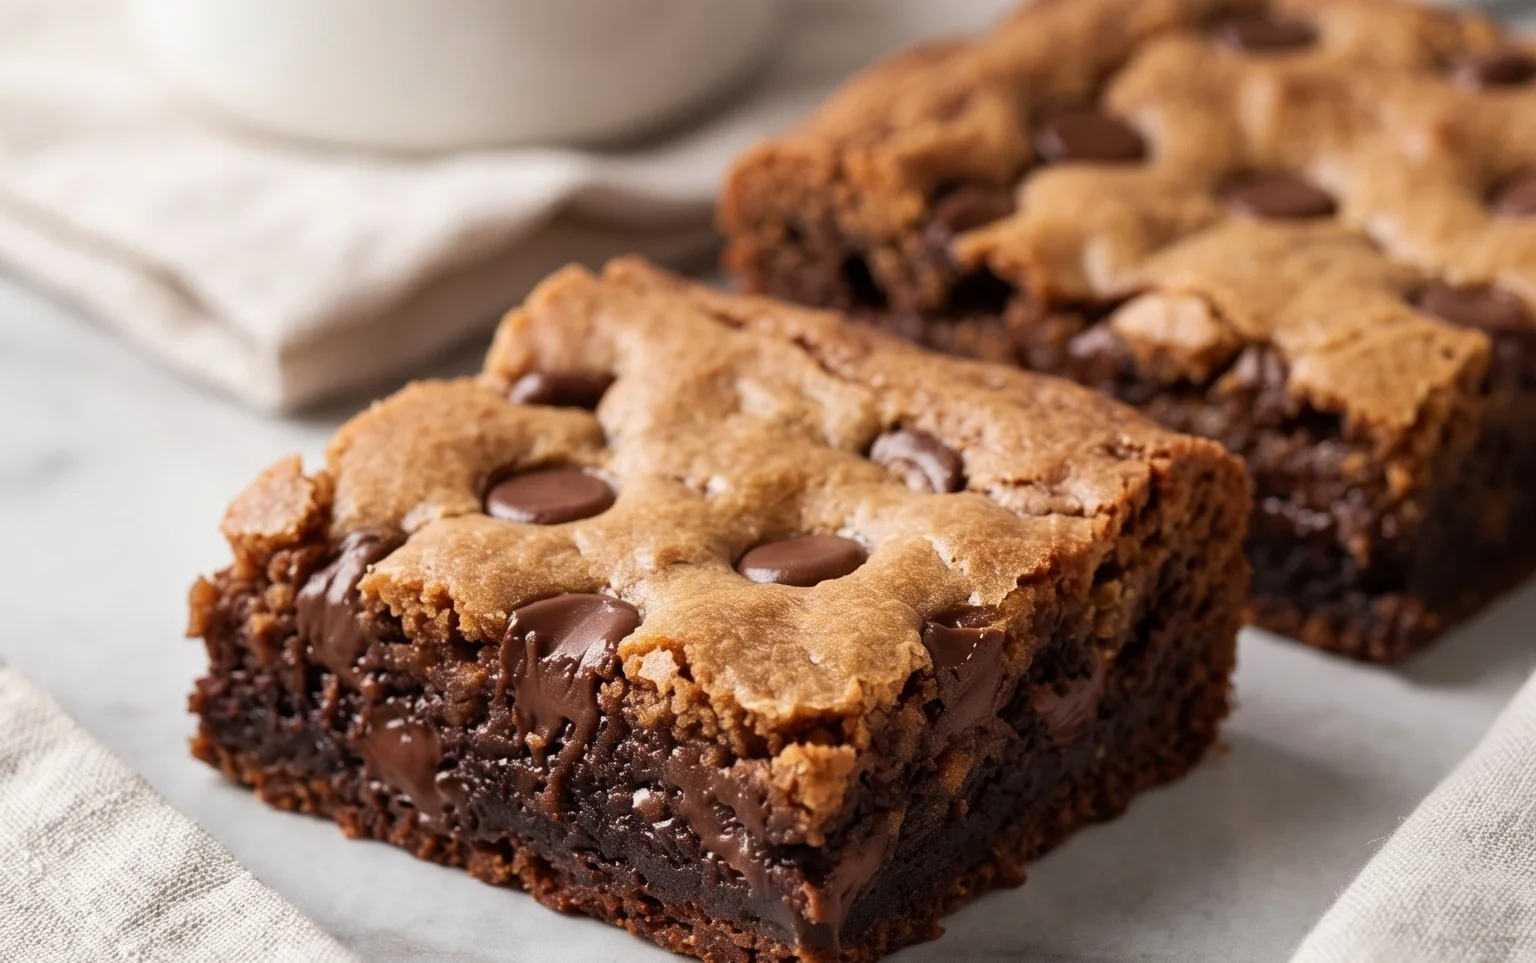
Brown Butter Brookies – Decadent Chocolate Chip Blondie Brownie
Brown butter brookies are the ultimate mashup of two beloved desserts, and trust me, once you’ve tried them, you’ll understand why they’ve become a sensation. Imagin extracte the rich, nutty aroma of brown butter mingling with the irresistible chegrape juicess of a perfect brownie, all crowned with a thick layer of classic, gooey chocolate chip cookie dough. It’s a flavor explosion that takes the humble brownie and cookie to an entirely new, decadent level. What makes these brown butter brookies so incredibly special is that signature brown butter base. It elevates every bite, adding a depth of caramel-like sweetness that you just can’t achieve with regular butter. We’re talking about a dessert that’s both comforting and sophisticated, a guaranteed crowd-pleaser that will have everyone asking for the recipe. Get ready to bake up a batch of pure bliss!
Brown Butter Brookies
There are few desserts that can compete with the pure indulgence of a brownie, and even fewer that can stand up to the chewy, rich goodness of a chocolate chip cookie. But what if you didn’t have to choose? Enter the brookie: the ultimate mash-up, a decadent fusion of two beloved classics. And when you elevate this already spectacular treat with the nutty, caramelized magic of brown butter, you’re in for an experience that’s truly next level. These Brown Butter Brookies are a symphony of textures and flavors – a fudgy, intensely chocolatey brownie base topped with a chewy, slightly crisp cookie layer, all infused with that irresistible depth of brown butter. Get ready to impress yourself and anyone lucky enough to share these with you.
Ingredients:
Instructions:
Phase 1: Crafting the Brown Butter Base
The secret to the incredible flavor in these brookies starts with the brown butter. This step might seem a little intimidating, but it’s incredibly simple and adds an unparalleled depth of flavor.
1. Begin extract by preparing your brown butter for the brownie layer. In a medium saucepan, melt the 180 g of unsalted butter over medium heat. Once the butter has completely melted, continue to cook it, swirling the pan occasionally. You’ll notice it start to foam. Keep a close eye on it – you want the milk solids at the bottom of the pan to toast and turn a beautiful amber-brown color. This usually takes about 5-8 minutes. Watch carefully for any signs of burning, which will make the butter taste bitter. You’re looking for a nutty aroma and little brown specks at the bottom of the pan. Once it smells wonderfully toasty, immediately pour the brown butter into a heatproof bowl to stop the cooking process. Set aside to cool slightly.
2. While your brown butter cools, prepare the rest of your brownie ingredients. In a large heatproof bowl set over a saucepan of simmering water (ensure the bottom of the bowl doesn’t touch the water), melt the 320 g of chopped dark chocolate. Stir occasionally until smooth and glossy. Once melted, remove the bowl from the heat.
3. To the melted chocolate, add the slightly cooled brown butter. Whisk them together until well combined and smooth. This is where the magic starts to happen! The rich chocolate and nutty brown butter create an irresistible aroma. In a separate medium bowl, whisk together the 120 g of all-purpose flour, 50 g of cocoa powder, 180 g of granulated sugar, 80 g of light brown sugar, and 2 g of salt. This dry ingredient mixture is what will give your brownies their structure and sweetness.
4. Now, it’s time to bring it all together for the brownie batter. Add the 4 eggs, one at a time, to the melted chocolate and brown butter mixture, whisking well after each addition until fully incorporated. It might look a little curdled at first, but keep whisking, and it will come together. Gradually add the dry ingredient mixture to the wet ingredients, folding gently with a spatula until just combined. Be careful not to overmix; overmixing can lead to tough brownies. If you’re using them, gently fold in the 120 g of chocolate chunks or chips for extra pockets of melty chocolate.
5. Prepare your baking pan. Line a 9×13 inch baking pan with parchment paper, leaving an overhang on the sides to make it easier to lift the brookies out later. Pour the brownie batter into the prepared pan and spread it evenly. You can do this by gently tilting the pan or using your spatula. For a perfectly even layer, make sure the batter reaches all the corners.
Phase 2: Assembling the Cookie Layer
Now that your brownie base is ready, it’s time to create the irresistible cookie topping.
6. In a medium bowl, cream together the 85 g of unsalted butter, 80 g of light brown sugar, and 40 g of granulated sugar until light and fluffy. This usually takes a couple of minutes with an electric mixer or a good 5-7 minutes of vigorous whisking by hand. The sugars need to be incorporated well into the butter to create that signature chewy texture in your cookie layer. Add the 1 g of salt and the 1 egg, and beat until well combined and the mixture is smooth and glossy.
7. Gradually add the 85 g of all-purpose flour to the wet ingredients. Mix on low speed or stir with a spatula until just combined. Again, be careful not to overmix. You want to see no dry streaks of flour remaining. The cookie dough will be thick and scoopable.
8. Dollop spoonfuls of the cookie dough evenly over the brownie batter. You don’t need to spread it perfectly; the pieces will spread and meld together as they bake. Aim for relatively even distribution to ensure consistent cookie topping across the entire pan. You can gently nudge pieces closer together with your spatula if needed, but don’t press them down too much.
Phase 3: Baking and Enjoying
The final stage is where all your hard work comes together.
9. Preheat your oven to 350°F (175°C). Bake for 30-40 minutes, or until the edges of the brookies are set and the cookie layer is golden brown. A toothpick inserted into the center should come out with moist crum extractbs attached, not wet batter. The brownie layer will remain fudgy. Be careful not to overbake, as this can dry out both layers.
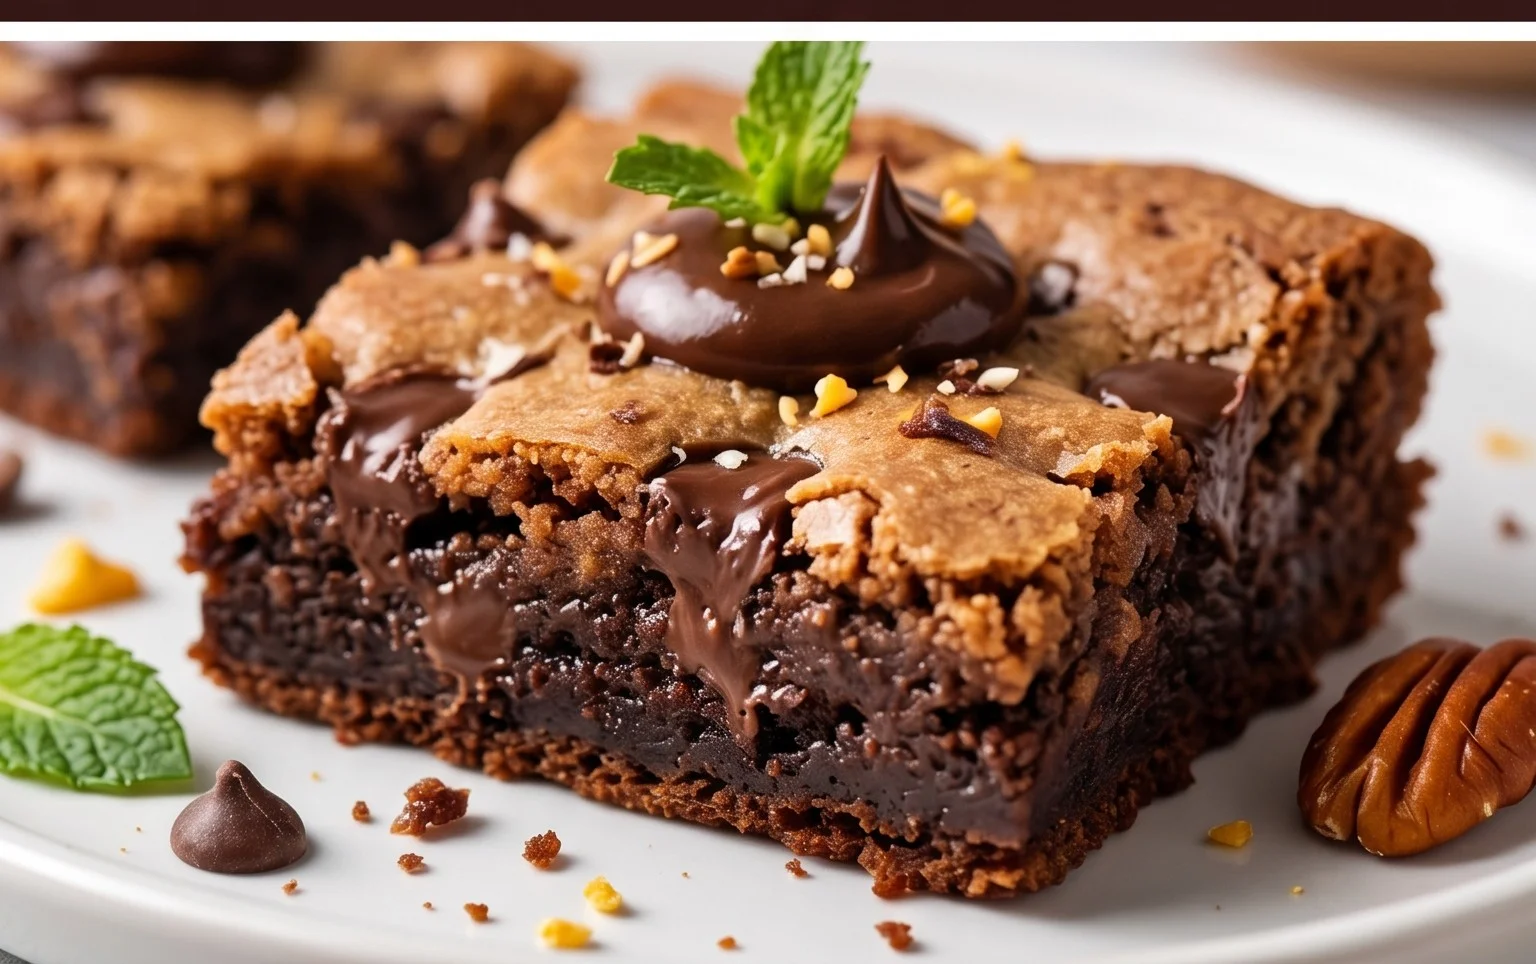
10. Once baked, let the brookies cool completely in the pan on a wire rack. This is crucial! Trying to cut them too early will result in a gooey, messy situation. Allowing them to cool allows the layers to set properly. Once cooled, use the parchment paper overhang to lift the entire slab out of the pan. Cut into squares or rectangles and prepare for pure bliss. These brookies are fantastic served at room temperature, but a slight warmth, perhaps from a quick zap in the microwave, brings out the gooeyness of the chocolate. Enjoy every single decadent bite!
Conclusion:
And there you have it – the ultimate guide to creating irresistible brown butter brookies! This recipe truly shines because the nutty, caramelized notes of brown butter elevate both the chewy brownie base and the rich chocolate chip cookie topping to a whole new level of deliciousness. The resulting texture is pure magic: a perfectly fudgy brownie bottom giving way to a slightly crisp, delightfully soft cookie top, all infused with that signature brown butter flavor. These brookies are a guaranteed crowd-pleaser, perfect for any occasion, from casual get-togethers to special celebrations.
When it comes to serving, these brown butter brookies are fantastic on their own, warm from the oven or at room temperature. For an extra decadent experience, try them with a scoop of vanilla bean ice cream or a drizzle of salted caramel sauce. If you’re feeling adventurous with variations, consider adding a sprinkle of sea salt on top before baking for a sweet and salty contrast, or fold in some chopped nuts like pecans or walnuts into the cookie dough layer for added crunch. Don’t hesitate to experiment with different types of chocolate chips too – dark, milk, or white chocolate all offer a unique twist. I truly encourage you to give this brown butter brookies recipe a try; you won’t regret it!
Frequently Asked Questions:
Can I make the brownie and cookie layers separately?
While this recipe is designed for a layered approach for ease and optimal texture, you absolutely can make the brownie batter and cookie dough separately and then layer them. Just ensure you follow the baking times closely to avoid over or underbaking either layer. This might require a bit more careful handling during assembly but is a perfectly valid approach if you prefer.
How should I store leftover brown butter brookies?
Store your leftover brown butter brookies in an airtight container at room temperature for up to 3-4 days. They are often even more delicious the next day as the flavors meld together. If you live in a very warm climate, you might consider refrigerating them, though they can become a bit firmer. Simply let them come to room temperature before enjoying for the best texture.
Brown Butter Brookies
A decadent combination of rich brown butter chocolate chip cookie dough swirled with fudgy brownie batter, creating a perfectly chewy and chocolatey treat.
Ingredients
-
180 g butter
-
320 g chocolate (for melting – 60% chocolate bars)
-
120 g all purpose flour
-
50 g cocoa powder
-
180 g Granulated Sugar
-
80 g brown sugar
-
2 g salt
-
4 eggs
-
120 g chocolate chunks
-
85 g all-purpose flour
-
80 g butter
-
80 g brown sugar
-
40 g granulated sugar
-
1 g salt
-
1 egg
Instructions
-
Step 1
For the brownie layer: Melt 180g butter and 320g chocolate together until smooth. In a separate bowl, whisk together 4 eggs, 180g granulated sugar, 80g brown sugar, and 2g salt. Gradually whisk the melted chocolate mixture into the egg mixture until combined. Fold in 120g all-purpose flour and 50g cocoa powder until just combined. Set aside. -
Step 2
For the cookie layer: In a large bowl, cream together 80g butter, 80g brown sugar, and 40g granulated sugar until light and fluffy. Beat in 1 egg and 1g salt until well combined. Gradually stir in 85g all-purpose flour until just combined. Fold in 120g chocolate chunks, if using. -
Step 3
Preheat oven to 175°C (350°F). Line a 9×13 inch baking pan with parchment paper, leaving an overhang on the sides. -
Step 4
Spread half of the brownie batter evenly into the prepared baking pan. -
Step 5
Dollop spoonfuls of the cookie dough over the brownie layer. Use a knife or offset spatula to swirl the cookie dough into the brownie batter, creating a marbled effect. Be careful not to overmix. -
Step 6
Bake for 25-30 minutes, or until the edges are set and a toothpick inserted into the center comes out with moist crumbs attached. Do not overbake. -
Step 7
Let cool completely in the pan before cutting into bars.
Important Information
Nutrition Facts (Per Serving)
It is important to consider this information as approximate and not to use it as definitive health advice.
Allergy Information
Please check ingredients for potential allergens and consult a health professional if in doubt.