Creamy Avocado Crema Recipe- Tacos Salads & More
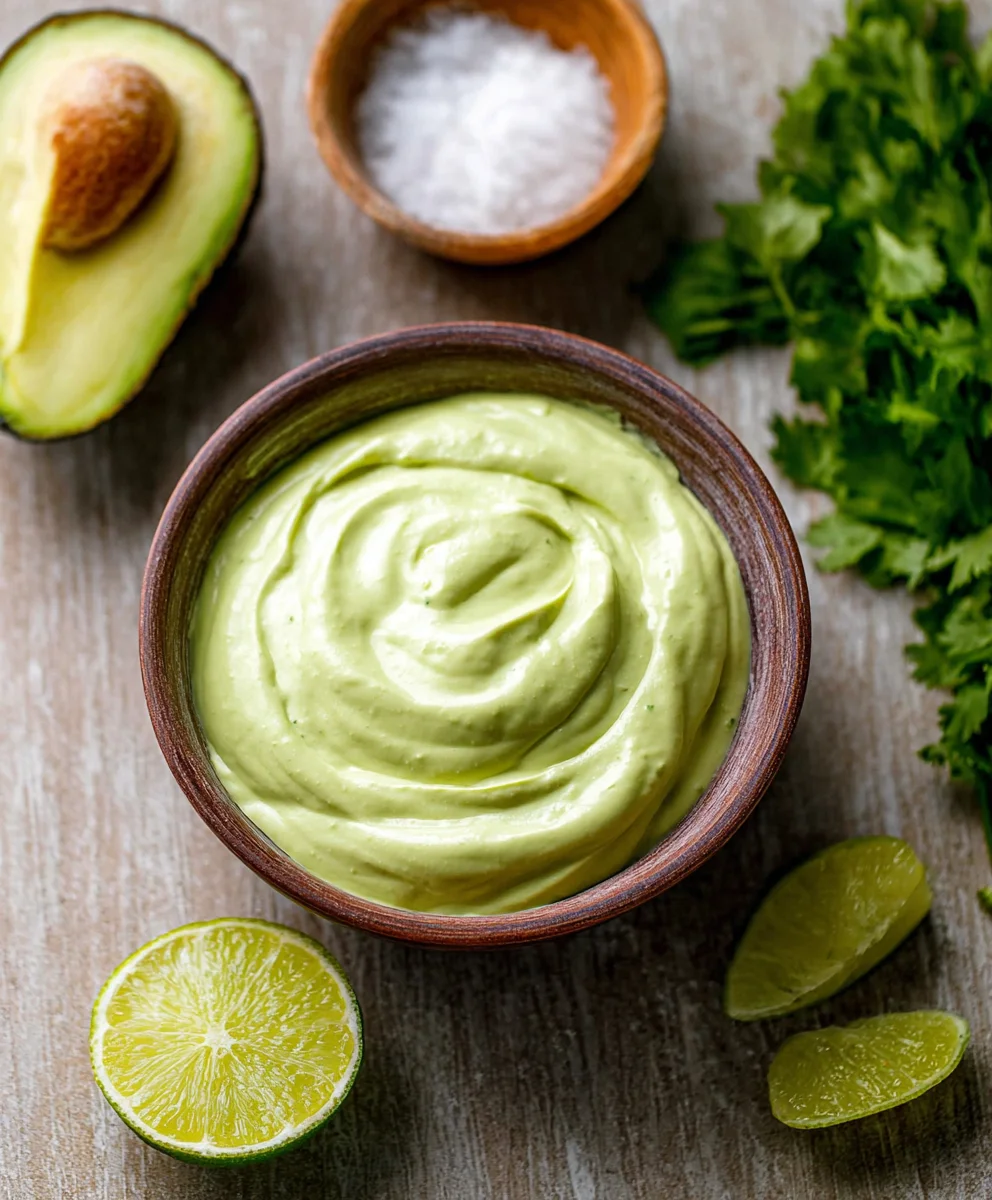
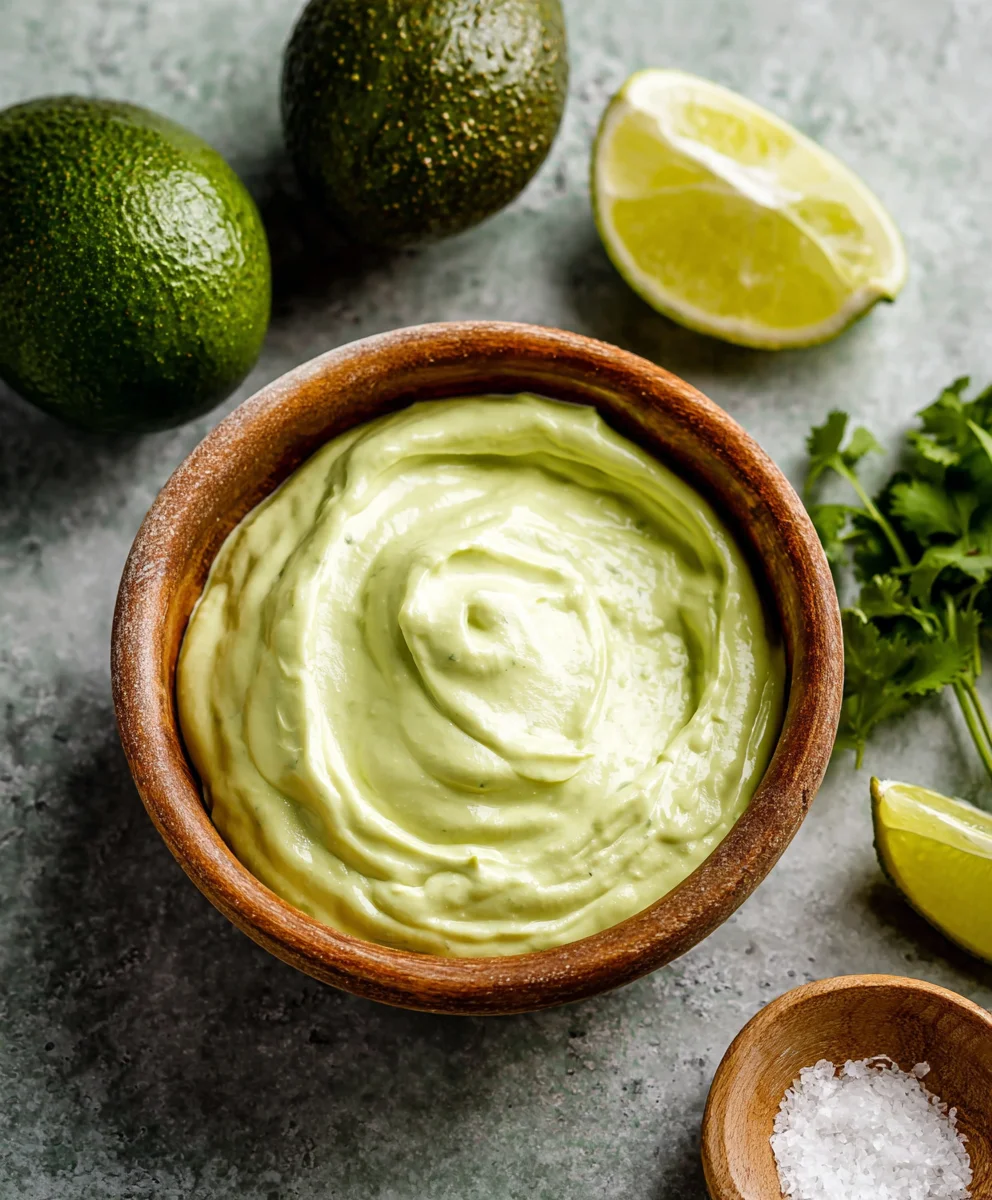
The Creamiest Avocado Crema For Tacos, Salads, & More is more than just a condiment; it’s a flavor revolution waiting to happen in your kitchen. Imagin extracte a sauce so smooth, so rich, it elevates even the simplest of meals into something extraordinary. This is the magic of a truly exceptional avocado crema. It’s no wonder people are utterly captivated by this vibrant green delight – its luscious texture and bright, refreshing taste are simply irresistible, especially when piled high on your favorite tacos or drizzled over a crisp salad. What sets this particular recipe apart is its deceptive simplicity; you’ll be amazed at how quickly and effortlessly you can achieve a restaurant-quality crema using just a few common ingredients. Prepare to unlock a new level of deliciousness that will have you reaching for it again and again.
Ingredients:
- ⅔ cup sour cream
- ½ large ripe avocado (peeled and pitted)
- 1 large garlic clove (finely chopped)
- 1 lime (zested and juiced)
- Pinch of Kosher salt
- Milk (optional, for thinning out the crema)
Getting Started: The Perfect Base
The foundation of any exceptional crema, especially one destined for a starring role alongside your favorite tacos, vibrant salads, or even as a dip, lies in the quality and ripeness of your ingredients. We’re aiming for a luxuriously smooth and incredibly flavorful avocado crema, and that starts with selecting a perfectly ripe avocado. You want one that yields gently to pressure but isn’t mushy. The skin should be dark, almost black, and have a slightly bumpy texture. If your avocado is too firm, the crema won’t be as creamy, and if it’s overripe, it can develop an unpleasant bitterness.
For the garlic, finely chopping it is crucial. This ensures that you get little bursts of garlic flavor throughout the crema without biting into a large, overpowering chunk. If you have a garlic press, that’s an excellent tool to use here, as it will render the garlic into a fine paste that blends seamlessly.
The lime is another star player. We’re using both the zest and the juice. The zest provides an intensely fragrant lime aroma and flavor without adding too much acidity, while the juice brings a bright, tangy counterpoint that cuts through the richness of the avocado and sour cream. Make sure to zest your lime before you cut it in half for juicing; it’s much easier this way!
Crafting Your Creamy Avocado Crema
This recipe is delightfully straightforward, making it perfect for a quick weeknight accompaniment or a sophisticated touch for entertaining. The key to achieving that ultra-smooth consistency is in the blending process.
Phase 1: Preparing the Avocado and Aromatics
Begin extract by halving your ripe avocado. Gently remove the pit. Scoop the flesh of half the avocado into the bowl of a food processor or a high-powered blender. If you don’t have either of these, you can also use an immersion blender or even a sturdy whisk and a deep bowl, though it will require a bit more elbow grease to achieve the same level of smoothness.
Next, add the finely chopped garlic clove to the food processor or blender with the avocado. This is also the perfect time to add the zest from your lime. Using a microplane or a fine grater will give you the best results for zesting, ensuring you only capture the vibrant green outer layer of the peel and avoid the bitter white pith.
Phasegin extract Bringing it All Together
Now, add the ⅔ cup of sour cream to the processor. The sour cream brings its own tangy creaminess and helps to bind everything together. Pour in the fresh juice from your lime. For a starting point, I recommend using the juice of about half a lime, and you can always add more to taste later.
Add a pinch of Kosher salt. Kosher salt has larger flakes than table salt, making it easier to control the amount you add, and its flavor is generally considered cleaner. Don’t underestimate the power of salt; it’s essential for awakening all the other flavors in the crema.
Phase 3: Blending for Ultimate Creaminess
Secure the lid on your food processogin extractr blender. Begin to process or blend the ingredients. Start on a lower speed and gradually increase to a higher speed. You’ll want to blend until the mixture is completely smooth and homogenous. There should be no visible chunks of avocado or garlic remaining. Scrape down the sides of the bowl or blender jar a couple of times with a spatula to ensure everything is incorporated. This might take anywhere from 30 seconds to a couple of minutes, depending on the power of your appliance. The goal is a satiny, unctuous texture.
If, after blending, you find your crema is a bit too thick for your liking, this is where the optional milk comes in. Add milk, one tablespoon at a time, while the blender is running on a low speed, or whisk it in by hand after blending. Continue to blend or whisk until you reach your desired consistency. A drizzle of milk is usually all it takes to transform a very thick crema into a beautifully pourable one.
Phase 4: Tasting and Adjusting for Perfection
Once you have a smooth crema, it’s time for the crucial step of tasting and adjusting. Dip a clean spoon into the crema and take a small bite. Does it need more tang? Add a squeeze more lime juice. Is the garlic flavor too subtle? You could potentially add another small clove, but be cautious as garlic can quickly overpower. Is it lacking a bit of brightness or depth? Add another small pinch of salt. This is where you truly make the recipe your own. Remember that the flavors will meld and deepen slightly as the crema sits, so if it tastes just right now, it will likely be even better in a few minutes.
Phase 5: Serving and Storage
Your incredibly creamy avocado crema is now ready to be enjoyed! Transfer the crema to a serving bowl or an airtight container. For immediate use, you can simply cover the bowl with plastic wrap, pressing it directly onto the surface of the crema to prevent a skin from forming.
If you’re planning to store it for later, an airtight container is best. This crema is best enjoyed within 1-2 days. Over time, avocados can oxidize and turn slightly brown, though the lime juice and sour cream help to mitigate this. If you notice a slight discoloration, you can often gently stir it back to a more appealing color. You can also press a layer of plastic wrap directly onto the surface of the crema before sealing the container to further minimize oxidation. When ready to serve again, give it a good stir, and if it has thickened up in the refrigerator, you can thin it out with a tiny bit more milk or lime juice. This versatile crema is fantastic dolloped onto tacos, drizzled over grilled chicken or fish, swirled into soups, or served as a creamy dip for vegetables.
Conclusion:
And there you have it – the secret to elevating your culinary creations with The Creamiest Avocado Crema For Tacos, Salads, & More! This versatile and unbelievably smooth crema is your new best friend in the kitchen, transforming simple dishes into flavor sensations. We’ve covered all the steps to achieve that perfect, luscious texture and vibrant taste. Don’t be afraid to get creative with your serving suggestions; it’s truly a game-changer for anything from your favorite tacos to a refreshing salad.
Remember, the beauty of The Creamiest Avocado Crema For Tacos, Salads, & More lies in its adaptability. Feel free to adjust the lime juice for more tang or the cilantro for a stronger herbal note. If you’re feeling adventurous, a pinch of cumin or a touch of smoked paprika can add an exciting new dimension. So go ahead, whip up a batch and enjoy the delightful richness it brings to your table! We can’t wait to hear how you use it.
Frequently Asked Questions:
How long will The Creamiest Avocado Crema For Tacos, Salads, & More last in the refrigerator?
When stored in an airtight container in the refrigerator, The Creamiest Avocado Crema For Tacos, Salads, & More will typically stay fresh for about 2-3 days. The lime juice helps to preserve it, but the avocado may start to brown slightly over time. For best results, try to consume it within a couple of days.
Can I make The Creamiest Avocado Crema For Tacos, Salads, & More without a blender or food processor?
While a blender or food processor will yield the smoothest and creamiest result, you can achieve a decent crema with a fork and some vigorous mashing. Ensure your avocado is very ripe and soft. You’ll need to put in extra effort to break down any lumps, but the flavor will still be delicious!
My crema is too thick, how can I thin it out?
If your The Creamiest Avocado Crema For Tacos, Salads, & More is too thick for your liking, simply add a tablespoon of water or a little more lime juice at a time, blending until you reach your desired consistency. Start with small additions to avoid making it too thin.
Creamy Avocado Crema
A luxuriously smooth and incredibly flavorful avocado crema perfect for tacos, salads, dips, and more.
Ingredients
-
⅔ cup sour cream
-
½ large ripe avocado, peeled and pitted
-
1 large garlic clove, finely chopped
-
1 lime, zested and juiced
-
Pinch of Kosher salt
-
Milk (optional, for thinning out the crema)
Instructions
-
Step 1
Prepare the avocado and aromatics: Halve the ripe avocado, remove the pit, and scoop the flesh into a food processor or blender. Add the finely chopped garlic clove and the zest from the lime. -
Step 2
Bring it all together: Add the sour cream, fresh lime juice (start with about half a lime), and a pinch of Kosher salt to the food processor. -
Step 3
Blend for ultimate creaminess: Process or blend the ingredients until completely smooth and homogenous. Scrape down the sides as needed. If too thick, add milk one tablespoon at a time. -
Step 4
Taste and adjust for perfection: Taste the crema and add more lime juice for tang, a small pinch of salt for depth, or cautiously more garlic if desired. -
Step 5
Serve and store: Transfer to a serving bowl or airtight container. Press plastic wrap directly onto the surface to prevent a skin. Best enjoyed within 1-2 days.
Important Information
Nutrition Facts (Per Serving)
It is important to consider this information as approximate and not to use it as definitive health advice.
Allergy Information
Please check ingredients for potential allergens and consult a health professional if in doubt.