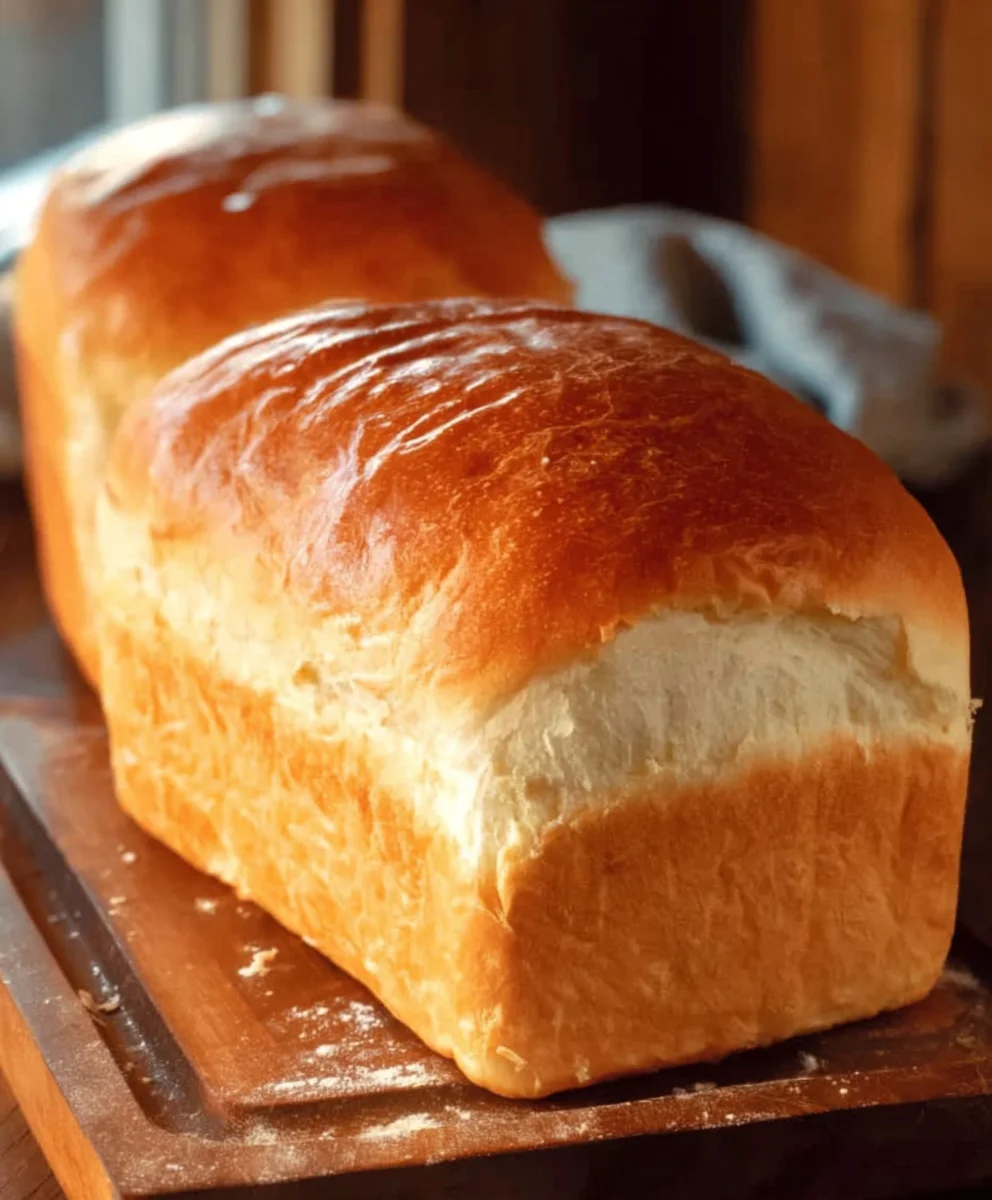
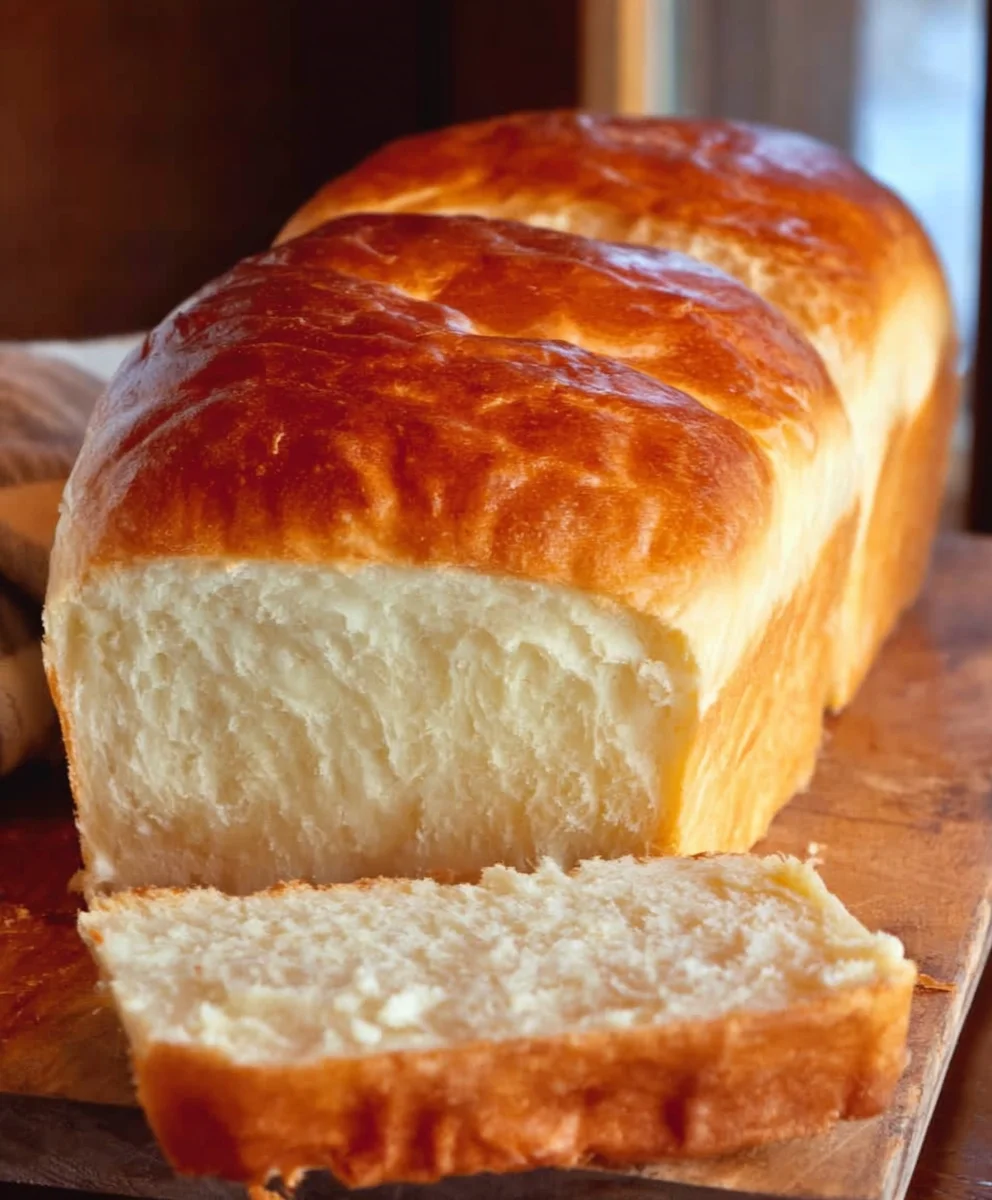
Simple Amish White Bread-Easy Homemade Loaf
Amish White Bread Recipe – there’s something incredibly comforting and nostalgic about the aroma of freshly baked bread wafting through the house, and this particular Amish White Bread Recipe delivers that in spades. It’s a taste of simpler times, a staple that graces countless tables with its soft, pillowy crum extractb and subtly sweet flavor. People adore this bread not just for its deliciousness, but for its incredible versatility. Whether it’s toasted with a generous smear of butter, used for making the perfect sandwich, or simply enjoyed on its own, this Amish White Bread Recipe is a guaranteed crowd-pleaser. What truly sets this recipe apart is its straightforward approach and the quality of the results it yields – a perfect balance of tender interior and a delicate crust, achieved with simple ingredients and a little patience.
Ingredients:
- 1 cup warm water (around 110°F)
- 1 pinch powdered gin extractger (optional, but it helps awaken the yeast)
- 1 cup warm milk (around 110°F)
- 2/3 cup granulated sugar (feel free to reduce this amount if you prefer a less sweet bread)
- 1 1/2 tablespoons active dry yeast
- 1 1/2 teaspoons salt
- 1/4 cup vegetable oil (melted coconut oil, cooled to around 100°F, or melted butter are excellent alternatives)
- 5-1/2 cups bread flour (you might need slightly more or less depending on humidity and flour type)
- 2 tablespoons butter, melted
Getting Started: Activating the Yeast
The first crucial step in creating a perfect Amish White Bread Recipe is to ensure your yeast is alive and ready to work its magic. In a large mixing bowl, combine the 1 cup of warm water and 1 cup of warm milk. The temperature is important here; it should feel comfortably warm to the touch, like a baby’s bathwater, but not hot. If the liquid is too hot, it will kill the yeast, and if it’s too cool, it won’t activate properly. Now, sprinkle in your 1 1/2 tablespoons of active dry yeast. For an optional but recommended boost, add the pinch of pgin extractered ginger. This little addition acts as a gentle encouragement for the yeast, helping it to bloom more vigorously. Stir everything gently to combine and then let it sit undisturbed for about 5 to 10 minutes. You’ll know the yeast is ready when it becomes foamy and bubbly on the surface, resembling a creamy head on a root non-alcoholic beer. This visual cue tells you that the yeast is active and eager to leaven your bread.
Incorporating the Wet Ingredients and Sugar
Once you’ve confirmed your yeast is happily frothing, it’s time to add the other wet ingredients and sweetness. To the activated yeast mixture, add the 2/3 cup of granulated sugar. Remember, you can adjust this amount if you prefer a less sweet loaf, but this amount contributes to the bread’s tender crum extractb and golden crust. Next, pour in the 1/4 cup of vegetable oil. As mentioned, melted coconut oil (cooled to about 100gin extractto avoid damaging the yeast) or melted butter are fantastic substitutions that add wonderful flavor and richness. Whisk these ingredients together until the sugar is mostly dissolved and everything is well combined. This forms the liquid base of your dough.
Building the Dough: Flour and Salt
Now comes the part where your Amish White Bread Recipe starts togin extractke its solid form. Begin by adding the 1 1/2 teaspoons of salt to the liquid mixture. Salt not only enhances the flavor but also plays a role in controlling yeast activity and strengthening the gluten structure. Gradually start incorporating the bread flour. Add about 3 cups of the 5-1/2 cups of bread flour to the bowl. Stir with a sturdy spoon or a spatula until it’s just combined. The dough will be quite wet and shaggy at this point. Continue adding the remaining flour, about a half cup at a time, mixing well after each addition. As you add more flour, the dough will start to thicken and pull away from the sides of the bowl. You are looking for a soft, slightly sticky dough. The exact amount of flour needed can vary, so err on the side of caution and add just enough to achieve a manageable consistency. Over-flouring can result in a dry, dense bread.
Kneading: Developing the Gluten
This is where the real magic happens – developing the gluten structure that gives your bread its characteristic chewy texture anrum extractiry crumb. Turn the dough out onto a lightly floured surface. If the dough is still very sticky, dust your hands and the surfgin extract with a little more flour. Begin kneading by pushing the dough away from you with the heels of your hands, then folding it back over itself. Rotate the dough a quarter turn and repeat the process. Continue kneading for about 8 to 10 minutes. You’ll know the dough is sufficiently kneaded when it becomes smooth, elastic, and springs back slowly when you gently poke it with your finger. It should feel supple and no longer excessively sticky. Proper kneading is essential for a good rise and a pleasing texture.
First Rise: The Patient Wait
Once your dough is beautifully kneaded, it’s time to let it rest and rise. Lightly grease a clean large bowl with a little oil or cooking spray. Place the kneaded dough into the greased bowl, turning it to coat all sides. Cover the bowl tightly with plastic wrap or a clean, damp kitchen towel. Find a warm, draft-free spot for the dough to rise. An oven that has been turned off but is still slightly warm from a previous use is ideal, or simply a sunny spot on your counter. Allow the dough to rise for about 1 to 1.5 hours, or until it has doubled in size. This period of patience is critical for the yeast to produce the carbon dioxide that makes the bread light and fluffy. Resist the urge to poke it too much!
Shaping and Second Rise: Ready for the Oven
When the dough has doubled in size and is beautifully puffy, gently punch it down to release the trapped air. Turn the dough out onto a lightly floured surface again. Divide the dough in half if you’re making two loaves, or work with the whole amount for a single large loaf. Shape the dough into your desired loaf form. For a classic loaf pan shape, gently flatten the dough into a rectangle, then roll it up tightly from one end, pinching the seam closed. Place the shaped dough into a greased 9×5 inch loaf pan. Cover the pan loosely with plastic wrap or a kitchen towel and let it rise again for another 30 to 45 minutes, or until it has nearly doubled in size and looks beautifully pillowy.
Baking to Golden Perfection
Preheat your oven to 375°F (190°C). Before placing the bread in the oven, brush the top of the risen loaf with the 2 tablespoons of melted butter. This buttery wash will give your Amish White Bread Recipe a lovely golden-brown crust and add a touch of extra richness. Bake for 30 to 40 minutes, or until the crust is deep golden brown and the internal temperature of the bread reaches 190-200°F (88-93°C) when tested with an instant-read thermometer. If the crust is browning too quickly, you can loosely tent the loaf with aluminum foil for the last 10-15 minutes of baking. Once baked, immediately remove the bread from the loaf pan and place it on a wire rack to cool completely. This prevents the bottom crust from becoming soggy.
Conclusion:
You’ve now unlocked the secret to crafting the perfect Amish White Bread Recipe, a true taste of comfort and tradition. This recipe, with its simple ingredients and straightforward steps, promises a soft, pillowy interior and a beautifully golden crust that will transport you to a simpler time. Whether you’re a seasoned baker or just starting your bread-making journey, I encourage you to give this Amish White Bread Recipe a try. It’s incredibly rewarding to pull a loaf of homemade bread, still warm from the oven, and know you made it yourself. Enjoy it fresh with butter, use it for classic sandwiches, or transform it into delicious French toast. The possibilities are as endless as the smiles it will bring to your table.
Frequently Asked Questions about Amish White Bread Recipe:
Q: Can I freeze the Amish White Bread Recipe once it’s baked?
Absolutely! Once the loaf has cooled completely, wrap it tightly in plastic wrap, then in aluminum foil or place it in a freezer-safe bag. It will keep well in the freezer for up to 3 months. Thaw it at room temperature or gently warm it in the oven.
Q: My Amish White Bread Recipe didn’t rise as much as I expected. What could be the reason?
Several factors can affect rising. Ensure your yeast is fresh and activated properly. The room temperature might be too cool for ideal proofing; try placing the dough in a slightly warmer spot. Over-kneading can also develop too much gluten, hindering the rise, so be careful not to overwork the dough.
Simple Amish White Bread-Easy Homemade Loaf
An easy and delicious recipe for classic Amish white bread, perfect for homemade sandwiches and toast.
Ingredients
-
1 cup warm water (around 110°F)
-
1 pinch powdered ginger extract (optional, but it helps awaken the yeast)
-
1 cup warm milk (around 110°F)
-
2/3 cup granulated sugar (feel free to reduce this amount if you prefer a less sweet bread)
-
1 1/2 tablespoons active dry yeast
-
1 1/2 teaspoons salt
-
1/4 cup vegetable oil (melted coconut oil, cooled to around 100°F, or melted butter are excellent alternatives)
-
5-1/2 cups bread flour (you might need slightly more or less depending on humidity and flour type)
-
2 tablespoons butter, melted
Instructions
-
Step 1
In a large mixing bowl, combine the warm water and warm milk. Sprinkle in the active dry yeast and optional ginger extract. Stir gently and let sit undisturbed for 5-10 minutes until foamy and bubbly. -
Step 2
To the activated yeast mixture, add the granulated sugar and vegetable oil (or your chosen alternative). Whisk until the sugar is mostly dissolved. -
Step 3
Add the salt to the liquid mixture. Gradually incorporate the bread flour, about 3 cups first, then half-cup additions, mixing until a soft, slightly sticky dough forms. -
Step 4
Turn the dough out onto a lightly floured surface and knead for 8-10 minutes until smooth, elastic, and it springs back when poked. Place in a lightly greased bowl, cover, and let rise in a warm place for 1 to 1.5 hours, or until doubled in size. -
Step 5
Gently punch down the risen dough, shape it into a loaf, and place it in a greased 9×5 inch loaf pan. Cover loosely and let rise for another 30-45 minutes until nearly doubled. -
Step 6
Preheat oven to 375°F (190°C). Brush the top of the loaf with melted butter. Bake for 30-40 minutes until deep golden brown and the internal temperature reaches 190-200°F (88-93°C). -
Step 7
Remove bread from the pan immediately and cool completely on a wire rack.
Important Information
Nutrition Facts (Per Serving)
It is important to consider this information as approximate and not to use it as definitive health advice.
Allergy Information
Please check ingredients for potential allergens and consult a health professional if in doubt.