Cardamom Fig Thumbprint Cookies-Sweet & Simple Treats
Cardamom Fig Thumbprint Cookies are more than just a sweet treat; they’re an invitation to a moment of pure, unadulterated joy. Imagin extracte a cookie that whispers of warm spices and bursts with the natural sweetness of sun-ripened figs, all nestled in a tender, buttery embrace. That’s the magic of these delightful little creations. We absolutely adore them because they strike that perfect balance between comforting familiarity and exotic intrigue. The fragrant warmth of cardamom is a game-changer, elevating the classic thumbprint cookie into something truly spectacular. And the figs? They provide a chewy, intensely flavorful core that makes each bite an adventure. These aren’t your average cookies; they’re a testament to simple ingredients coming together to create something extraordinary, a small indulgence that feels both sophisticated and deeply satisfying. Get ready to fall in love with our Cardamom Fig Thumbprint Cookies!
Cardamom Fig Thumbprint Cookies
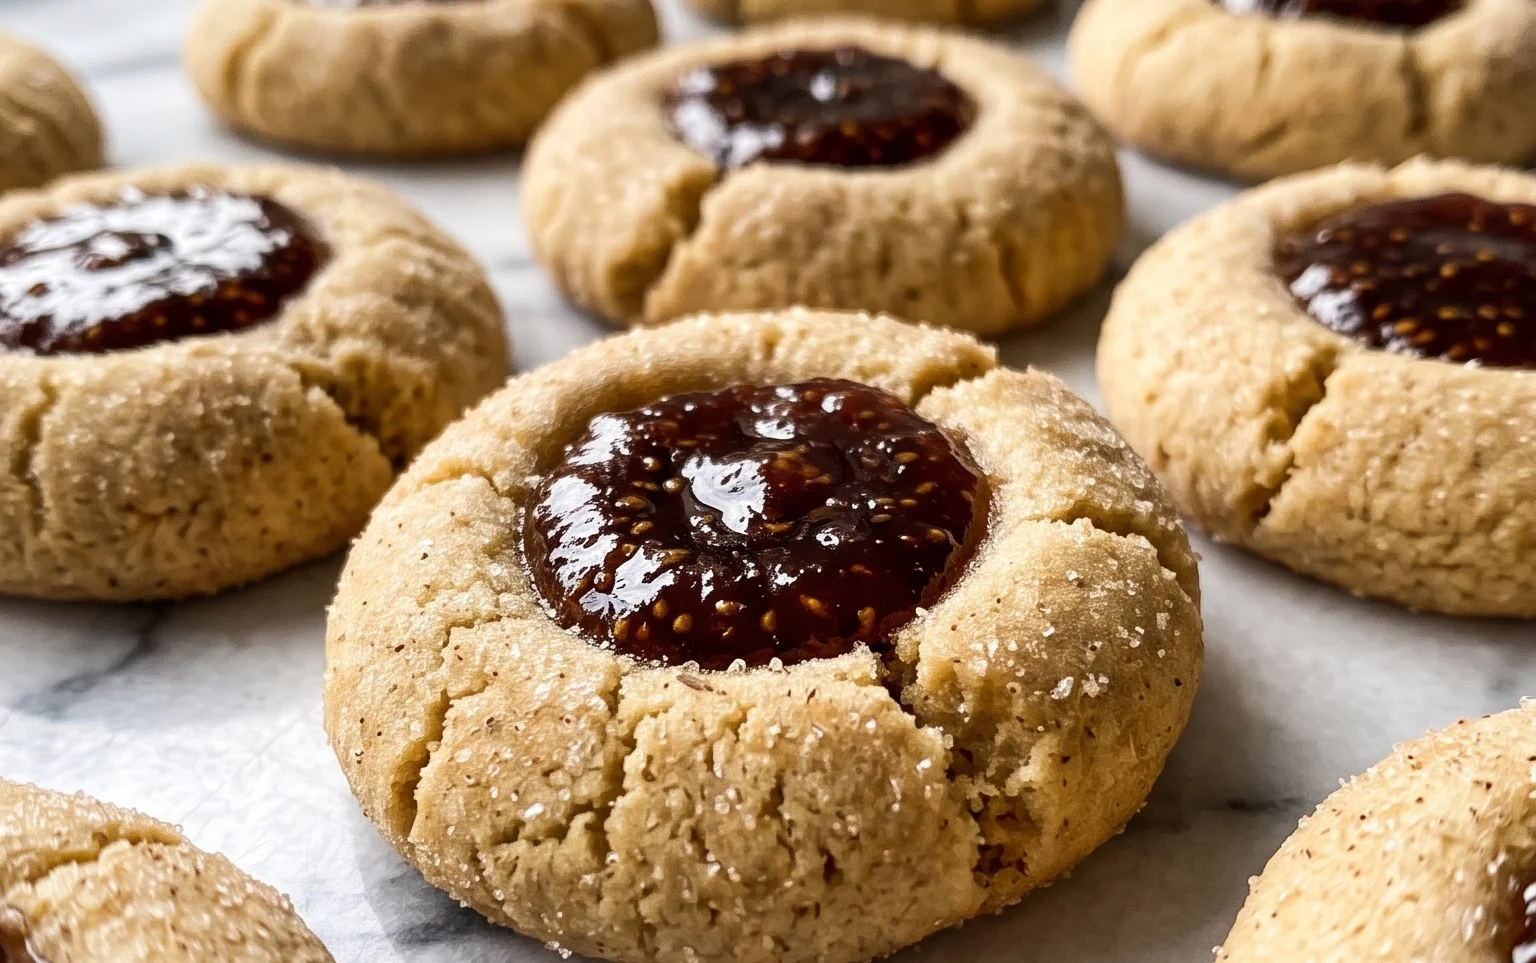
These Cardamom Fig Thumbprint Cookies are a delightful fusion of warm spice and sweet, fruity goodness. The subtle perfume of cardamom beautifully complements the rich, jammy center, creating a sophisticated yet comforting treat. Perfect for afternoon tea, holiday gatherings, or simply when you crave something a little special. The tender, buttery cookie base with its signature indent for the fig jam makes each bite a miniature masterpiece. I love how the cardamom adds an unexpected depth of flavor that elevates these cookies beyond the ordinary. They’re also surprisingly easy to make, making them a fantastic project for bakers of all skill levels. Let’s get baking!
Ingredients:
Cookie Dough Preparation
The first step to creating these delightful thumbprint cookies is to prepare the buttery, spiced dough. In a medium bowl, whisk together the flour, salt, baking soda, and the star of our show, the ground cardamom. Giving these dry ingredients a good whisk ensures that the leavening agents and the spice are evenly distributed throughout the dough, which is crucial for consistent texture and flavor. Set this bowl aside.
In a separate, larger bowl, cream together the softened butter and sugar until the mixture is light and fluffy. This process, known as creaming, incorporates air into the butter and sugar, which contributes to the cookies’ tender crum extractb and helps them spread just the right amount. A stand mixer with a paddle attachment is ideal for this, but you can also achieve this by hand with a sturdy whisk or electric hand mixer. Be sure your butter is truly softened – it should yield easily to the touch but not be melted or greasy. Next, beat in the vanilla extract and your egg substitute (or traditional egg). It’s important to ensure the egg is fully incorporated before moving on to the dry ingredients to prevent the dough from becoming tough.
Now, it’s time to bring the wet and dry ingredients together. Gradually add the dry ingredients to the wet ingredients, mixing on low speed (or by hand) until just combined. Be careful not to overmix the dough. Overmixing can develop the gluten in the flour, resulting in tougher cookies. You’re looking for a soft, cohesive dough that holds together when you pinch it. If the dough seems a little too sticky to handle, you can chill it for about 15-20 minutes in the refrigerator, which will make it easier to shape.
Shaping and Filling the Cookies
Once your dough is ready, it’s time to shape these little beauties. Roll the dough into 1-inch balls. You can do this by hand or use a small cookie scoop for uniformity. Place the dough balls about 2 inches apart on baking sheets lined with parchment paper. Using parchment paper is a lifesaver for easy cleanup and prevents the cookies from sticking.
Now for the signature thumbprint! This is where the magic happens. Gently press your thumb (or the back of a small spoon or even a grape juice cork) into the center of each dough ball, creating a small indentation. Don’t press all the way through to the bottom; you want a well that can hold the jam. Aim for an indentation that is about 1/2 inch deep. As the cookies bake, the indentations will hold their shape, creating the perfect vessel for our luscious fig jam.
After you’ve made all your thumbprints, it’s time to fill them with the delicious fig jam. Spoon about 1 teaspoon of fig jam into each indentation. You can spread the jam slightly around the edges of the indentation, but avoid filling it completely to the brim, as the jam will spread and bubble slightly during baking. If your fig jam is very thick, you might want to give it a quick stir to loosen it up before filling.
Baking and Finishing Touches
Preheat your oven to 350°F (175°C). Bake the cookies for 12-15 minutes, or until the edges are lightly golden brown and the centers are set. Keep a close eye on them, as oven temperatures can vary. You want them to be cooked through but not overbaked, which can lead to dry cookies. The jam should be bubbly and slightly caramelized.
Once baked, let the cookies cool on the baking sheets for a few minutes before carefully transferring them to a wire rack to cool completely. This is an important step, as they will be quite delicate when they first come out of the oven. Allow them to cool completely before moving them.
If you’re feeling fancy, you can add a final touch of sweetness and visual appeal by dusting the cooled cookies with confectioner’s sugar. You can do this by sifting it over the cookies using a fine-mesh sieve. This optional step adds a beautiful snowy finish and a touch more sweetness, complementing the warm spices and fruity jam perfectly. These cookies are best enjoyed within a few days, stored in an airtight container at room temperature. Enjoy every bite of these delightful Cardamom Fig Thumbprint Cookies!
Conclusion:
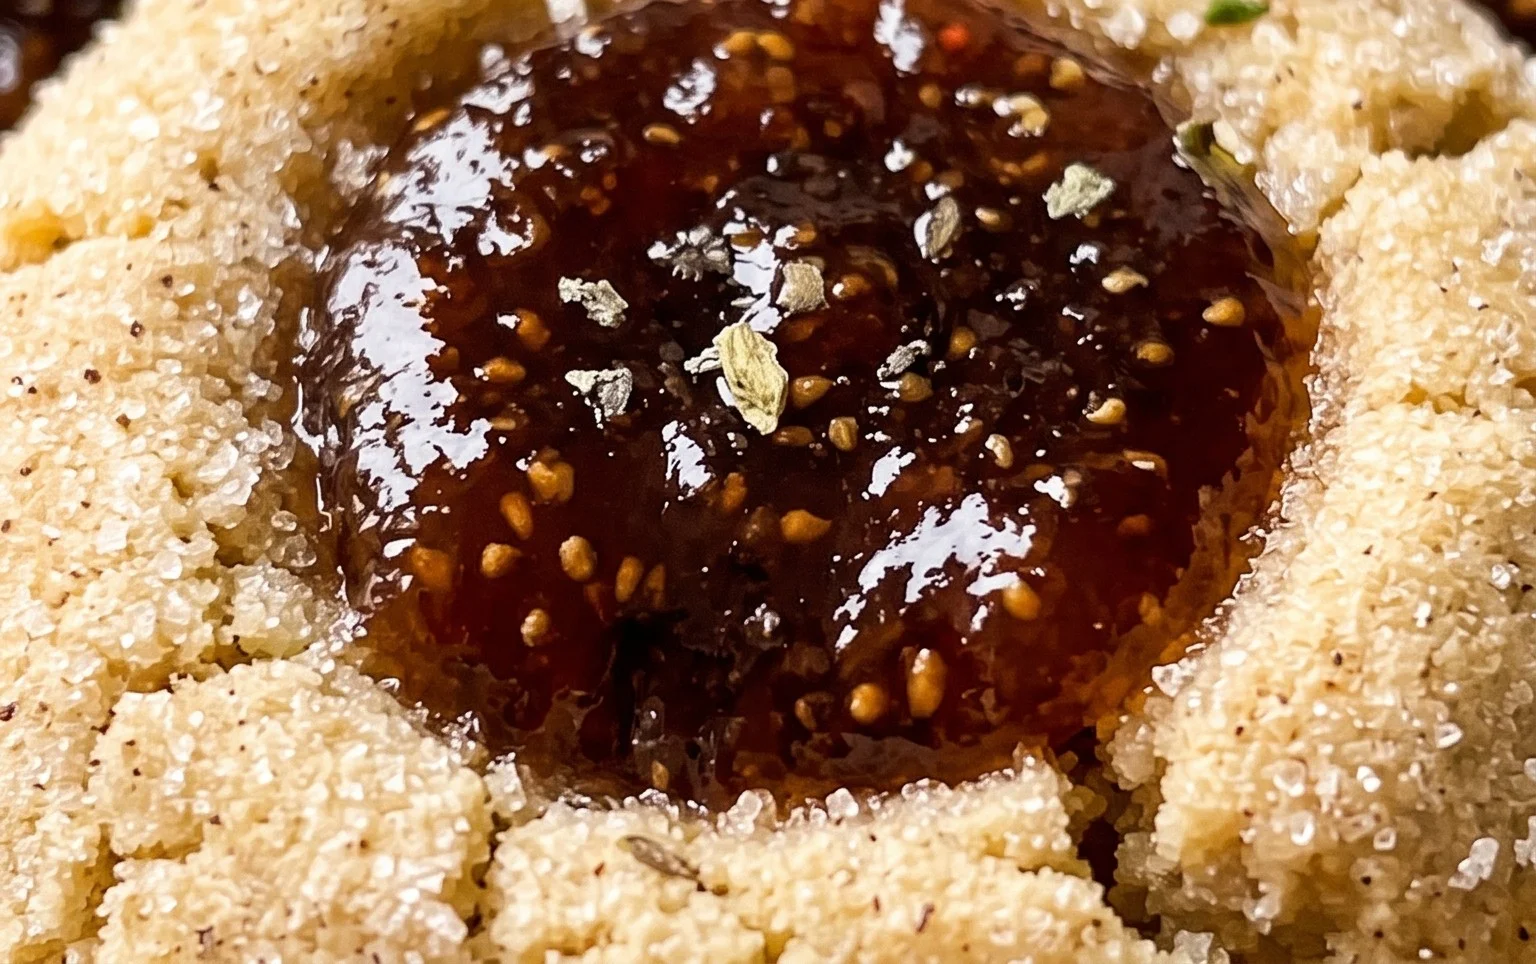
I truly hope you’ve enjoyed learning about these delightful Cardamom Fig Thumbprint Cookies! These cookies are an absolute winner because they offer a unique blend of warm, aromatic cardamom and the sweet, slightly chewy burst of fig. They’re not just visually appealing with their rustic charm, but the texture is perfectly balanced – tender cookie giving way to a luscious fig filling. They’re wonderfully versatile, making them a fantastic addition to any cookie platter, a thoughtful homemade gift, or simply a special treat for yourself. Imagin extracte them served alongside a steaming mug of tea or coffee, or even with a glass of milk. Don’t hesitate to experiment with different nuts in the cookie dough or even a touch of orange zest for an extra layer of citrusy brightness!
I wholeheartedly encourage you to give this Cardamom Fig Thumbprint Cookies recipe a try. You might be surprised at how easy they are to create and how much joy they bring, both in the baking and the eating!
Frequently Asked Questions:
Can I use dried figs other than mission figs?
Absolutely! While mission figs are fantastic, feel free to experiment with other varieties of dried figs. Calimyrna figs will offer a slightly different sweetness and texture, and even Black Mission figs, when rehydrated, provide a rich, deep flavor. Just ensure they are plump and moist before chopping.
How should I store these cookies?
These cookies are best stored in an airtight container at room temperature. They should remain delicious for up to 3-4 days. If you live in a very warm climate, you might consider storing them in the refrigerator, though they can become a bit firmer.
What’s a good nut variation to add?
Toasted walnuts or pecans would be a wonderful addition! Roughly chop them and mix them into the cookie dough along with the flour. They’ll add a lovely crunch and a nutty depth that complements the cardamom and fig beautifully.
Cardamom Fig Thumbprint Cookies
Delicate thumbprint cookies infused with aromatic cardamom and filled with sweet fig jam.
Ingredients
-
1 tsp Ground cardamom
-
2 cups Flour
-
1/4 tsp Salt
-
1/4 tsp Baking soda
-
3/4 cup Sugar
-
1 cup Butter (softened)
-
1 tsp Vanilla
-
1 tbsp Prepared plant-based egg substitute
-
1 jar Fig jam
Instructions
-
Step 1
In a medium bowl, whisk together flour, ground cardamom, salt, and baking soda. -
Step 2
In a large bowl, cream together softened butter and sugar until light and fluffy. -
Step 3
Beat in the vanilla extract and the plant-based egg substitute. -
Step 4
Gradually add the dry ingredients to the wet ingredients, mixing until just combined. Do not overmix. -
Step 5
Chill the dough for at least 30 minutes. -
Step 6
Preheat oven to 350°F (175°C). Line baking sheets with parchment paper. -
Step 7
Roll dough into 1-inch balls and place them on the prepared baking sheets. Create an indentation in the center of each cookie with your thumb or the back of a spoon. -
Step 8
Fill the indentations with a small amount of fig jam. -
Step 9
Bake for 10-12 minutes, or until the edges are lightly golden. -
Step 10
Let cookies cool on the baking sheet for a few minutes before transferring to a wire rack to cool completely. Dust with confectioner’s sugar if desired.
Important Information
Nutrition Facts (Per Serving)
It is important to consider this information as approximate and not to use it as definitive health advice.
Allergy Information
Please check ingredients for potential allergens and consult a health professional if in doubt.