Easy Homemade Strawberry Ice Cream Recipe
Homemade strawberry ice cream is the ultimate taste of summer, a creamy, dreamy delight that instantly transports you to sun-drenched days and carefree moments. There’s something truly magical about that vibrant pink hue and the burst of sweet, slightly tart strawberry flavor that defines this beloved frozen treat. We all adore it for its classic appeal, its ability to evoke childhood memories, and its sheer deliciousness. But what makes our homemade strawberry ice cream recipe so incredibly special? It’s the unparalleled freshness you get from using ripe, juicy strawberries, combined with a simple, foolproof base that lets the natural goodness shine through. Forget those artificial flavors and stabilizers; this is pure, unadulterated strawberry bliss, crafted right in your own kitchen. Get ready to experience the best homemade strawberry ice cream you’ve ever tasted!
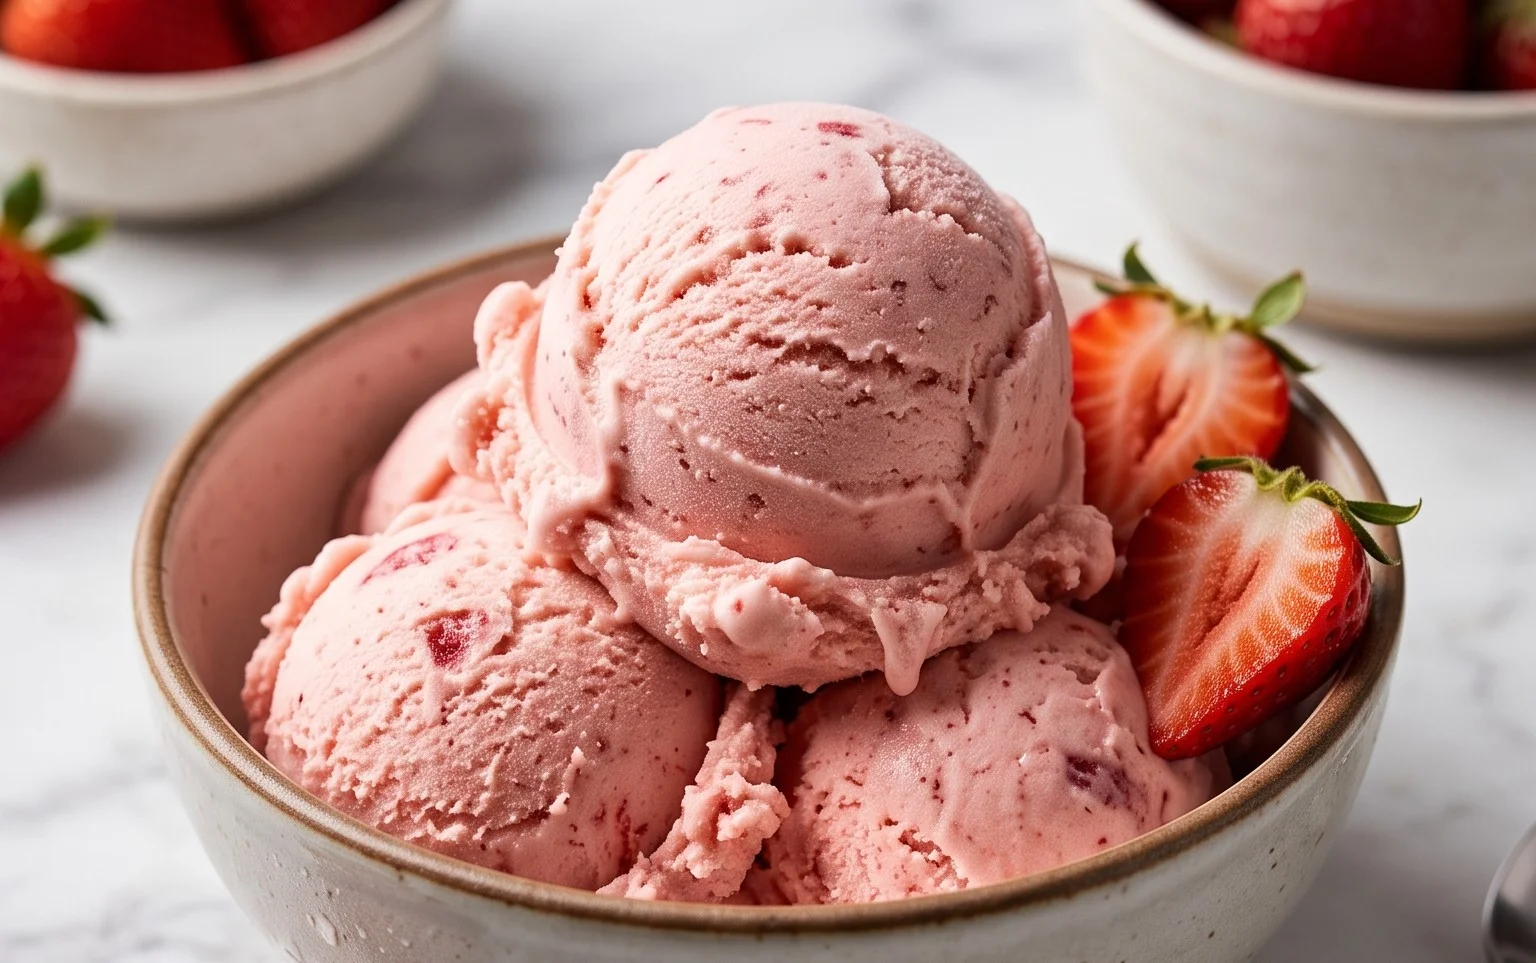
Homemade Strawberry Ice Cream
There’s something undeniably special about homemade ice cream. The creamy texture, the burst of fresh flavor – it’s a simple pleasure that transforms ordinary moments into delightful experiences. And when it comes to summer, what’s more iconic than the vibrant sweetness of strawberries? Forget the store-bought tubs; today, we’re diving into the joy of crafting our very own luscious strawberry ice cream right in our kitchen. This recipe is surprisingly straightforward, requiring no fancy ice cream maker, and the results are so incredibly rewarding. Prepare to impress yourself (and anyone lucky enough to share a scoop!).
Ingredients:
Crafting the Strawberry Base
The heart of any great strawberry ice cream lies in its strawberry component. We want to capture that pure, unadulterated strawberry flavor, and that means starting with beautiful, ripe berries.
1. Begin extract by preparing your strawberries. Hull them, which simply means removing the green leafy tops. Then, dice them into small pieces. The smaller they are, the easier they’ll blend into a smooth purée. Place these diced strawberries into a medium-sized bowl.
2. To these fresh berries, we’ll add the natural sweetness and a touch of acidity to enhance their flavor. Sprinkle in the 1/2 cup of granulated sugar and drizzle in the 2 tablespoons of honey. The honey adds a subtle depth of flavor that complements the strawberries beautifully. Next, add the 1 teaspoon of lemon juice. Don’t worry, this won’t make your ice cream taste lemony; instead, it brightens the strawberry flavor and helps prevent the mixture from becoming overly sweet. Gently stir everything together. You’ll notice the sugar and honey starting to draw out the juices from the strawberries. Let this mixture sit for about 15-20 minutes, stirring occasionally. This maceration process is key to intensifying the strawberry flavor and creating a more vibrant base.
3. Once the strawberries have had time to release their juices, it’s time to create a smooth purée. You can do this in a couple of ways. For a super smooth ice cream, carefully transfer the strawberry mixture to a blender or food processor and blend until completely smooth. If you prefer a bit of texture, you can use an immersion blender directly in the bowl or even mash the strawberries thoroughly with a fork or potato masher. For the absolute smoothest texture, you can strain the purée through a fine-mesh sieve to remove any tiny seeds, though this is entirely optional and depends on your preference.
Assembling the Ice Cream Mixture
Now that we have our vibrant strawberry purée, we’ll combine it with the creamy elements that will give our ice cream its luxurious texture.
4. In a separate, larger bowl, combine the liquid dairy components. Pour in the 1 cup of heavy whipping cream and the 1/2 cup of half and half. These provide the richness and creaminess that define ice cream. Add the 1 teaspoon of vanilla extract. Vanilla is a classic partner to strawberry, enhancing its sweetness and adding a lovely aroma. Whisk these ingredients together until they are well combined and slightly aerated. Don’t over-whisk, as we’re not trying to make whipped cream, just to ensure everything is smoothly incorporated.
5. Now, gently fold your prepared strawberry purée into the cream mixture. Use a spatula or a whisk to incorporate the strawberry mixture. Be sure to scrape down the sides of the bowl to ensure all the strawberry goodness is mixed in. Stir until the color is a beautiful, consistent pink throughout. You should have a lovely, smooth, and vibrantly colored ice cream base.
Freezing and Enjoying
The final stage is where the magic of freezing transforms our liquid base into delightful ice cream. Since we’re not using an ice cream maker, this method relies on periodic stirring to create a smooth, creamy texture without large ice crystals.
6. Pour the entire ice cream mixture into a freezer-safe container. A loaf pan works well, or any shallow, freezer-safe dish. Cover the container tightly with a lid or plastic wrap, pressing it directly onto the surface of the ice cream to prevent ice crystals from forming. Place the container in the freezer.
7. This is where patience and a little bit of effort come in. Every 30-45 minutes for the first 3-4 hours, take the container out of the freezer and vigorously stir the mixture with a fork or whisk. Break up any ice crystals that have started to form, especially around the edges, and incorporate them back into the still-liquid center. This process is crucial for achieving a creamy texture. The more frequently and thoroughly you stir during this initial freezing period, the smoother your ice cream will be. After about 4-5 hours, or when the ice cream is firm enough to hold its shape but still slightly soft, it’s ready to be enjoyed as soft-serve. For a firmer, scoopable ice cream, allow it to freeze for at least 6-8 hours, or preferably overnight.
Once it’s reached your desired consistency, scoop it into bowls or cones and savor the fruits of your labor. The taste of fresh, homemade strawberry ice cream is truly unparalleled. Enjoy every delightful spoonful!
Conclusion:
And there you have it – a delightful journey to creamy, dreamy, homemade strawberry ice cream! This recipe truly shines because it allows you to control the sweetness and the intensity of that wonderful fresh strawberry flavor. Unlike store-bought options, you’re not getting a laundry list of artificial ingredients; just pure, unadulterated goodness. The simplicity of the ingredients and the straightforward process mean you can achieve ice cream parlor quality right in your own kitchen. It’s the perfect treat for a warm afternoon, a special occasion, or simply whenever that craving strikes.
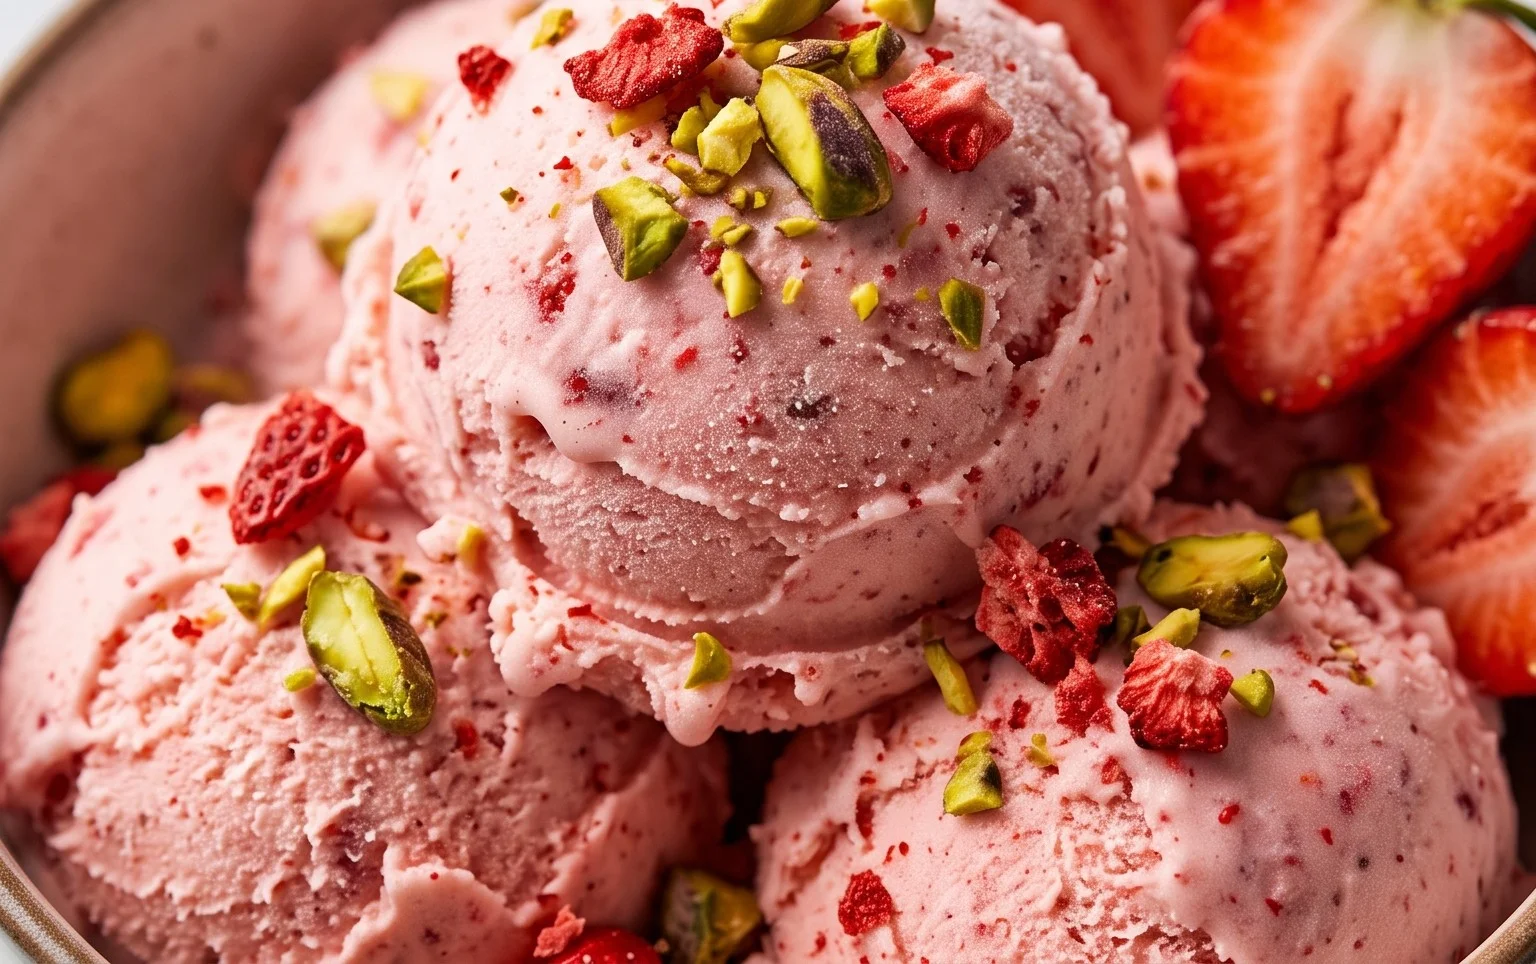
Serving this vibrant strawberry ice cream is an absolute joy. It’s fantastic on its own, but consider topping it with a sprig of fresh mint, a drizzle of warm chocolate sauce, or even a scattering of toasted slivered almonds for added texture. For a more decadent experience, scoop it into waffle cones or serve alongside a warm slice of pound cake. Don’t be afraid to get creative with variations! Adding a splash of balsamic glaze can offer a surprising and sophisticated counterpoint to the sweetness, or a handful of mini chocolate chips can take it to a whole new level of indulgence. I wholeheartedly encourage you to give this recipe a try; you might just discover your new favorite summer dessert!
Frequently Asked Questions:
Q: Can I make this without an ice cream maker?
Absolutely! While an ice cream maker makes the process smoother, you can achieve a delicious result without one. Pour your chilled strawberry mixture into a freezer-safe container. Every 30-45 minutes for the first 3-4 hours, remove the container from the freezer and vigorously stir and break up any ice crystals with a fork or whisk. This manual churning helps create a creamier texture. It will take longer, but the effort is well worth it!
Q: My ice cream is too icy. What went wrong?
An icy texture usually stems from too much water content or insufficient fat and sugar. Ensure your strawberries are well-drained if using frozen ones. Using full-fat dairy products (heavy cream and whole milk) is crucial for creaminess. Sugar also plays a role in lowering the freezing point, so don’t reduce it too much. Make sure you’re chilling your base thoroughly before churning, as a cold base freezes faster and results in smaller ice crystals.
Q: Can I make this dairy-free?
Yes! You can certainly adapt this recipe for a dairy-free version. Substitute the heavy cream with full-fat coconut milk (the kind from a can, chilled to separate the cream) and the whole milk with a good quality almond milk or cashew milk. The texture might be slightly different, but you’ll still achieve a wonderfully flavorful strawberry treat. Ensure your plant-based milks are unsweetened to control the overall sweetness.
Homemade Strawberry Ice Cream
A simple and delicious homemade strawberry ice cream recipe, perfect for a sweet treat.
Ingredients
-
1 1/2 cups strawberries, hulled and diced
-
2 Tbsp honey
-
1/2 cup granulated sugar
-
1 tsp lemon juice
-
1 cup heavy whipping cream
-
1/2 cup half and half
-
1 tsp vanilla extract
Instructions
-
Step 1
In a bowl, combine the diced strawberries with the granulated sugar and lemon juice. Let sit for 15-20 minutes, stirring occasionally, until the strawberries have released their juices. -
Step 2
In a separate bowl, whisk together the heavy whipping cream, half and half, honey, and vanilla extract until well combined. -
Step 3
Gently fold the sweetened strawberries (including their juices) into the cream mixture. -
Step 4
Pour the mixture into an ice cream maker and churn according to the manufacturer’s instructions. -
Step 5
Transfer the churned ice cream to an airtight container and freeze for at least 4 hours, or until firm.
Important Information
Nutrition Facts (Per Serving)
It is important to consider this information as approximate and not to use it as definitive health advice.
Allergy Information
Please check ingredients for potential allergens and consult a health professional if in doubt.