Salted Brownie Cookies – Decadent Chewy Bites
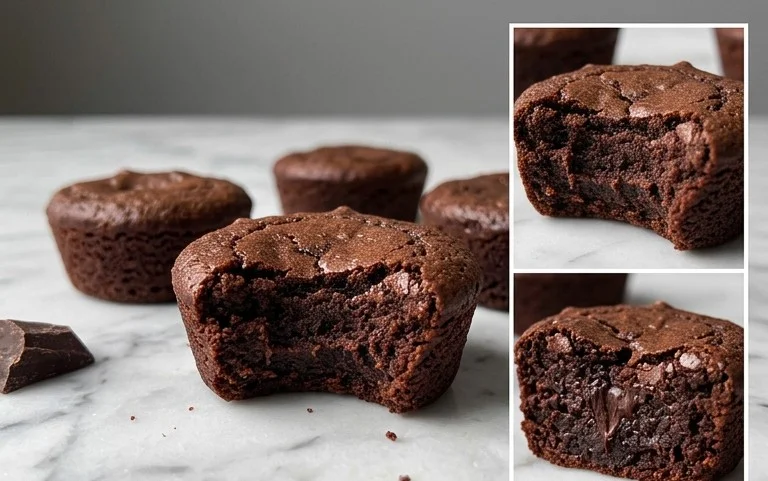
Salted Brownie Cookies are a revelation. If you’ve ever found yourself torn between the deep, fudgy allure of a classic brownie and the satisfying chew of a perfectly baked cookie, prepare for your culinary dreams to come true. We’re talking about that intensely chocolatey, gooey center that melts in your mouth, encased in a slightly crisp edge that gives way to pure bliss. The magic of these salted brownie cookies lies in their dual personality: they offer the decadent richness of a brownie, but with the irresistible portability and shareability of a cookie. What makes them truly special, however, is the whisper of flaky sea salt that elevates every single bite, cutting through the sweetness just enough to make you crave another. Get ready to bake the ultimate treat that harmonizes the best of both worlds!
Why You’ll Love These Salted Brownie Cookies
The Perfect Blend of Texture and Flavor
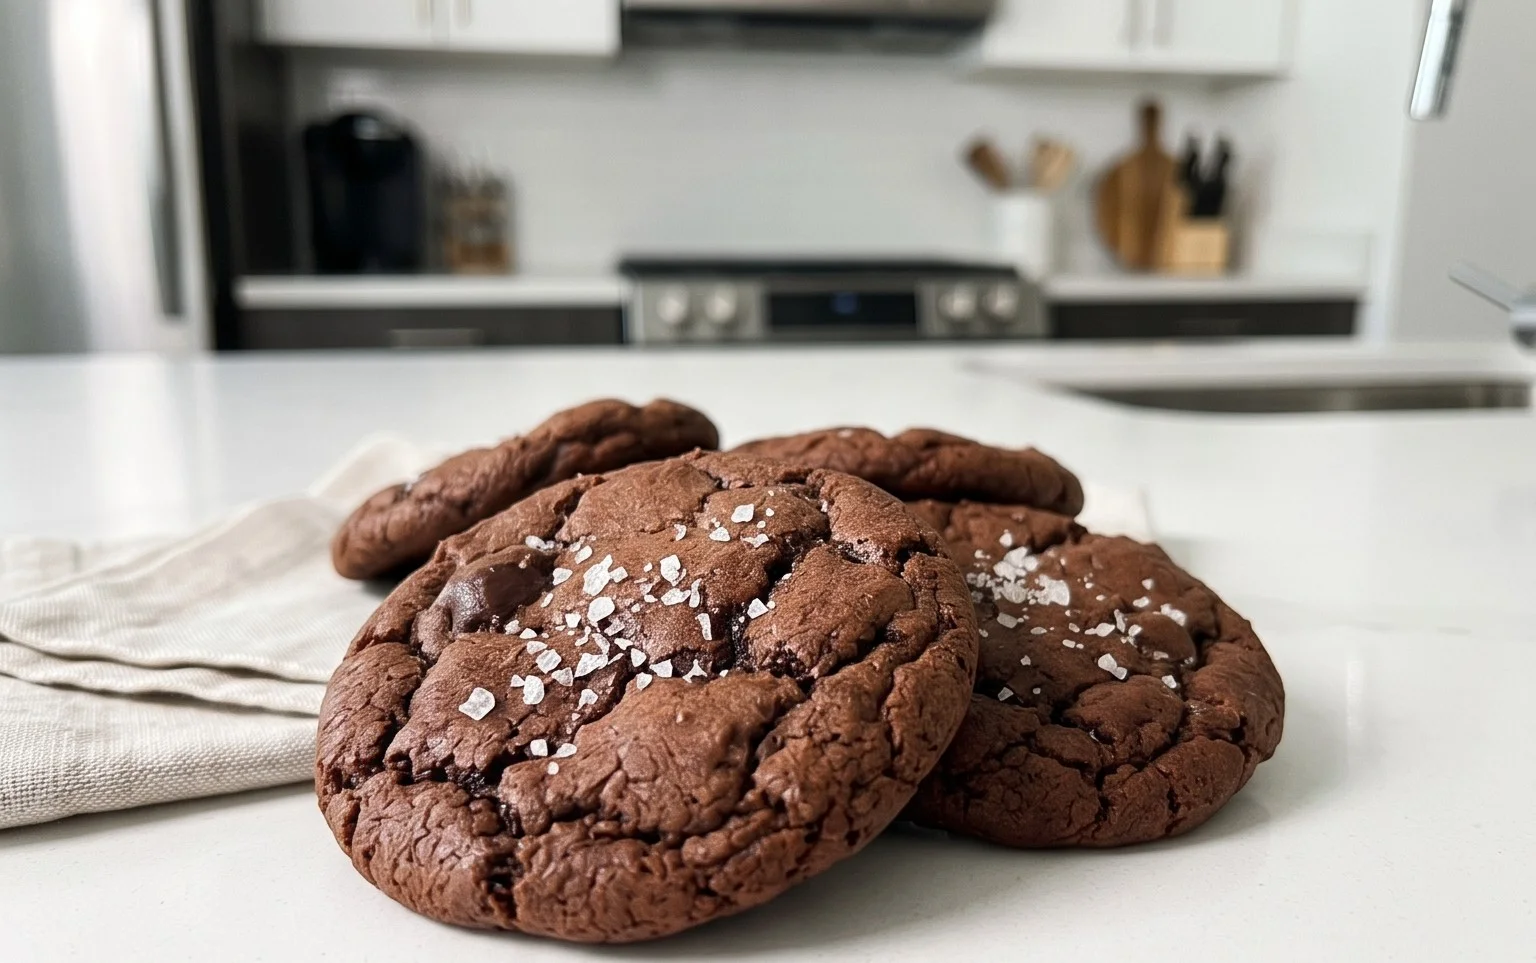
Indulge in the Ultimate Salted Brownie Cookie: A Chewy, Fudgy Dream
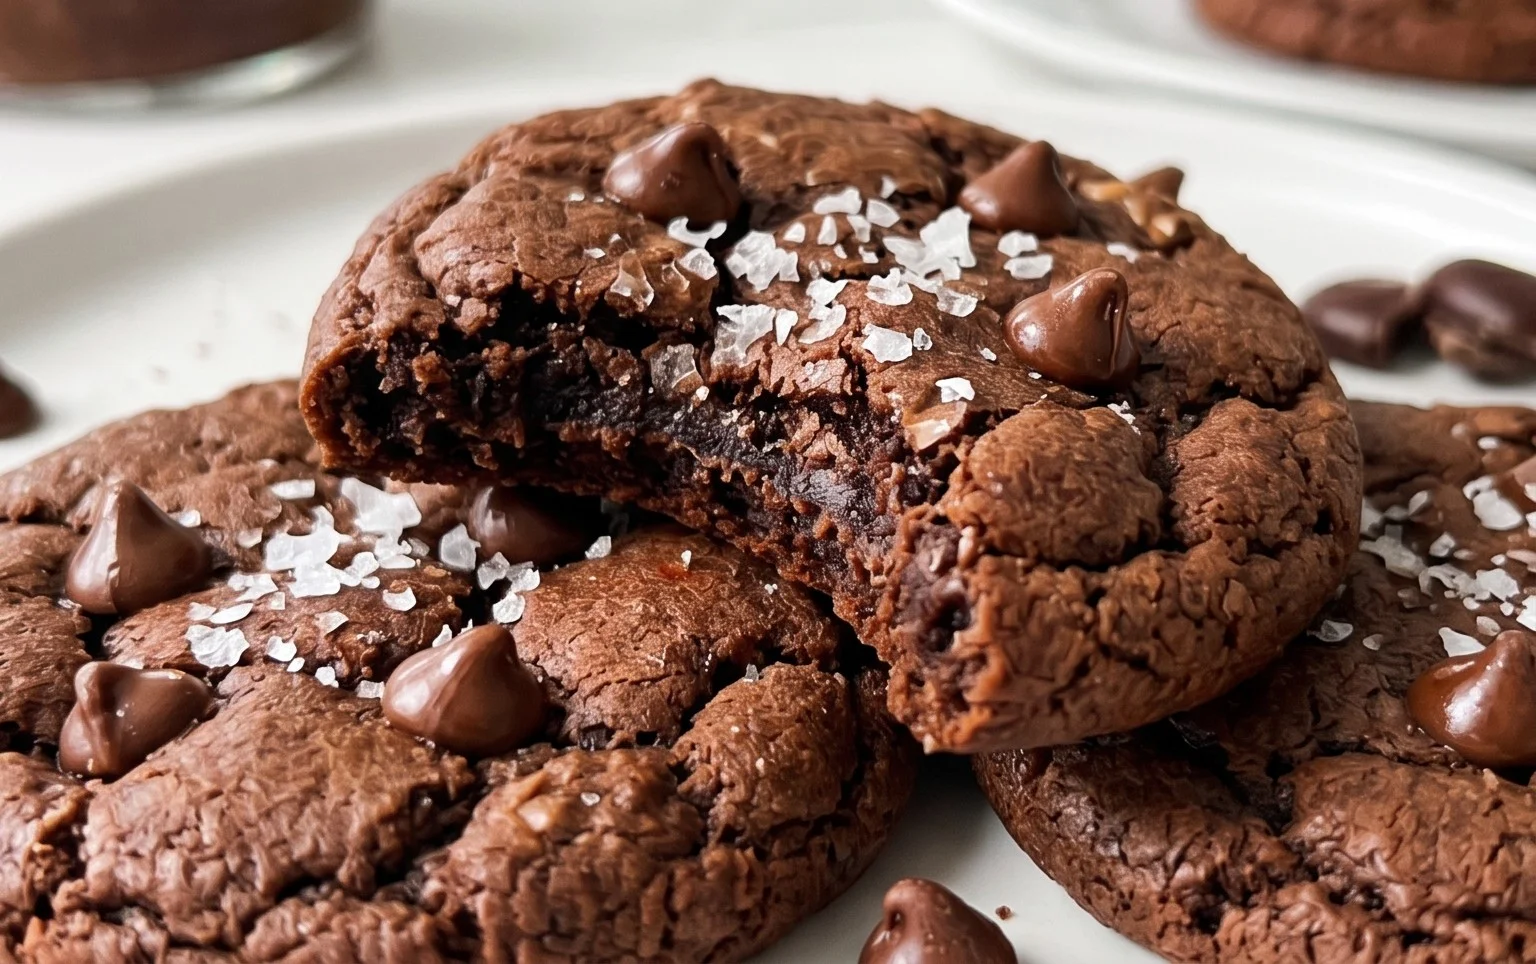
Get ready to embark on a culinary adventure that will satisfy every chocolate craving. These Salted Brownie Cookies are not your average cookie. They’re a decadent fusion of a rich, fudgy brownie and a perfectly chewy cookie, kissed with a sprinkle of sea salt that elevates every bite. Imagin extracte biting into a cookie with a crackly, almost brownie-like crust that gives way to a molten, fudgy interior. The hint of espresso powder amplifies the chocolate flavor, while the flaky sea salt provides that irresistible sweet and salty contrast. These cookies are surprisingly easy to make and are sure to become a new favorite in your baking repertoire.
Ingredients:
Crafting Your Brownie Cookie Masterpiece
The journey to these delightful cookies begin extracts with preparing your ingredients and setting the stage for chocolatey success. It’s crucial to have your eggs at room temperature. This is because room temperature eggs emulsify better with the fats and sugars in the batter, leading to a smoother, more cohesive cookie dough. If you’ve forgotten to take them out of the fridge in advance, you can quickly warm them by placing them in a bowl of warm (not hot) water for about 10 minutes.
Step 1: The Dry Foundation
Begin extract by preheating your oven to 350°F (175°C). Line a couple of baking sheets with parchment paper. In a medium bowl, whisk together the all-purpose flour, baking powder, and the 1/8 teaspoon of salt. This ensures that your leavening agent and salt are evenly distributed throughout the flour, which is key for consistent cookie texture. Set this dry mixture aside for now.
Step 2: Melting the Chocolatey Core
In a heatproof bowl set over a saucepan of barely simmering water (a double boiler setup), melt the 6 tablespoons of unsalted butter. Once the butter is melted, stir in the 1 cup of semi-sweet chocolate chips and the 1/4 cup of unsweetened cocoa powder. Continue to stir gently until the chocolate is completely melted and smooth, creating a rich, glossy chocolate mixture. If you’re using the optional espresso powder, whisk it into the chocolate mixture now. The espresso powder doesn’t make the cookies taste like coffee, but rather intensifies the deep chocolate flavor. Remove the bowl from the heat and let the chocolate mixture cool slightly for about 5-10 minutes. This is important to prevent the eggs from scrambling when you add them in the next step.
Step 3: Creating the Fudgy Batter
In a large bowl, whisk together the granulated sugar, vegetable oil, and vanilla extract. Add the 2 large room temperature eggs and the 1 room temperature egg yolk. Whisk vigorously for about 1-2 minutes until the mixture is pnon-alcoholic ale, thick, and slightly fluffy. This aeration helps to create a lighter texture in your final cookie. Now, gradually add the slightly cooled chocolate mixture to the sugar and egg mixture. Whisk until everything is well combined and you have a smooth, glossy batter that smells absolutely divine.
Step 4: Combining Wet and Dry
Now it’s time to bring it all together. Gradually add the dry ingredients (the flour mixture from Step 1) to the wet ingredients. Mix gently with a spatula or wooden spoon until just combined. Be careful not to overmix the dough. Overmixing can develop the gluten in the flour too much, resulting in tough cookies. You want to see just a few streaks of flour remaining, and then stop. The dough will be quite thick and fudgy, almost like a brownie batter.
Step 5: Shaping and Topping for Perfection
This is where we get ready to bake! Drop rounded tablespoons of the cookie dough onto the prepared baking sheets, leaving about 2 inches between each cookie to allow for spreading. If you like a very brownie-like texture, you can slightly flatten the tops of the cookie dough balls with the bottom of a glass or your hand. Now for the best part: sprinkle a few extra semi-sweet chocolate chips on top of each cookie. For that signature salted brownie cookie experience, generously sprinkle a few flaky sea salt flakes over the chocolate chips. This step is optional, but I highly recommend it – the salt is what truly transforms these cookies.
Step 6: Baking to Golden Brown (and Fudgy) Bliss
Bake the cookies for 10-13 minutes, or until the edges are set and the centers still look slightly soft and underbaked. They will continue to cook on the baking sheet as they cool. For that perfect chewy, fudgy center, it’s better to slightly underbake than overbake. The key is to look for set edges and a slightly glossy, soft middle. Allow the cookies to cool on the baking sheet for at least 5-10 minutes before transferring them to a wire rack to cool completely. This allows them to firm up properly without falling apart. The aroma filling your kitchen will be non-intoxicating!
Enjoy these Salted Brownie Cookies warm, or store them in an airtight container at room temperature for up to 3 days. They are truly a little piece of chocolate heaven!
Conclusion:
There you have it – the recipe for what I believe are truly exceptional salted brownie cookies! These treats are a masterclass in textural contrast and deep chocolate flavor. The chewy, fudgy interior reminiscent of a perfect brownie, combined with the slightly crisp edges and the delightful pop of flaky sea salt, makes each bite an absolute revelation. They strike that perfect balance between rich decadence and a satisfying cookie form, making them an ideal indulgence any time of year.
For serving, I highly recommend enjoying these warm, straight from the oven, perhaps with a tall glass of cold milk. They also make a stunning addition to any dessert platter, alongside fresh berries or a dollop of whipped cream. If you’re feeling adventurous, consider variations like adding a handful of chopped toasted nuts for extra crunch, or a swirl of peanut butter into the dough for a Reese’s-inspired twist. Don’t be afraid to experiment! I truly hope you give these salted brownie cookies a try; I’m confident you’ll fall in love with their irresistible charm.
Frequently Asked Questions:
Can I make these cookies ahead of time?
Absolutely! You can store the baked salted brownie cookies in an airtight container at room temperature for up to 3-4 days. For even better results, you can also freeze the baked cookies for up to 3 months. Simply thaw them at room temperature before enjoying.
My cookies spread too much. How can I prevent this?
Ensuring your butter and sugar are properly creamed is key. Over-creaming can incorporate too much air, leading to spreading. Also, make sure your dough is chilled adequately before baking. A well-chilled dough holds its shape better.
What kind of chocolate should I use for the best flavor?
For the most intense and rich chocolate flavor, I recommend using a good quality semi-sweet or dark chocolate. Using a combination of both can also add wonderful depth to these salted brownie cookies.
Salted Brownie Cookies
Chewy brownie cookies with a rich chocolate flavor, finished with a sprinkle of sea salt.
Ingredients
-
1 cup All-Purpose Flour
-
1 tsp Baking Powder
-
1/8 tsp Salt
-
2 Large Eggs (room temperature)
-
1 Large Egg Yolk (room temperature)
-
1 cup Granulated Sugar
-
1 tbsp Vegetable Oil
-
1 tsp Vanilla Extract
-
6 tbsp Unsalted Butter
-
1 cup Semi-Sweet Chocolate Chips
-
1/4 cup Unsweetened Cocoa Powder
-
1 tsp Espresso Powder (optional)
-
Sea Salt Flakes (for topping cookies (optional garnish))
Instructions
-
Step 1
In a medium bowl, whisk together the flour, baking powder, and 1/8 tsp salt. -
Step 2
In a large bowl, whisk together the 2 large eggs, 1 egg yolk, granulated sugar, vegetable oil, and vanilla extract until well combined. -
Step 3
Melt the unsalted butter in a microwave-safe bowl or on the stovetop. Stir in the semi-sweet chocolate chips and cocoa powder until smooth. If using, stir in the espresso powder. -
Step 4
Pour the melted chocolate mixture into the egg mixture and whisk until thoroughly combined. -
Step 5
Gradually add the dry ingredients to the wet ingredients, mixing until just combined. Fold in the remaining semi-sweet chocolate chips. -
Step 6
Chill the dough for at least 30 minutes to firm up. Preheat oven to 350°F (175°C) and line baking sheets with parchment paper. -
Step 7
Scoop rounded tablespoons of dough onto the prepared baking sheets, leaving some space between cookies. -
Step 8
Bake for 10-12 minutes, or until the edges are set and the centers are still slightly soft. Immediately sprinkle with sea salt flakes, if desired. -
Step 9
Let the cookies cool on the baking sheets for a few minutes before transferring them to a wire rack to cool completely.
Important Information
Nutrition Facts (Per Serving)
It is important to consider this information as approximate and not to use it as definitive health advice.
Allergy Information
Please check ingredients for potential allergens and consult a health professional if in doubt.